What our curing guidance covers
We work through the curing basics that matter on shop floor jobs, from lamp intensity and pass speed to substrate type and ink laydown. The aim is simple: get the print cured enough for handling and finishing without under curing, over curing or losing colour strength.
Our guidance is suited to flatbed and roll-to-roll printers used in signage, décor, industrial panels and packaging trials.
- Ink film thickness and curing depth
- Substrate surface energy and porosity
- Printer speed, lamp output and number of passes
- Dry-to-touch, stackable and fully cured handling targets
- Post print adhesion and scratch resistance checks
How the process works from sample to production
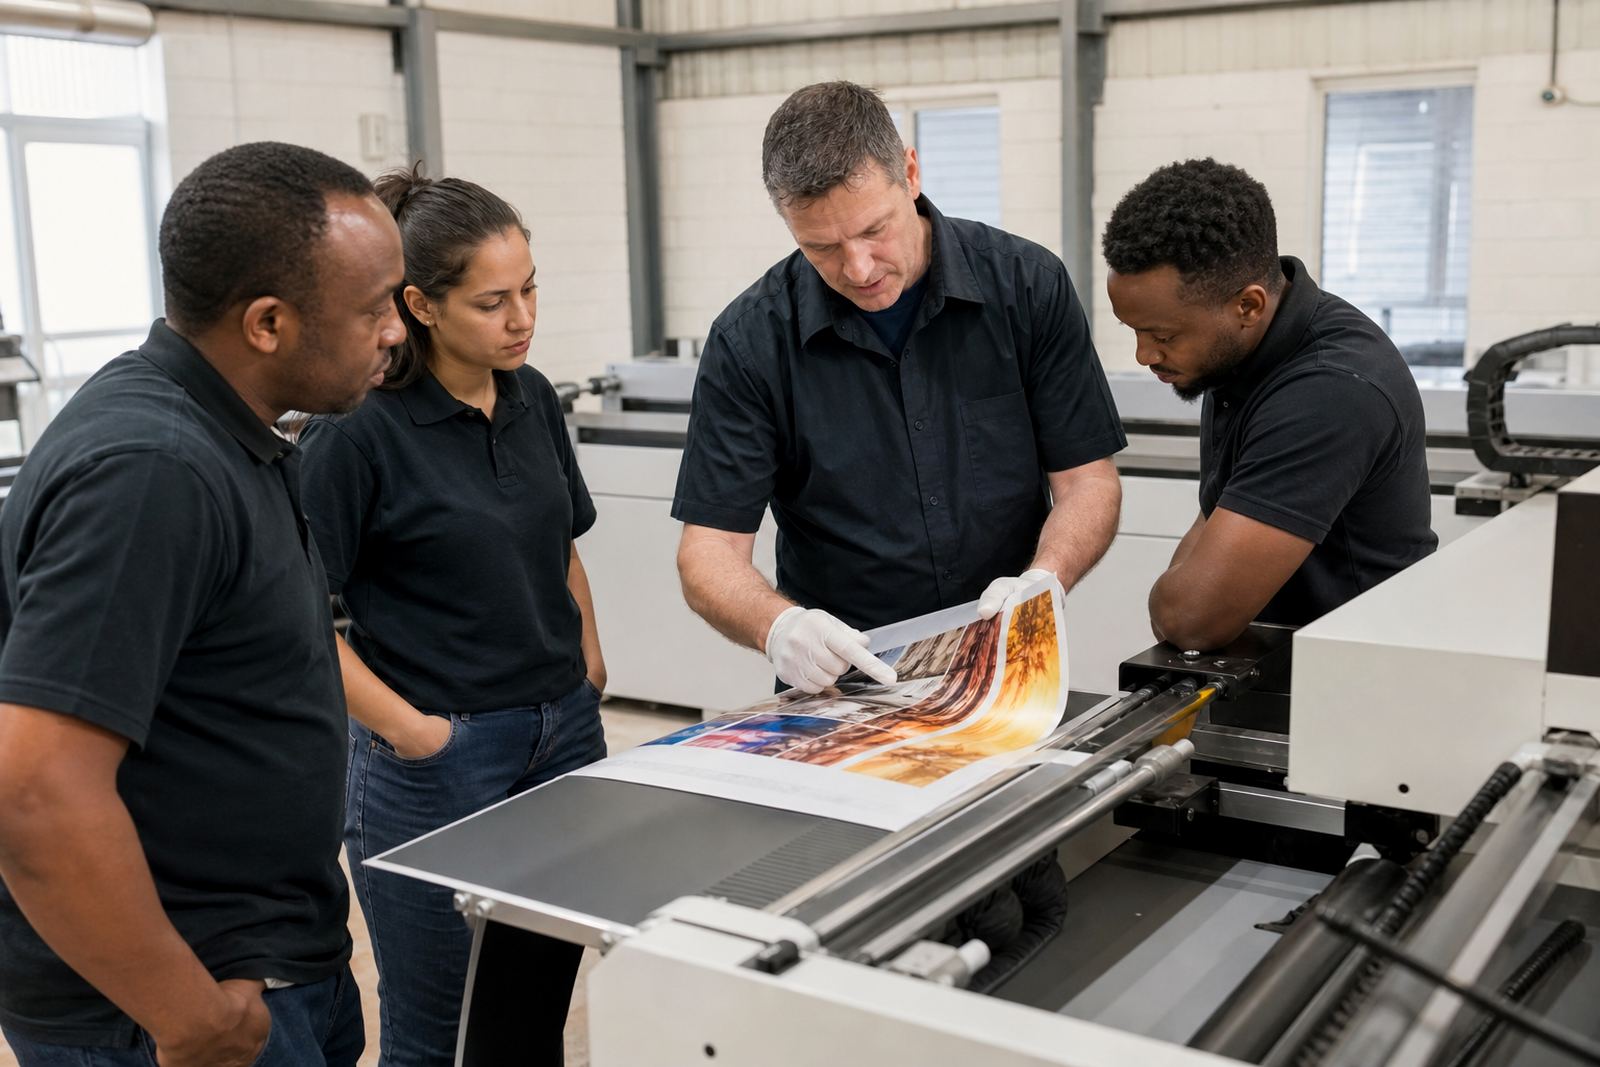
We normally start with the substrate and the end use. A rigid board for shop signage needs a different cure profile from a flexible roll stock print that must be rewound, trimmed and installed later. Once we know the printer type and application, we advise on the curing range to test first.
For most jobs, the process is straightforward. You share the printer model details, media type and intended use. We then give a practical cure path and where needed, support with sample packs and colour trial checks. If adhesion is a concern, we may advise a small test grid, cross hatch check or a simple rub test before full production runs.
- Review printer setup and substrate details
- Set an initial curing range for testing
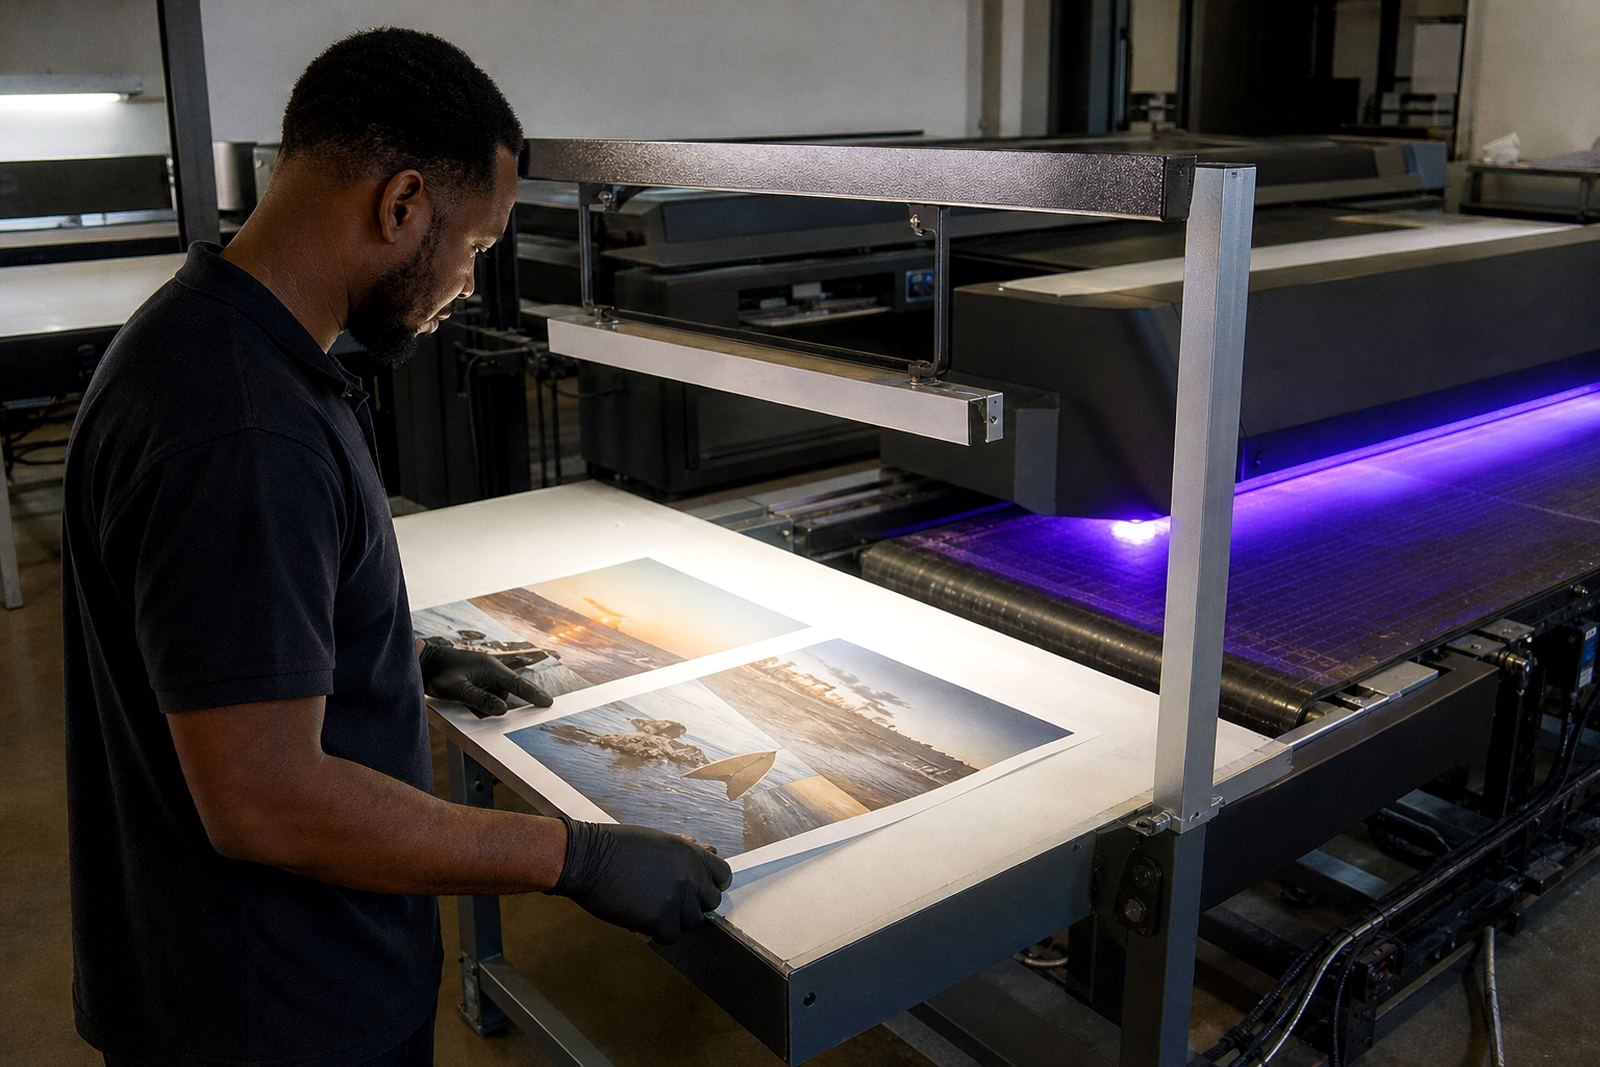
- Run a sample print and check surface cure
- Test adhesion after cooling or curing recovery time
- Adjust speed, passes or lamp setting if needed
Compatibility checks for flatbed and roll-to-roll printers
Not every UV ink behaves the same on every machine, and not every substrate accepts ink in the same way. We help you check compatibility so you avoid common issues such as poor wetting, pinholing, brittleness or surface tack after printing. This is especially useful when switching from one media type to another or moving between rigid and flexible work.
If your printer has been idle, warmed up unevenly or restarted during a job, we can help you decide whether to recheck cure settings before continuing. Small changes in heat, humidity and lamp condition can shift the result quite a bit.
- Rigid boards, panels and display materials
- Flexible roll media for banners and wraps
- Coated and uncoated printable surfaces
- Short run samples and larger production batches
What good curing should look and feel like
Well cured UV prints should be dry to the touch, handle without marking and remain stable during cutting, packing or mounting. The finish should not feel soft, dusty or sticky. If the cure is too light, the ink can smear or show weak adhesion. If the cure is too strong, some jobs may lose flexibility or show unnecessary surface stress.
We help you judge cure quality with practical checks rather than guesswork. That includes look, feel and handling checks after the print has cooled.
- Surface is dry and does not offset when stacked
- Edges stay clean after cutting or trimming
- Ink layer resists light rubbing once cured
- Print remains stable after 24 hours where required
Turnaround times and support during production
Most guidance requests are handled quickly, and we keep the process practical for busy print rooms. If you are working from Epping, Cape Town or sending work to Johannesburg, Durban, Pretoria or Gqeberha, we can support by remote tech help and courier stock support when needed. Repeat jobs are easier because we keep a record of the curing notes and production preferences you approved.
For standard enquiries, turnaround depends on how much detail you can share up front. A clear description of the printer, media and job type speeds things up. If a sample or trial pack is needed, we prepare that alongside the recommended cure approach so you can move from test to production with less downtime.
Pricing approach, maintenance and safe handling
Our pricing approach is based on the level of support required, not on unnecessary extras. A simple guidance call or review is handled differently from a full compatibility check, sample pack prep and operator training session. We will always explain the scope first so you know what is included before you proceed.
Lamps, filters, print heads, media feed and shop conditions all play a part. For many production environments, a weekly visual check and a more detailed monthly review helps catch drift before it affects output. Always follow the safety data sheet for the specific ink you are using, wear gloves when handling uncured ink and keep the work area tidy to avoid skin contact or contamination.
- Weekly check: lamp condition, cleaning and print consistency
- Monthly check: cure consistency, adhesion and feed alignment
- On material changes: retest adhesion and handling before full production
Ink data
| Service area | Epping, Cape Town with courier support across South Africa |
|---|---|
| Printer types | Flatbed and roll-to-roll UV printers |
| Core focus | Curing guidance, adhesion checks and handling advice |
| Typical checks | Dry-to-touch, stackability, rub resistance and adhesion |
| Support format | Remote tech help, sample review and production planning |
| Safety note | Follow the safety data sheet and wear gloves when handling uncured ink |