Why backlit prints behave differently under light
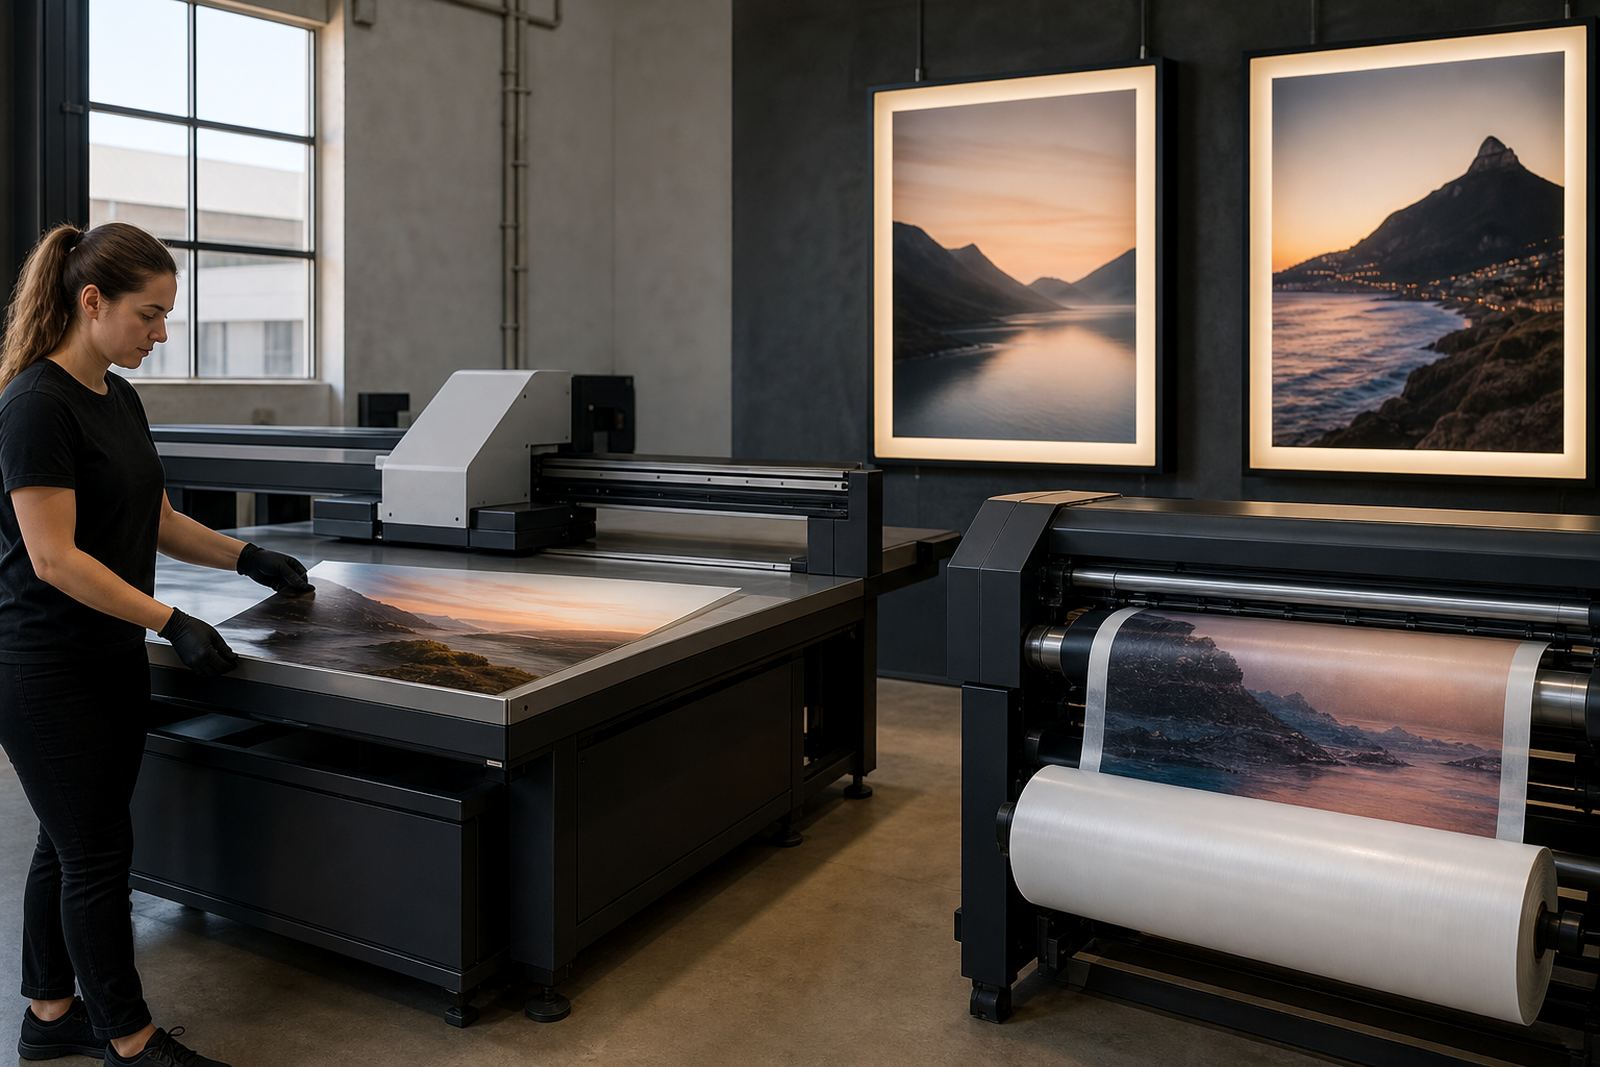
When a graphic sits in front of a light box or illuminated sign, the light does more than show the image. It exposes every weak spot in the print, from thin areas to uneven laydown and poor adhesion. A job that looks fine on the press table can look washed out, blotchy or too dark once the lights switch on.
Backlit work needs a steady ink film across the full panel. If one area carries more ink than another, the panel can show hot spots. If the print is too light, the image may look flat. If it is too heavy, details close up and the artwork loses contrast. The aim is even density with enough translucency for the light to do its job.
In Cape Town and along the coast, humidity can also affect how media behaves before and after printing. Films can hold moisture, edges may curl and some materials need a little extra care before they go into production. On a busy sign run in Epping, that kind of detail is often what keeps a job on schedule.
Choose the right media before you adjust the ink
Good backlit output starts with the right substrate. Not every film or board will pass light in the same way, so the first decision should be based on where the graphic will sit and how the illumination is set up. A shallow light box, for example, usually needs different coverage from a deeper cabinet with stronger internal lighting.
Before running a full batch, test the media with a small sample and check the print both unlit and lit. This helps you see whether the white point is clean, whether the colours shift and whether the image keeps enough body after curing. Some materials also need adhesion testing before production starts, especially on smooth or coated surfaces.
- Ask whether the panel will be viewed close up or from across a room
- Check if the light source is direct, edge lit or spread across the back
- Confirm if the media needs a primer, special cleaning or longer curing time
- Keep sample pieces for future repeat orders so the colour stays consistent
A proper sample pack can save a lot of wasted material and time. It also makes it easier to repeat the same result for a chain store, a municipal sign or a retail window display in Johannesburg or Durban.
Set density for even colour, not just bright colour
Backlit graphics often need a different balance from standard print work. The artwork must be vivid enough to stand out, but not so dense that the light struggles to pass through. This is where ink selection and printer compatibility matter. A UV-curable ink needs to suit the machine, the ink path and the media surface so the final print behaves as expected.
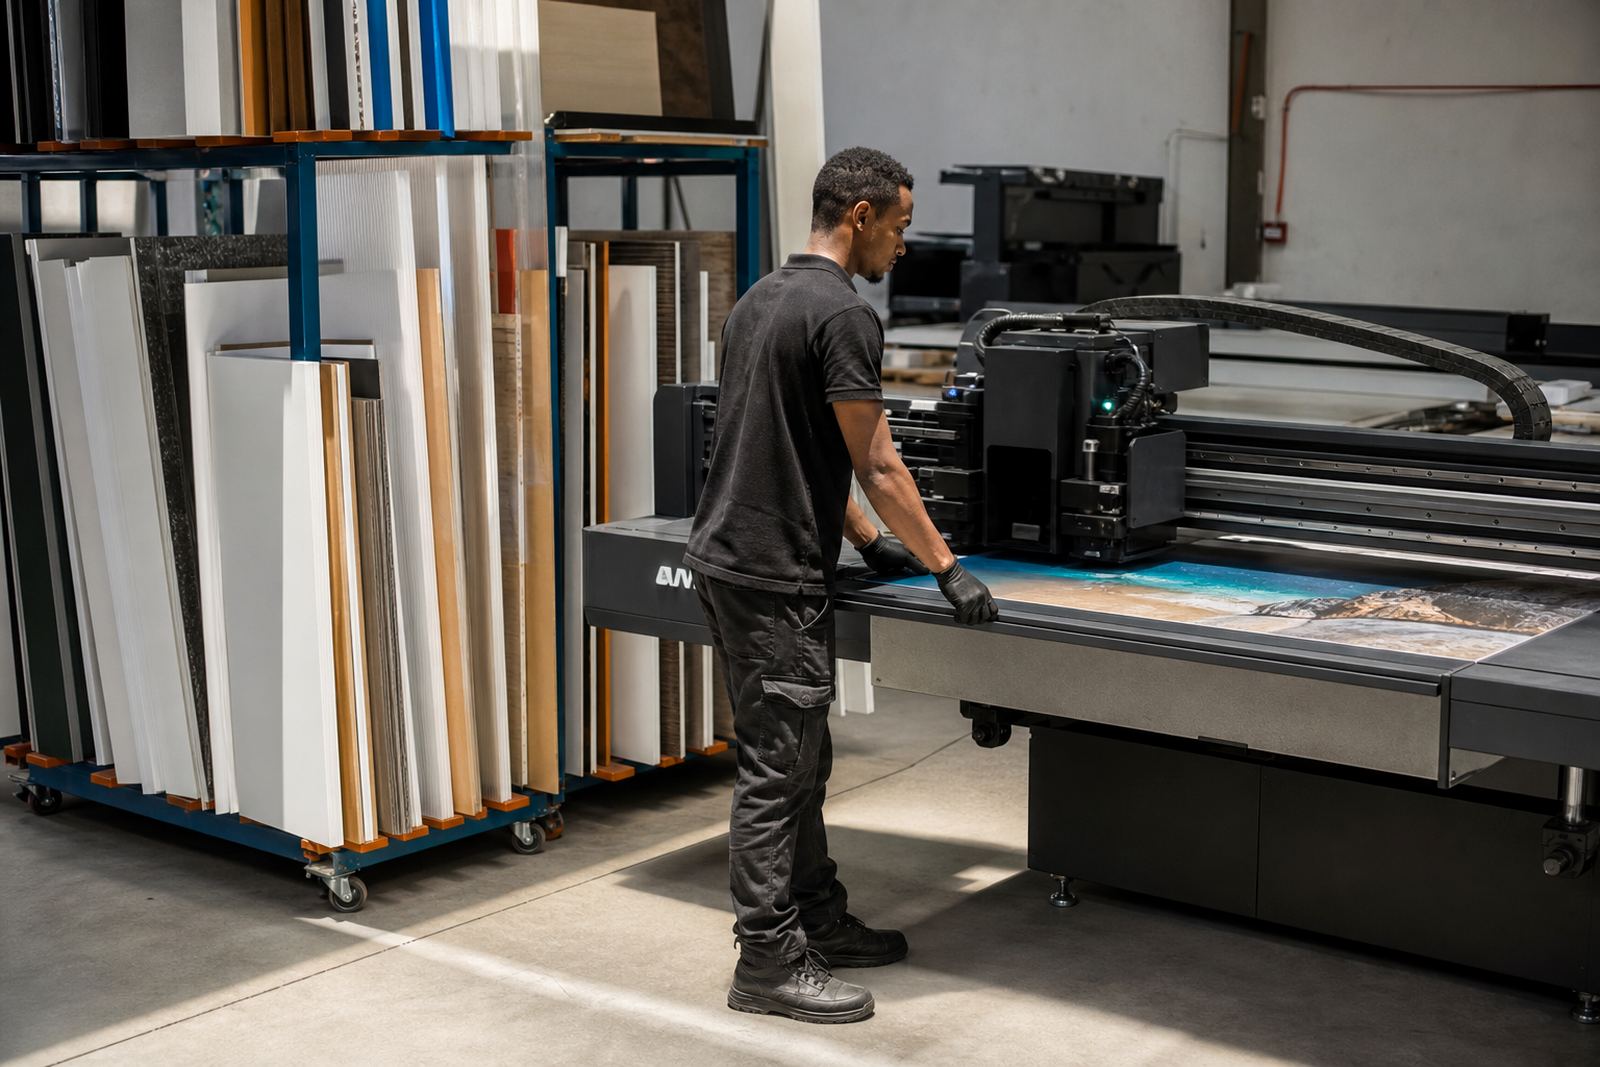
On flatbed printers, heavier coverage can be useful for rigid panels, but the cure must still be even. On roll-to-roll jobs, the challenge is often consistency over a longer run. Small changes in speed, lamp intensity or pass count can alter how the image looks once lit. It pays to keep notes on settings that work for each material.
For dark artwork or strong blacks, avoid pushing the density so far that the panel turns muddy when illuminated. For pale branding or fine line work, make sure there is enough opacity to keep the text readable. One extra test pass can help, but sometimes the better answer is a cleaner file, not more ink.
Curing matters as much as colour
UV-curable ink must cure properly to bond well and perform under handling and display conditions. If curing is too light, the print can feel tacky, attract dust or show poor rub resistance. If it is too strong, some media can distort or the colour may change more than expected. The right balance depends on the printer, the lamp output and the substrate.
Backlit work also needs clean curing at the edges and through the lighter parts of the image. These areas can show problems faster once the light is turned on. Before a full run, check for smell, surface tack and scuff resistance after the panel has cooled. A quick hand test is not enough on its own, but it is a useful first check.
- Run a curing test on a small section before production starts
- Let panels cool flat before stacking or packing them
- Avoid touching fresh prints without gloves
- Follow the safety data sheet for mixing, storage and cleanup
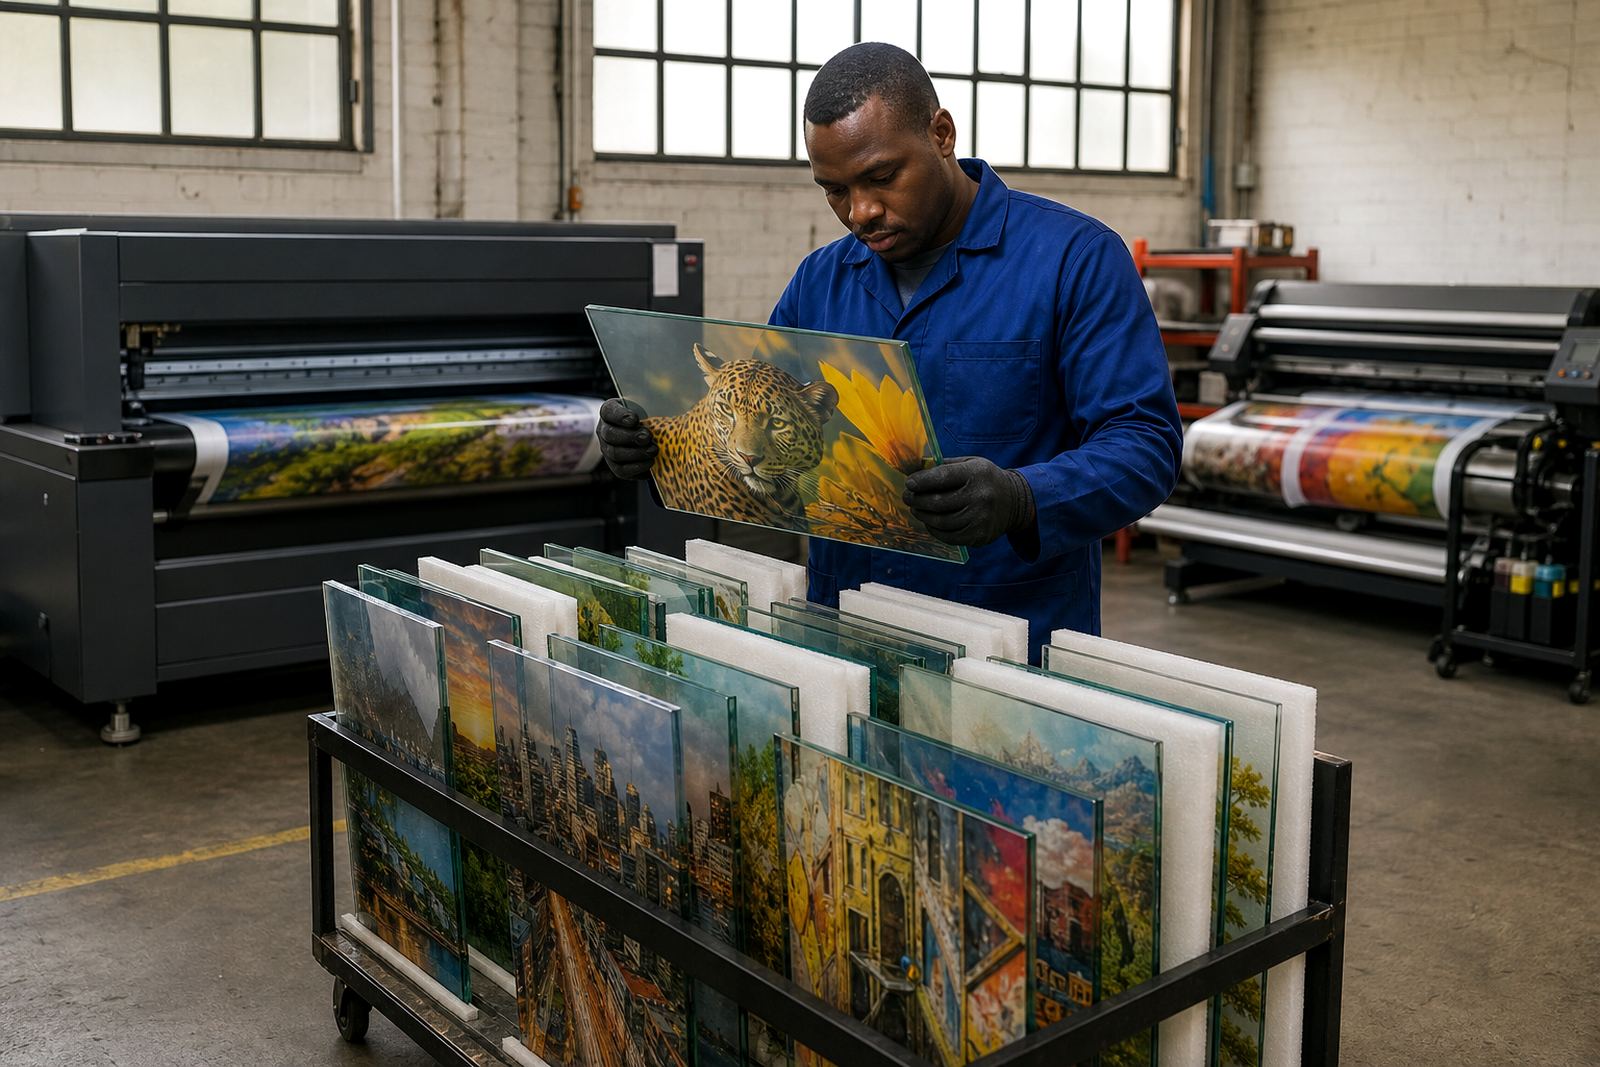
Good curing also supports safer handling in the workshop. Operators should wear gloves, keep the area tidy and avoid contact with uncured ink or overspray. That matters on long production days, especially when the team is moving between sampling, finishing and courier prep.
File prep and colour control keep the sign readable
Even the best ink cannot fix weak artwork. Backlit files should be prepared with the final lighting in mind, including contrast, type size and dark area balance. Thin fonts can disappear when the light is behind the panel, while very heavy solids can swallow detail. If the design includes photos, check skin tones, shadows and product colours under simulated light before sending it into production.
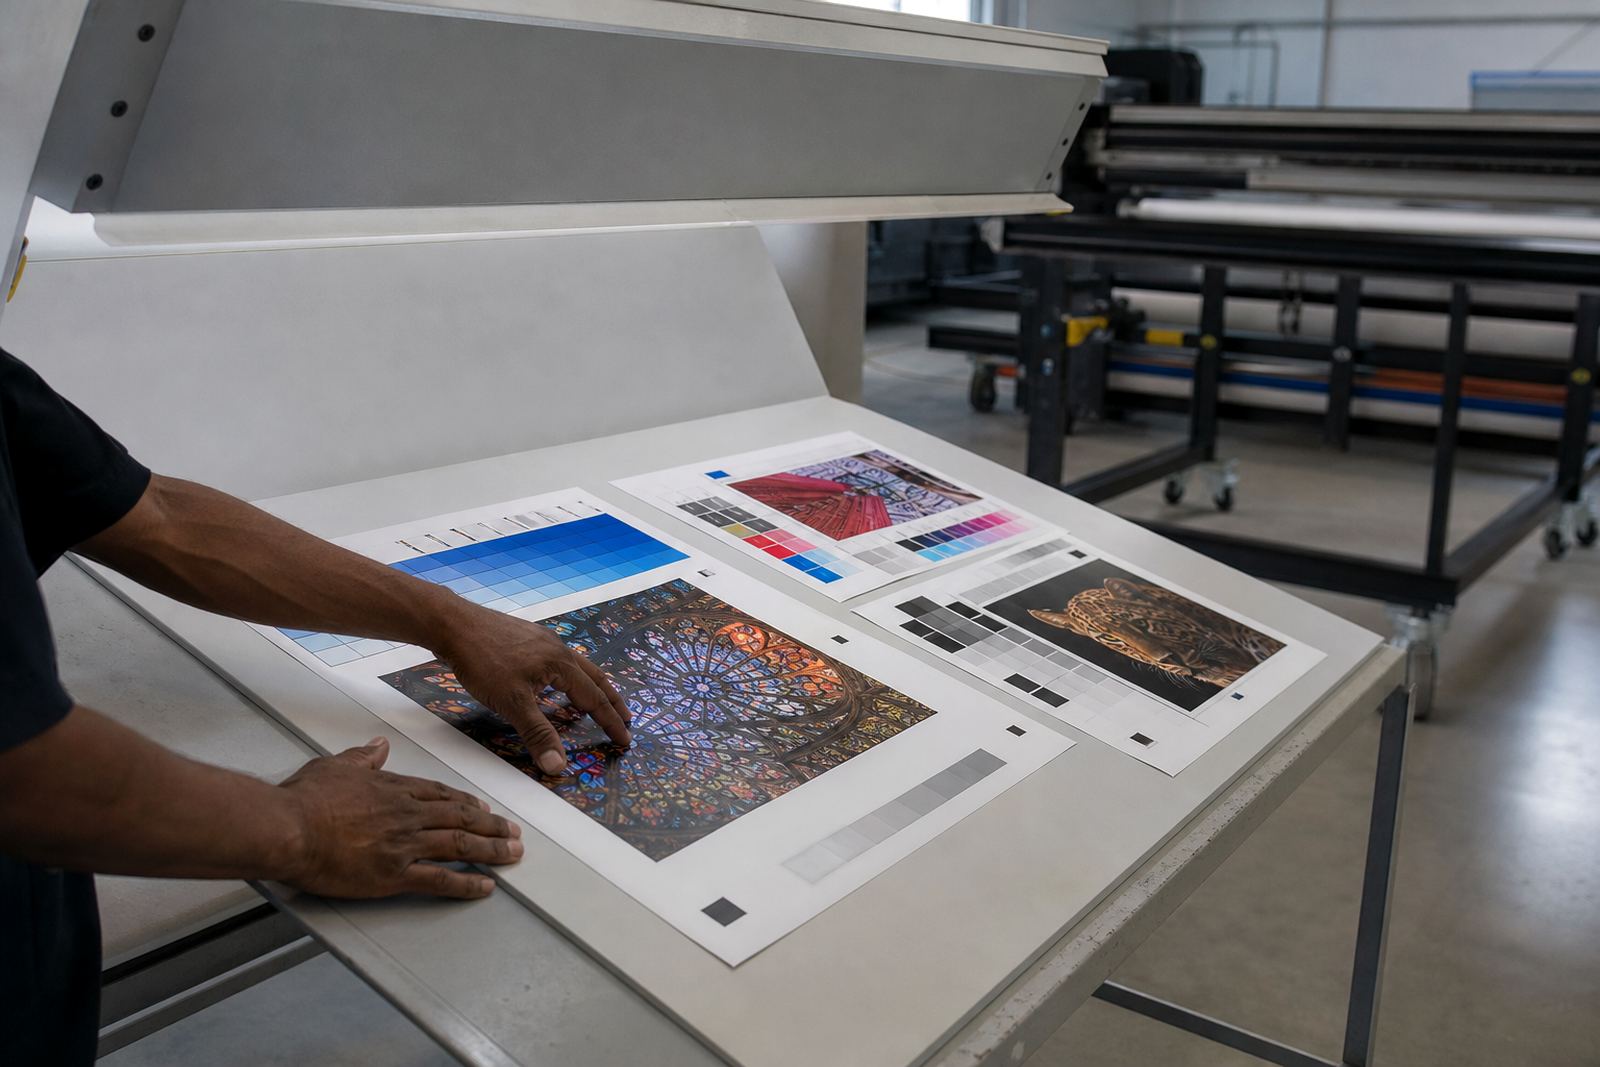
Colour trial support is valuable here. A small test print under the same viewing conditions can show whether the reds look too warm, whether blues flatten out or whether grey areas go green. This is especially useful for repeat signage, where a customer may expect the next panel to match the last one exactly.
For operators, keep a simple record of what works. Note the printer type, pass count, media, curing setting and final result. That record saves time on future jobs and makes production planning easier when a rush order comes in from Pretoria or Gqeberha.
Local production tips for South African sign shops
Backlit signs in South Africa have to cope with real site conditions.
For shops in Epping and Bellville, courier stock support helps keep jobs moving when stock levels run low. A clean handover process also matters. Pack panels flat, protect the edges and label the artwork clearly so installers do not mix up sides or sequences on site. In busy production rooms, that small bit of organisation can prevent expensive reprints.
Here is a practical approach for backlit jobs in the Western Cape and beyond:
- Store media in a dry area before printing
- Keep the workshop free of dust near the curing and finishing area
- Test one panel after curing and before the full run is released
- Confirm the light box dimensions so trimming is accurate first time
- Allow time for repeat order checks if the same artwork must match an earlier batch