Why glass needs a different approach
Glass is smooth, non porous and often carries dust, oil or release residue from handling. That means UV-curable ink does not have the same easy grip it gets on textured board or certain plastics. The print can look sharp at first, then fail later if the surface was not cleaned properly or if the curing was not matched to the job.
For signage, décor and display work, glass printing is often judged on two things: how it looks on day one and whether it still holds after a few weeks of use. A clean print that chips at the edge or lifts after wiping is not a good result. That is why adhesion testing matters before a full production run.
In Cape Town, we see this often with shopfront panels and interior feature pieces where the client wants a neat finish for bright retail spaces. The same rule applies whether you are working in Epping or sending work to Johannesburg, Durban or Gqeberha: test first, then print the full batch.
Surface prep before the first drop of ink
Good glass printing starts before the printer is switched on. The surface must be clean, dry and free from fingerprints, polish, dust and silicone residue. Even a light film can affect wetting and adhesion, especially on larger panes where the operator handles edges during setup.
Use a cleaning process that is repeatable. Wipe with a suitable cleaner, allow the panel to dry fully and handle it with gloves. If the glass has been stored near a loading bay, workshop or coastal area, give it extra attention. In places like Cape Town and Gqeberha, salt in the air can settle on stock faster than people expect.
- Inspect the glass for chips, scratches and edge damage before printing
- Clean both sides if the panel will be handled repeatedly
- Wear gloves to avoid fingerprints and skin oils
- Keep the work area free from dust and grinding residue
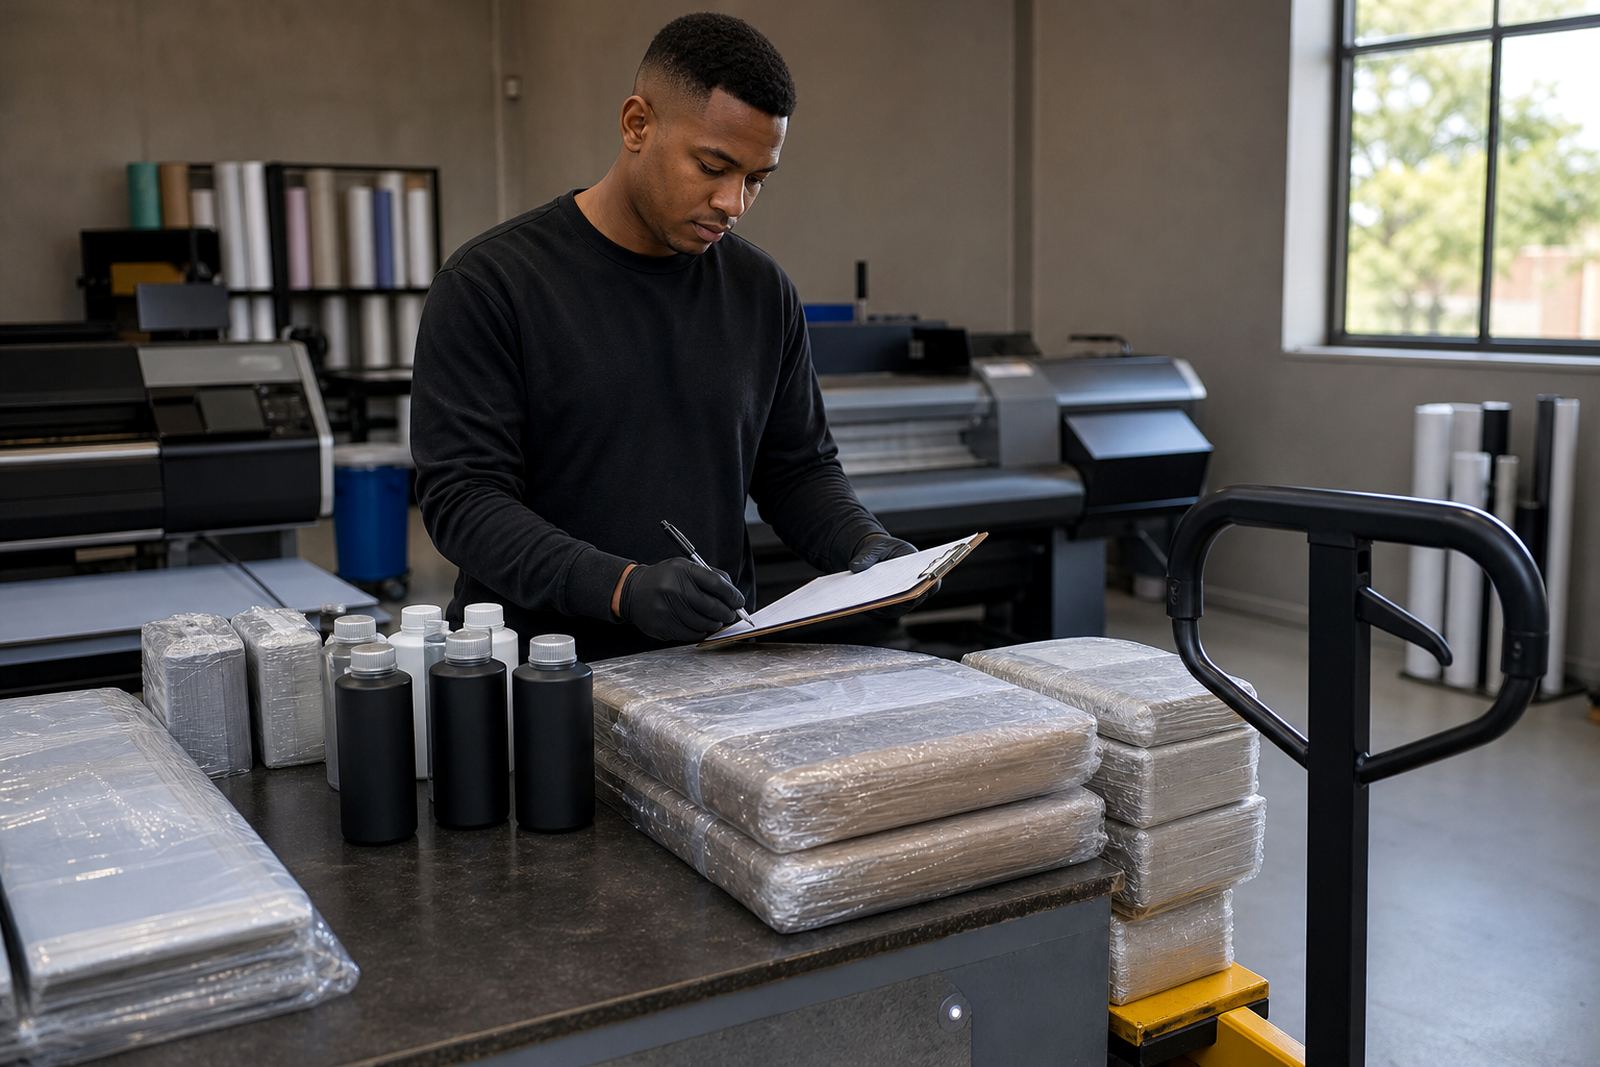
Always check the safety data sheet for the ink before handling or cleaning. Follow the recommended PPE and storage notes, including gloves where required, because safe handling is part of a clean production process.
Choosing a UV ink that bonds properly
Not every UV-curable ink behaves the same on glass. Printer compatibility also matters. The ink must suit the machine, the print head type, the curing system and the speed settings being used.
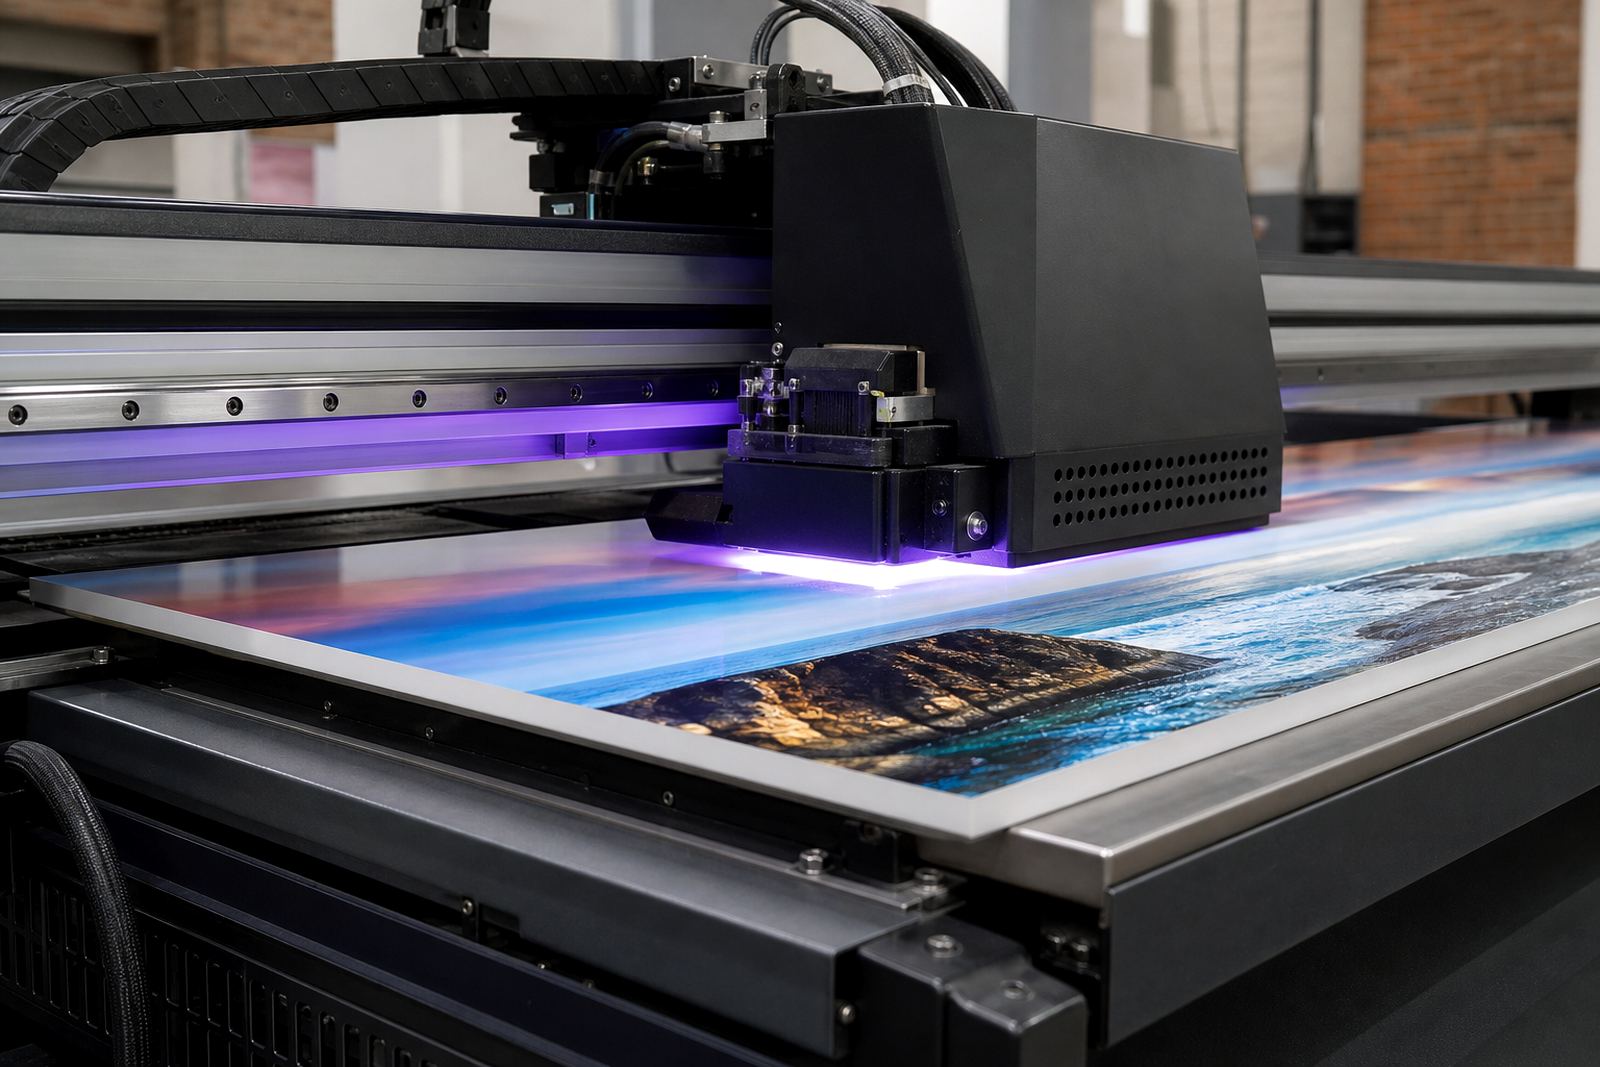
For flatbed printers, the challenge is often direct print quality on rigid panels. For roll-to-roll work, the issue may be printable films that will later be applied to glass. In both cases, a proper compatibility check helps avoid blocked heads, poor dot formation or weak curing. A quick sample on one sheet is far better than redoing ten or twenty later.
At UV Ink, our support usually starts with the application itself. Is it for a decorative panel, a display face, a door insert or a window graphic? The answer changes the advice. That is why sample pack prep, colour trial support and repeat order management all matter in day-to-day production.
Curing is where the print is won or lost
UV ink cures when exposed to the correct light energy. On glass, that balance has to be right. Too little curing and the ink can stay soft, smear or lift during handling. Too much, or the wrong heat balance, and you can create brittleness or stress on the print surface. The operator needs to match the cure to the job, not just run the machine at a standard setting and hope for the best.
Glass also reflects light differently from other substrates, so some setups need careful testing to make sure the print is fully cured through the full ink layer. This becomes more important on solid areas, white layers and jobs with multiple passes.
- Print a small test strip before starting the full run
- Check the print after curing and again after 24 hours
- Test rub resistance and edge adhesion
- Adjust pass count, lamp intensity and speed as needed
A partly finished glass job that sits too long under bad conditions can create uneven results.
Adhesion testing saves time and scrap
Adhesion testing is not extra paperwork. It is the practical way to see whether the ink and glass are compatible before a full run begins. A small sample can tell you if the surface needs more cleaning, if the curing needs to be adjusted, or if the ink choice itself needs to change.
A simple test method can include cross-hatch checking, tape pull assessment and a light abrasion test after curing. The exact method will depend on the job and the expected wear. A decorative panel in a reception area will not need the same treatment as a glass shelf label that will be cleaned often.
For example, a print shop in Bellville may be producing custom glass panels for a developer in Paarl. The art file may be approved and the colour may look right, but if the print is not tested for adhesion on the exact glass stock being used, the whole batch is at risk. One failed panel can cost more than the time spent on a proper sample.
Handling, packing and delivery to the job site
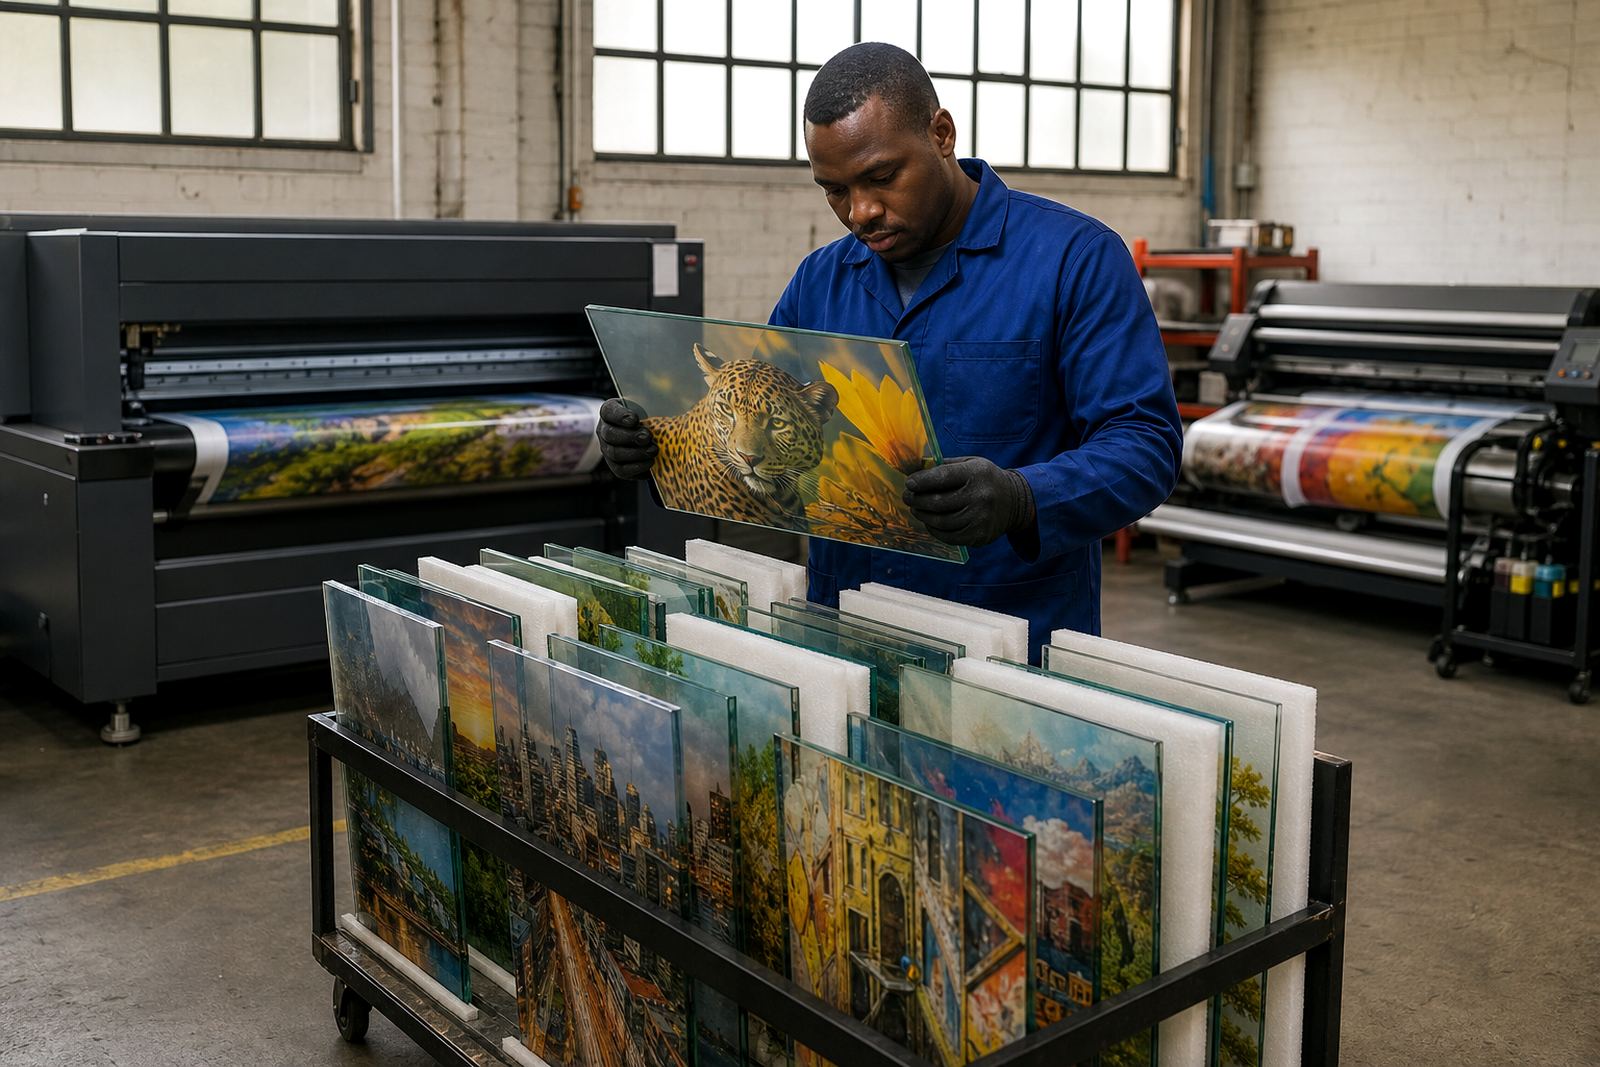
Printed glass needs careful handling right after cure. Edges remain vulnerable, and any stacking pressure can mark the print or transfer dust onto the surface. Use separators, keep panels upright where possible and avoid contact with rough wrapping materials that can scuff the image.
When the job is going out on courier delivery from Epping to Johannesburg, Durban, Pretoria or Gqeberha, packaging should protect both the print face and the edges. The team should also plan for where the glass will be unloaded and who will inspect it on arrival. A sign maker or installer who knows the storage rules can save time on site.
Our logistics and remote tech support teams often work together on these jobs. That might include repeat order management for the same substrate, production planning for busy weeks and operator training for staff who are new to glass printing.
- Label packed glass clearly as printed and fragile
- Keep panels dry during transit and storage
- Separate print faces with clean protective layers
- Brief installers on handling before delivery leaves the workshop
A practical local example for Cape Town producers
Consider a small Cape Town producer making glass panels for an office fit-out near the CBD. The job calls for clean graphics on clear sheets, with delivery timing tied to the installer’s site schedule. The printer can get the visuals right, but only if the workshop checks the ink compatibility, confirms the curing settings and stores the finished panels properly before dispatch.
If the glass comes from a supplier in the Cape Flats or the panels are moved between Epping and another site, the handling risk goes up. One finger mark, one rushed cure, or one skipped test can turn into rework. That is why clear instruction matters from the first enquiry through to the final repeat order. Practical support on adhesion testing, curing guidance and safe handling usually makes the difference between a print that looks good and one that lasts.
For printers working across South Africa, the aim is simple: use the right UV-curable ink, test on the actual glass, cure it properly and handle it with care. Do that, and glass printing becomes a reliable part of the production mix instead of a risky one-off.