Start With a Clean Acrylic Surface
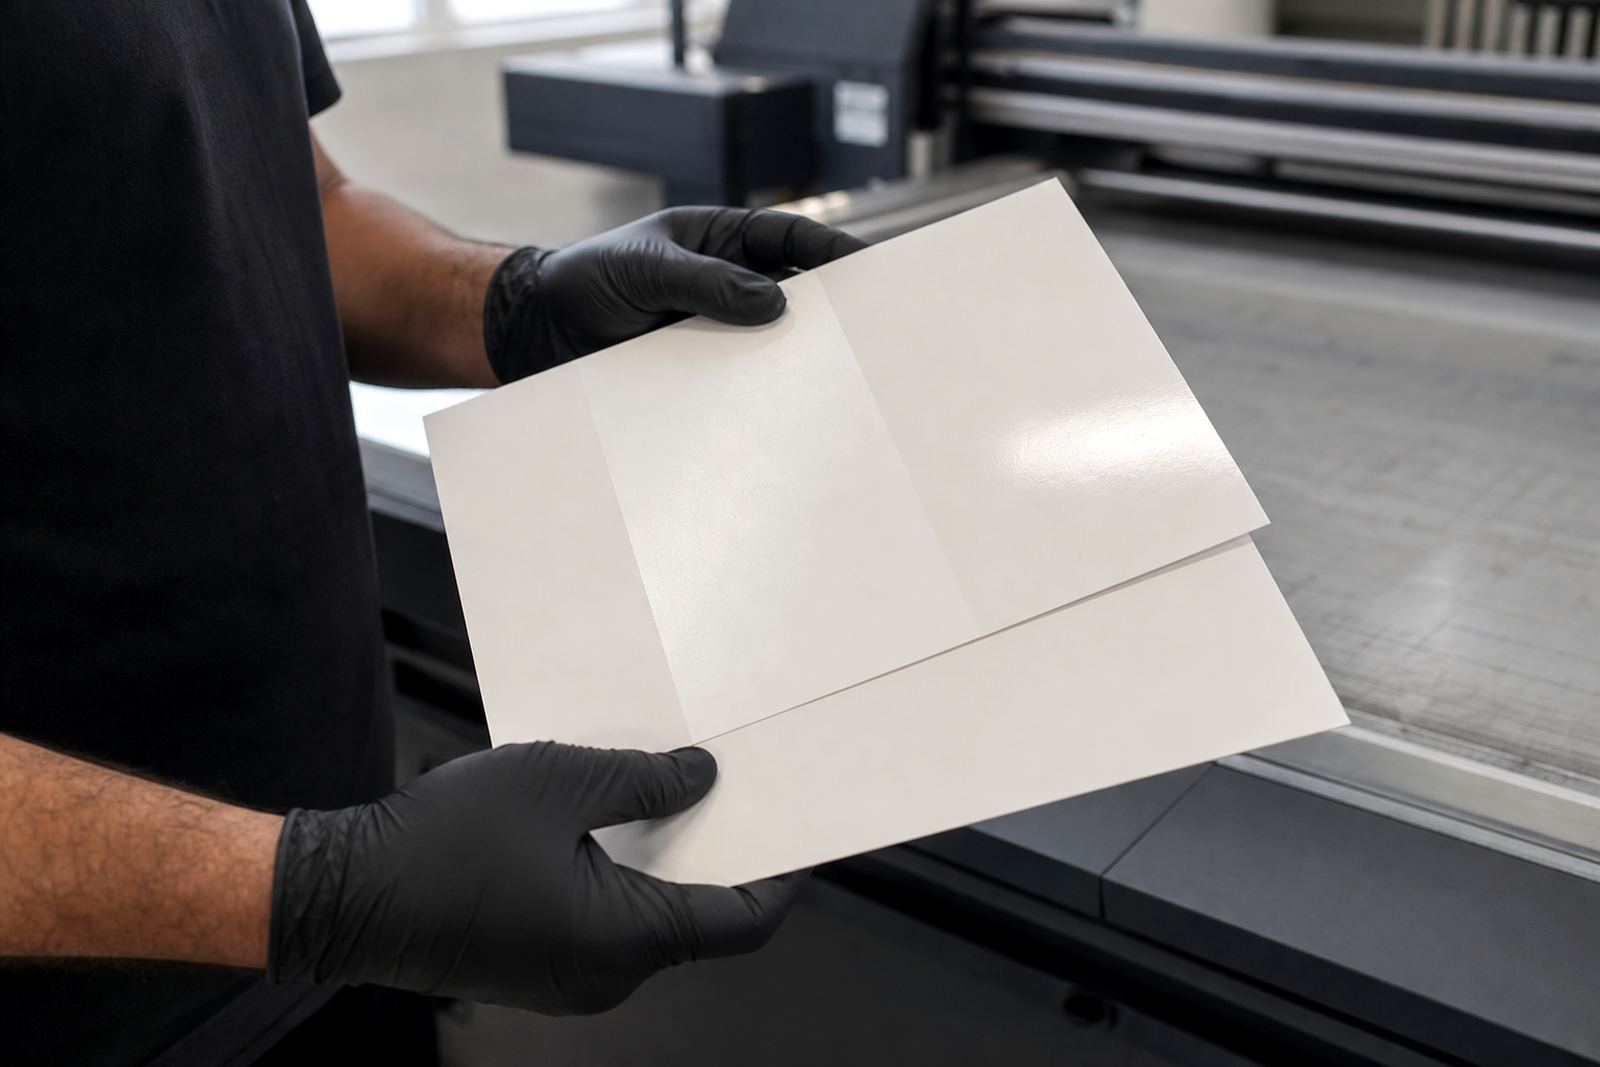
Acrylic shows every fingerprint, dust speck and polishing mark, so prep matters before the first pass. Wipe both sides if needed, then focus on the print face using a lint-free cloth and a suitable cleaner that leaves no residue. If the sheet has static, dust will cling again quickly, especially in dry inland conditions or after handling in warm Cape Town loading bays.
Before printing, check that the sheet is flat, free from scratches and properly cut for the final job. Small chips on the edges can lead to handling damage during setup, and a warped sheet can upset head height on flatbed machines. Keep gloves on during prep so skin oils do not transfer back onto the surface.
Choose the Right Print Build for the Job
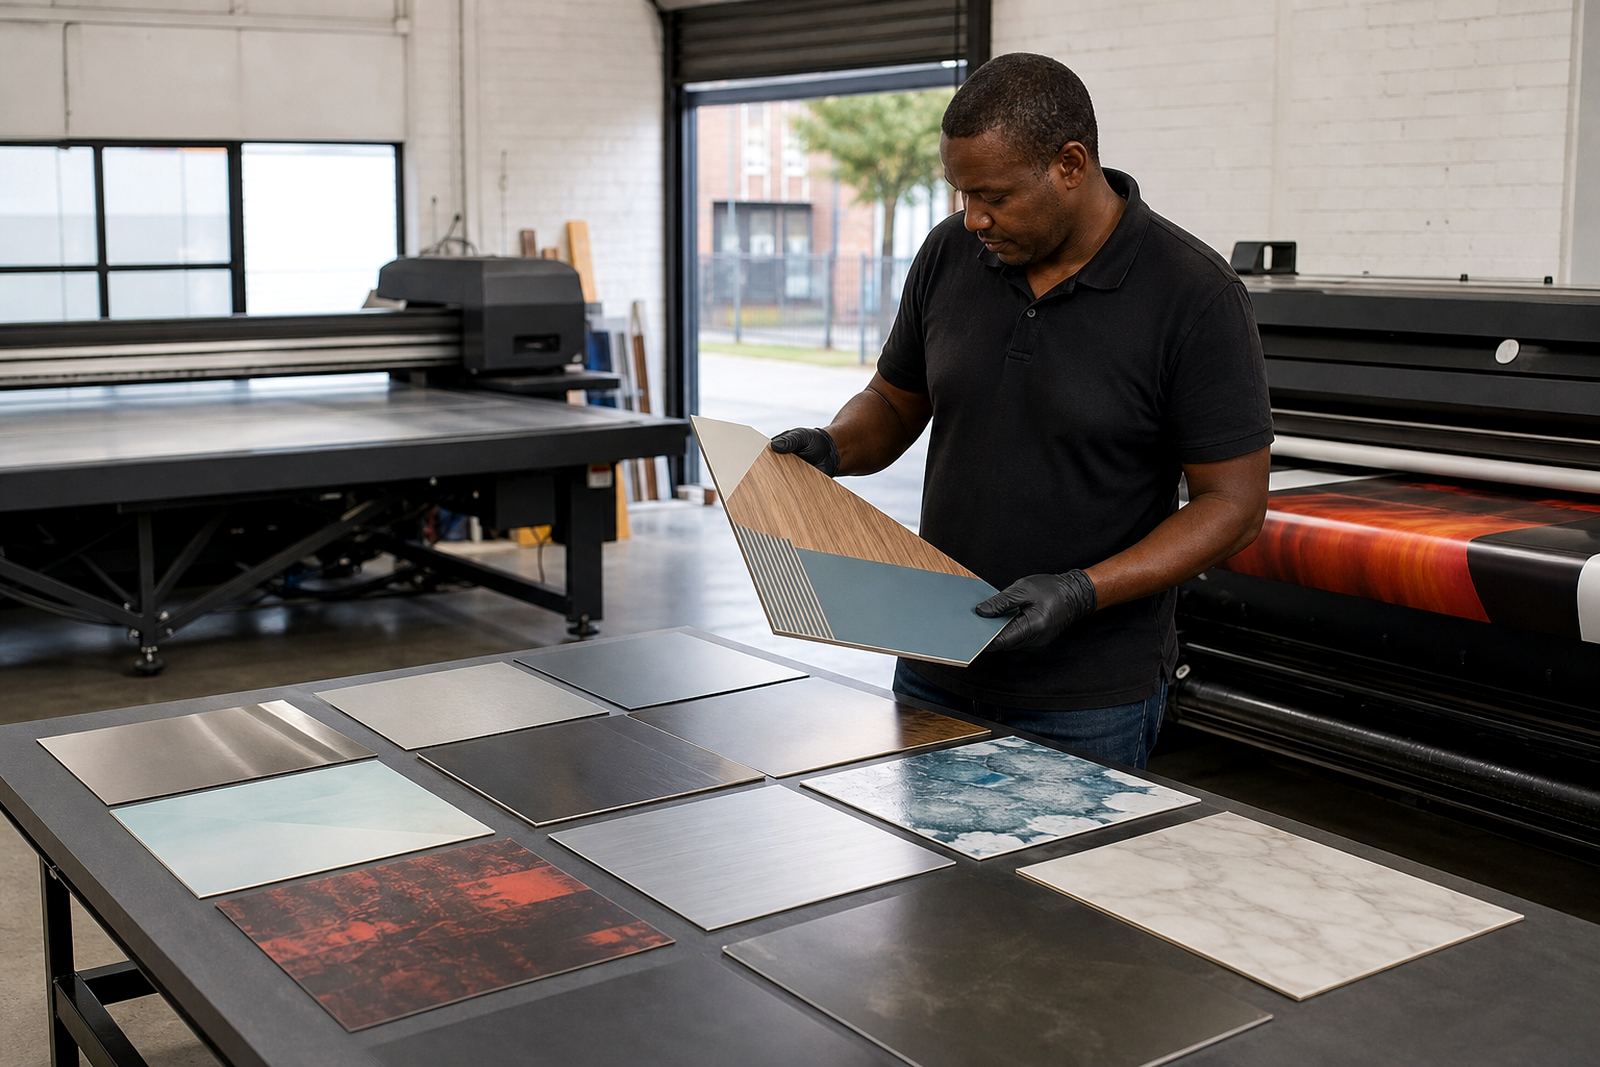
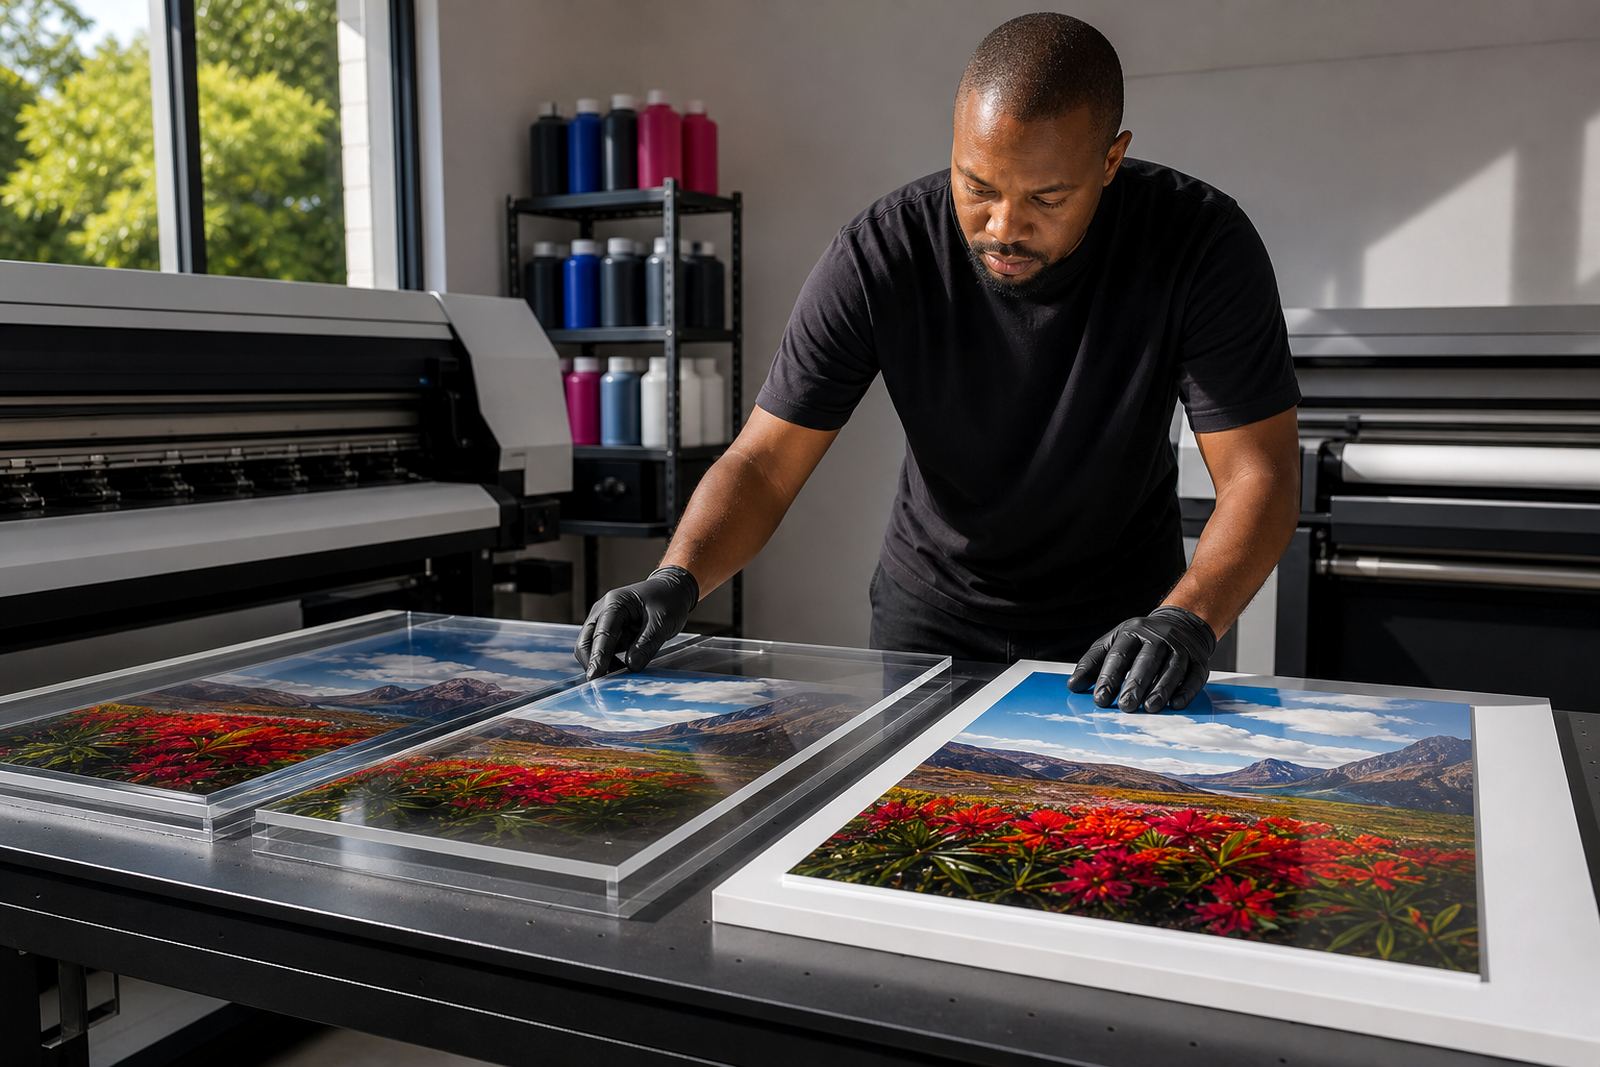
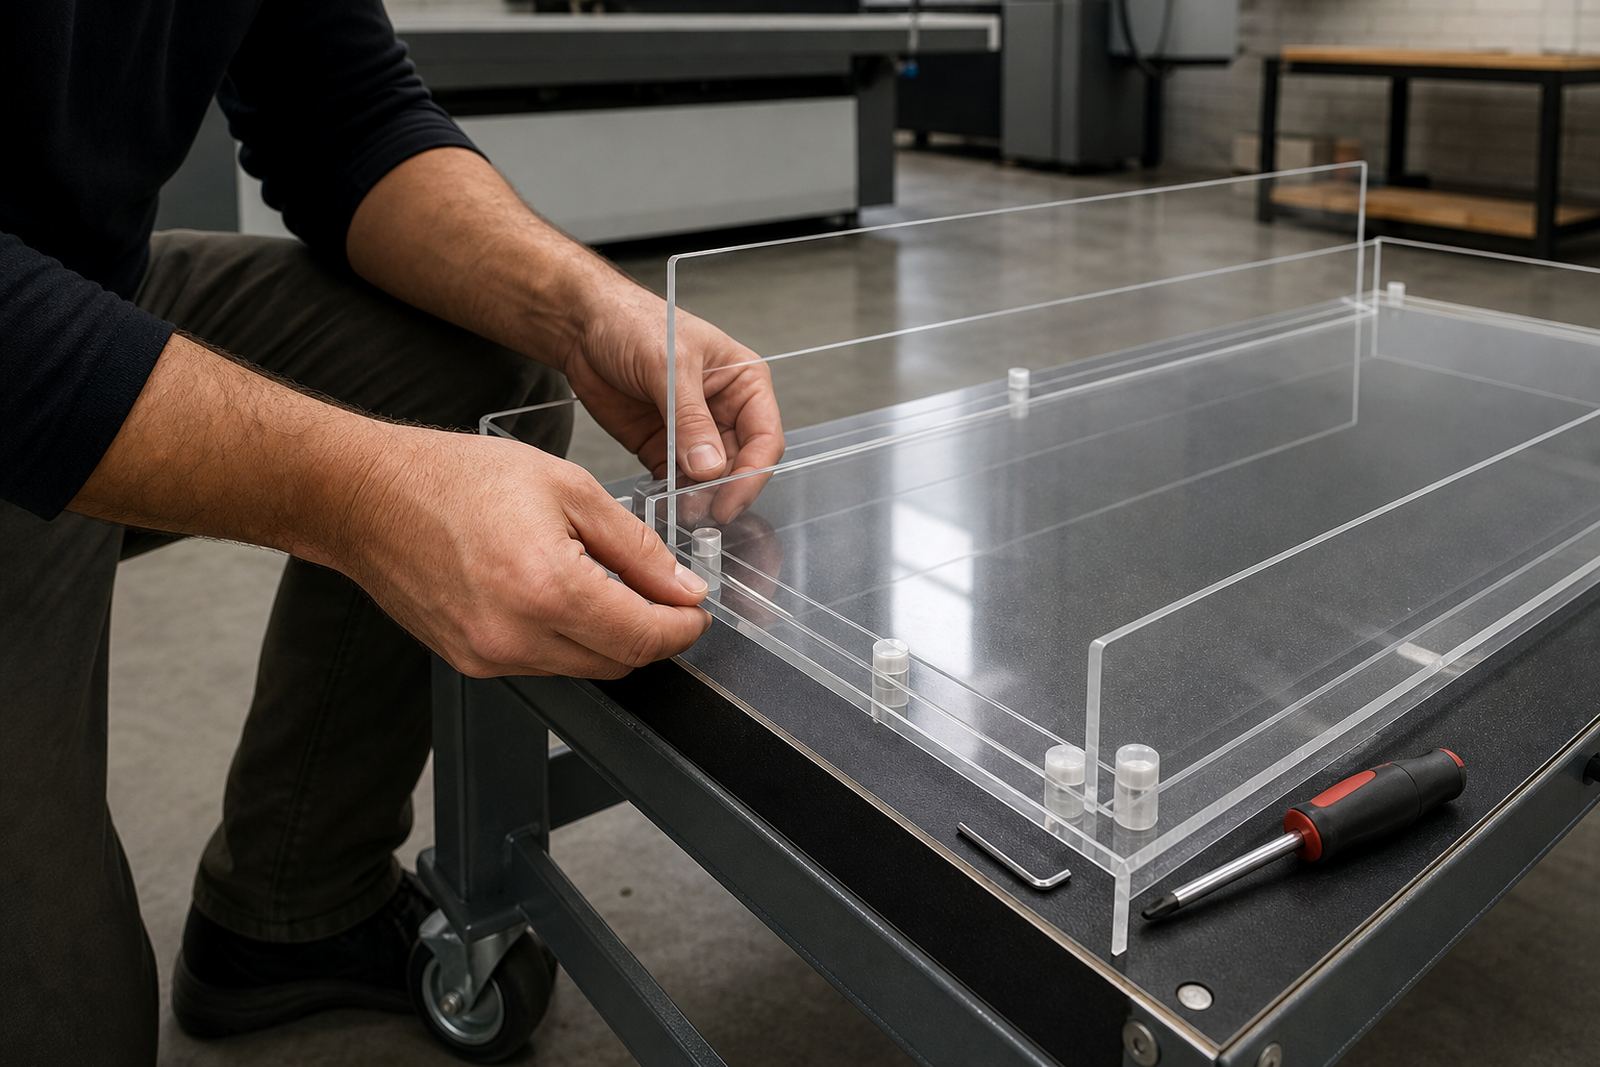
Acrylic is used for signs, point of sale panels, name plates and décor pieces, so the print build should suit the final use. Solid blocks of colour work well when the ink layer is even, while fine text needs accurate drop placement and steady curing. On clear acrylic, think about whether you want to print direct to the front face, the back face, or build a layered image for a deeper visual effect.
Compatibility between the ink and the printer setup is important. Some machines need specific curing settings, pass counts or primer steps, depending on the sheet thickness and the finish required. Test a small sample first if the job is new, or if the acrylic comes from a different supplier. A quick sample can save a full batch from lifting or hazing later.
- Confirm the acrylic thickness and whether it is cast or extruded
- Check the print side and protective film before loading
- Set the correct head height to avoid strikes
- Run a small colour trial before full production
Adhesion Depends on Surface, Ink and Cure
UV-curable inks dry through exposure to UV light, so adhesion is a combination of ink chemistry, lamp output and the surface itself. Acrylic can take ink well when the surface is clean and the curing is balanced. Too little cure may leave the print tacky or soft, while too much can make the ink brittle and more likely to chip on impact.
For better hold, use the ink and cure settings recommended for the specific printer and application. If you are seeing edge lift, poor scratch resistance or a hazy finish, check the basics first: cleanliness, curing time, layer thickness and whether the sheet was warmed by sunlight or a hot store room. In coastal areas like Gqeberha and Durban, moisture can also affect handling and storage, so keep sheets sealed until use.
Layering Choices for Clear, Coloured and Back-Printed Acrylic
Layering changes the final look more than many people expect. A single white underlayer can make colours pop on transparent acrylic, while a double hit of white may improve opacity on dark or coloured sheets. For back-printed jobs, the image is often built in reverse order so the top viewed side stays protected behind the acrylic.
Keep in mind that heavier ink builds may need more cure and a slower production pace. If you are printing logos, directional signs or panels that will be handled often, avoid overloading the image with too many passes unless the job truly needs it. A cleaner structure often gives a better finish and less risk of cracking at the edges.
- Use white underlayers where opacity is needed
- Reverse artwork for back-side viewing jobs
- Allow extra curing time for heavier ink coverage
- Keep edge areas lighter if the panel will be trimmed after printing
Handling and Storage Matter After Printing
Once the job is printed, handle the sheet carefully until the cure has fully settled. Use clean gloves, support the sheet evenly and avoid stacking printed faces together unless they are fully cured and separated.
Store finished acrylic flat, away from direct sun and excessive heat. In South African summer conditions, a vehicle load area can get very hot, which may affect both the sheet and the print surface. If the job is being couriered to Johannesburg, Pretoria or further inland, make sure it is packed so the panel cannot rub against the carton and mark the finish.
A Simple Pre-Print and Post-Print Checklist
A short checklist helps keep acrylic jobs consistent, especially when the workshop is busy or the order is repeating every week. Use the same steps each time and keep notes on what worked for that sheet type, ink layer and cure setting. That makes it easier to repeat the result later without guesswork.
- Remove the protective film only where needed
- Clean the print face with a lint-free cloth
- Wear gloves through setup and packing
- Run a test print for adhesion and colour
- Check curing, scratch resistance and edge quality
- Wrap finished panels so they do not rub together
If a job must move quickly, do not skip the sample step. A 10 minute check can prevent a full run from needing rework. For production teams in Cape Town, Bellville or Paarl, this is especially useful when the day includes multiple substrates and different printer settings.