When White Ink Is the Right Choice
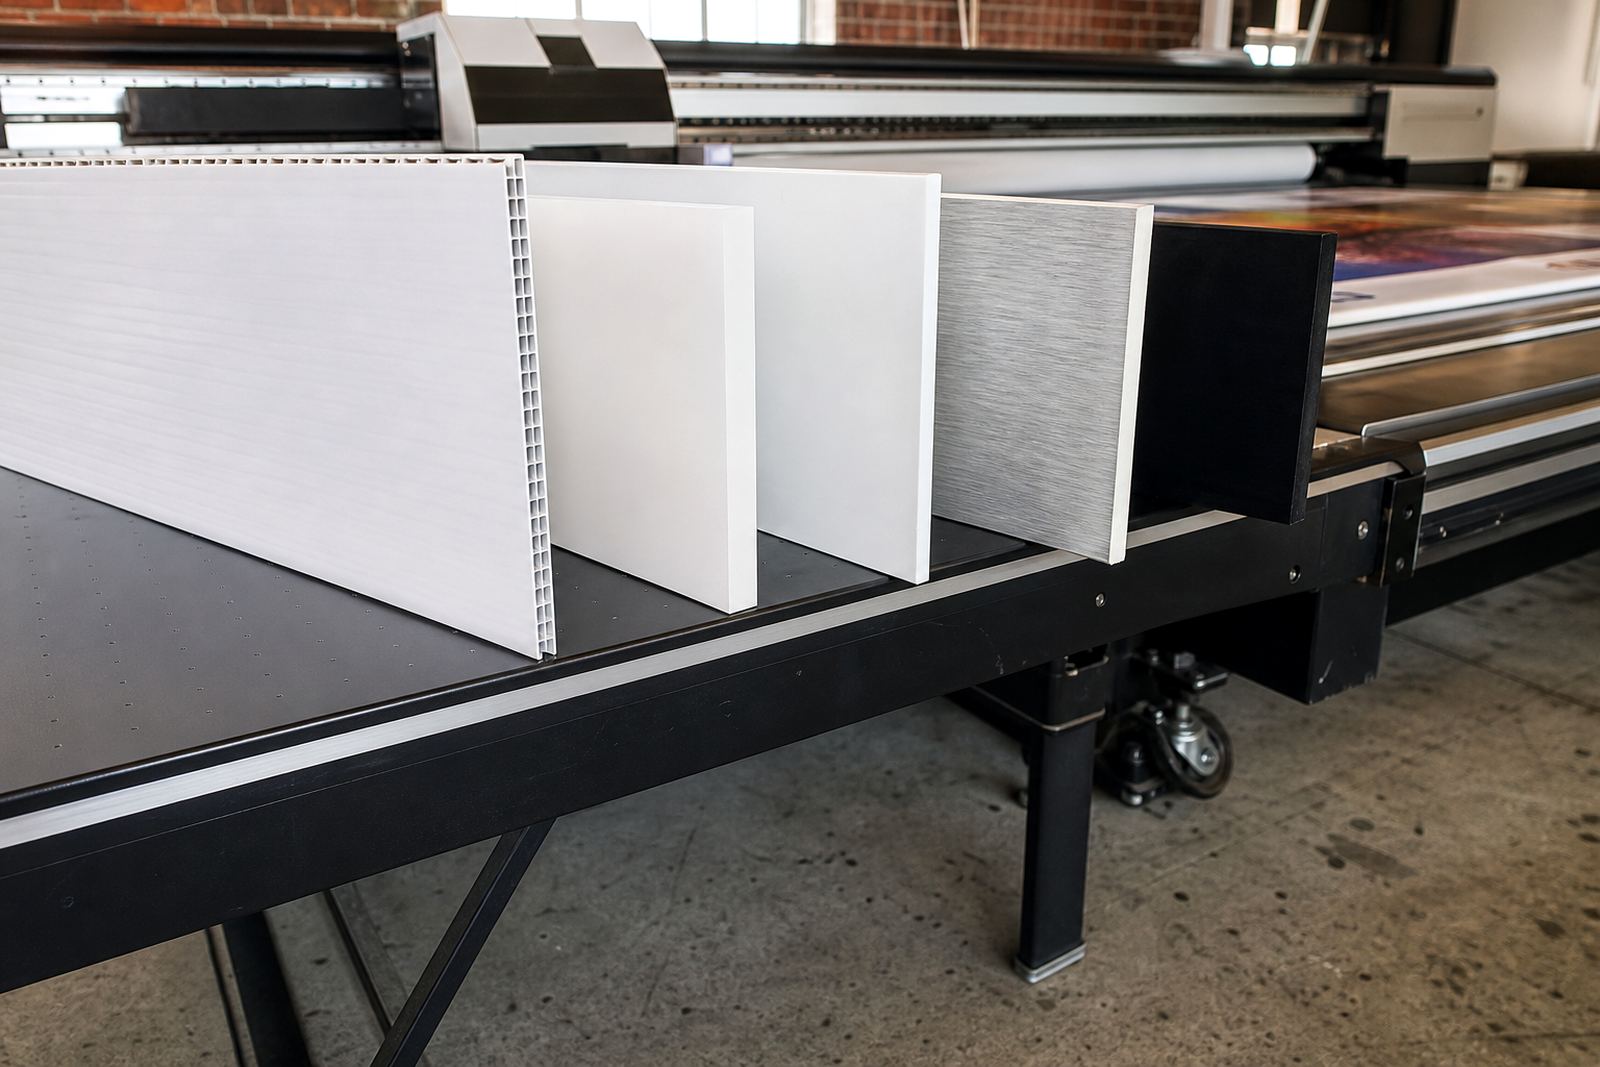
White ink is used to create opacity where standard process colours would look weak, washed out, or almost invisible. On black acrylic, tinted PVC, clear film, glass, wood, coated boards and some plastics, it can act as a base layer so the final colours keep their strength. In practical terms, that means sharper logos, cleaner text and better contrast on products that would otherwise swallow the artwork.
If you are printing signage, packaging samples, interior graphics or short production runs, white ink can solve a lot of visibility problems. It is also useful when you need backlit work, spot highlights, or layered effects on transparent media. The key is not to use it everywhere, but only where the substrate and the end use really call for it.
- Use white under colour on dark or clear substrates
- Use white as a top layer when a special effect is needed
- Check whether the substrate has a coating that supports ink adhesion
- Confirm whether the print will face sun, handling or outdoor moisture
How White Ink Creates Opacity on Different Materials
White ink works by laying down enough pigment to block the background from showing through. On smooth non-porous materials, that effect depends on surface energy, print pass settings, and how well the ink cures. A flatbed printer can usually build a heavier layer than a roll-to-roll setup, while roll printing often needs tighter control over feed, heat and media tension. The result has to balance coverage with clean dot formation.
On clear substrates, a single pass may give a translucent look, while multiple passes can produce a brighter, more solid white. On darker boards or laminated sheets, a well cured underbase helps the top colours stay true. If the ink is too thin, the background will show through. If it is too heavy, the finish can look uneven or crack under flexing. That is why trial prints matter.
For Cape Town coastal work, humidity can change how some materials behave before printing. In Johannesburg or Pretoria, dry air and static can affect feeding and dust control. Small changes in the workshop can make a big difference to the final white layer.
Compatibility Checks Before You Start the Job
Before loading a full run, confirm that the ink is suited to the printer set-up and to the substrate itself. White ink can settle faster than other colours, so circulation, agitation and nozzle health all matter. If a machine is not designed for white, or if the printhead path is not maintained properly, clogging and uneven density become a real problem. A quick check at the start of the shift can save a lot of rework later.
We always suggest checking the material, the curing method, the intended use and the handling requirements before production begins. If a client is sending mixed media through one job, test each substrate separately because gloss, texture and coating can change the result. For busy production houses in Durban, Bellville or Epping, keeping a simple checklist helps operators avoid guesswork.
- Confirm printer compatibility with white ink
- Check whether the substrate is coated, untreated or textured
- Run a small test for adhesion and opacity
- Review curing settings before the full print run
- Keep the ink stirred or circulated as required by the system
Curing, Drying and Adhesion Without Surprises
White ink must cure properly or it can scratch, smear or lose its bond to the surface. UV-curable systems rely on the right balance of lamp output, exposure time and print speed. If the cure is too light, the print may feel soft. If it is too aggressive, some materials can warp, especially thinner plastics or heat-sensitive sheets. A test strip is the safest place to start.
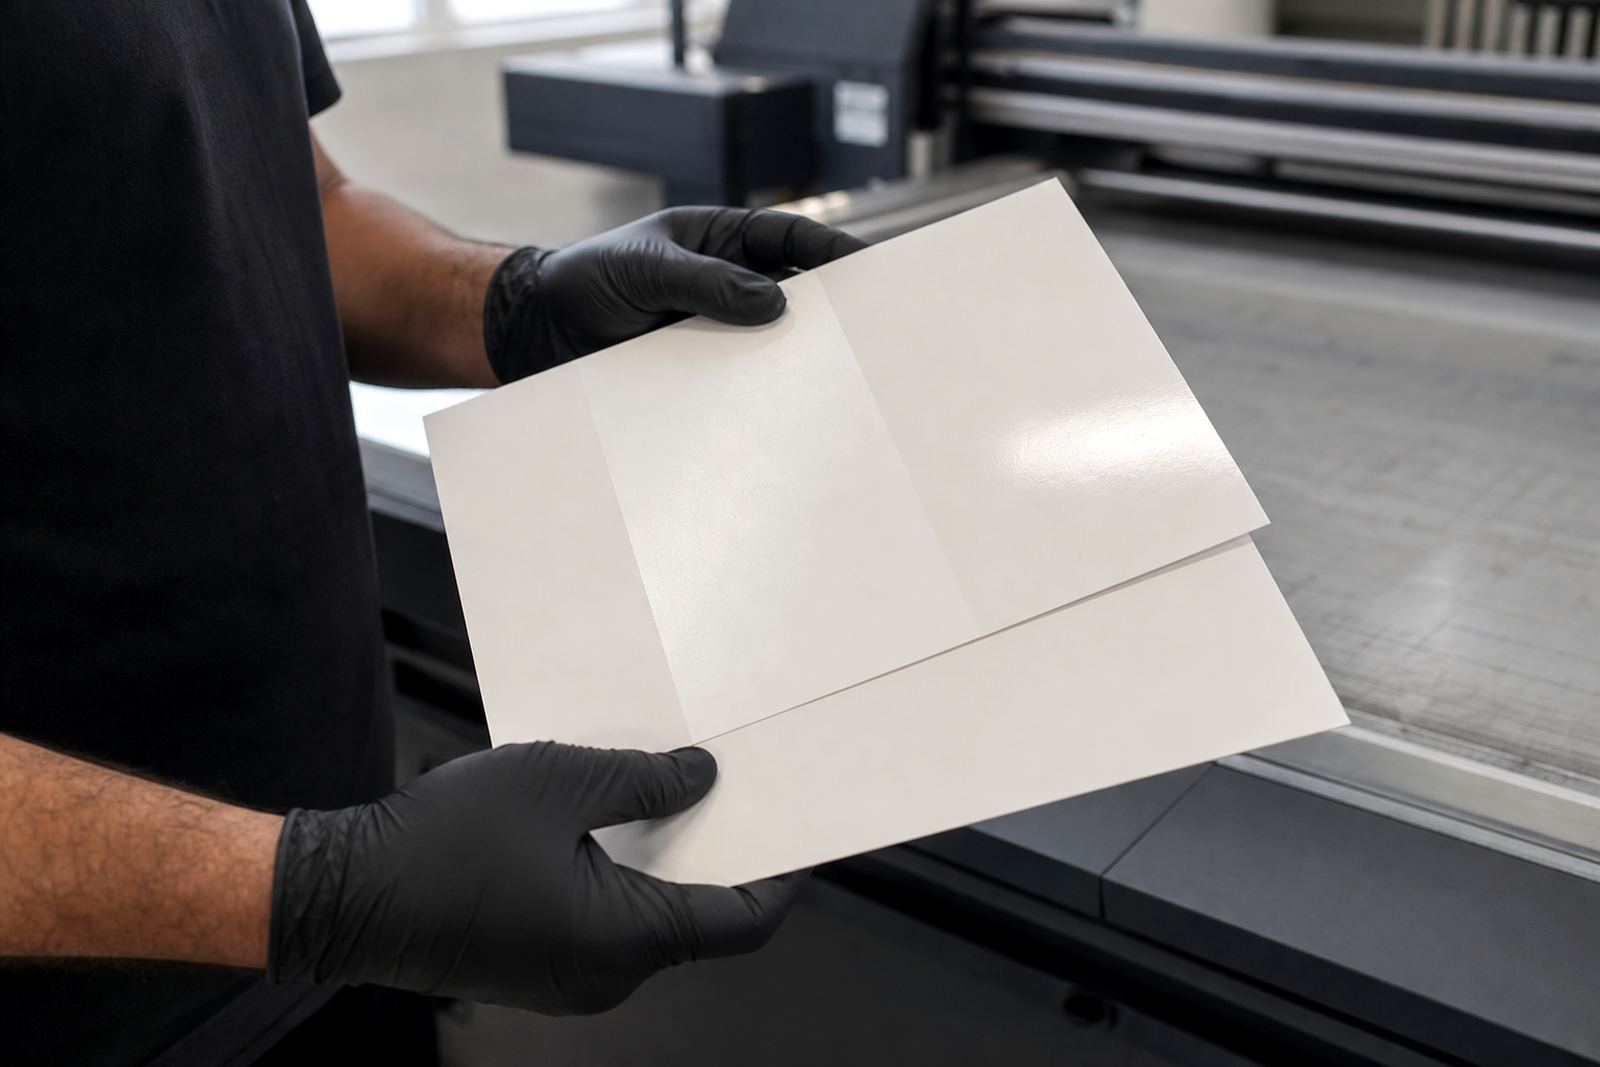
Adhesion should be checked after curing, not only when the print still feels dry to the touch. A simple tape test, bend test or light rub test can show whether the layer is holding. On smooth glass or acrylic, adhesion often improves with proper surface prep. On some boards, dust and finger oils can be enough to spoil the result, so gloves and clean handling are important. Please follow the safety data sheet and wear gloves when handling ink or cleaning components.
Stopping halfway through a run can leave the printed stack in an unstable state, which is bad for consistency and handling.
Step-by-Step White Ink Workflow for Production Teams
A clear workflow keeps white ink jobs predictable and easier to repeat. It also helps new operators understand why a job fails before it reaches the final check. Start with the substrate, then the print order, then the cure and finish. That sequence is simple but it works.
- Identify the substrate and confirm whether white is needed as underbase or highlight
- Check printer settings, nozzle condition and ink circulation
- Prepare a small sample and note density, cure and finish
- Run the adhesion test once the sample has cooled
- Only move to full production when the sample meets spec
For larger orders, split the job into manageable batches so the team can inspect each stage. This is useful for packaging work where the final appearance must stay consistent from the first sheet to the last. If the substrate changes mid-job, stop and recheck. It sounds basic, but it prevents avoidable waste.
Storage, Handling and Repeat Order Planning
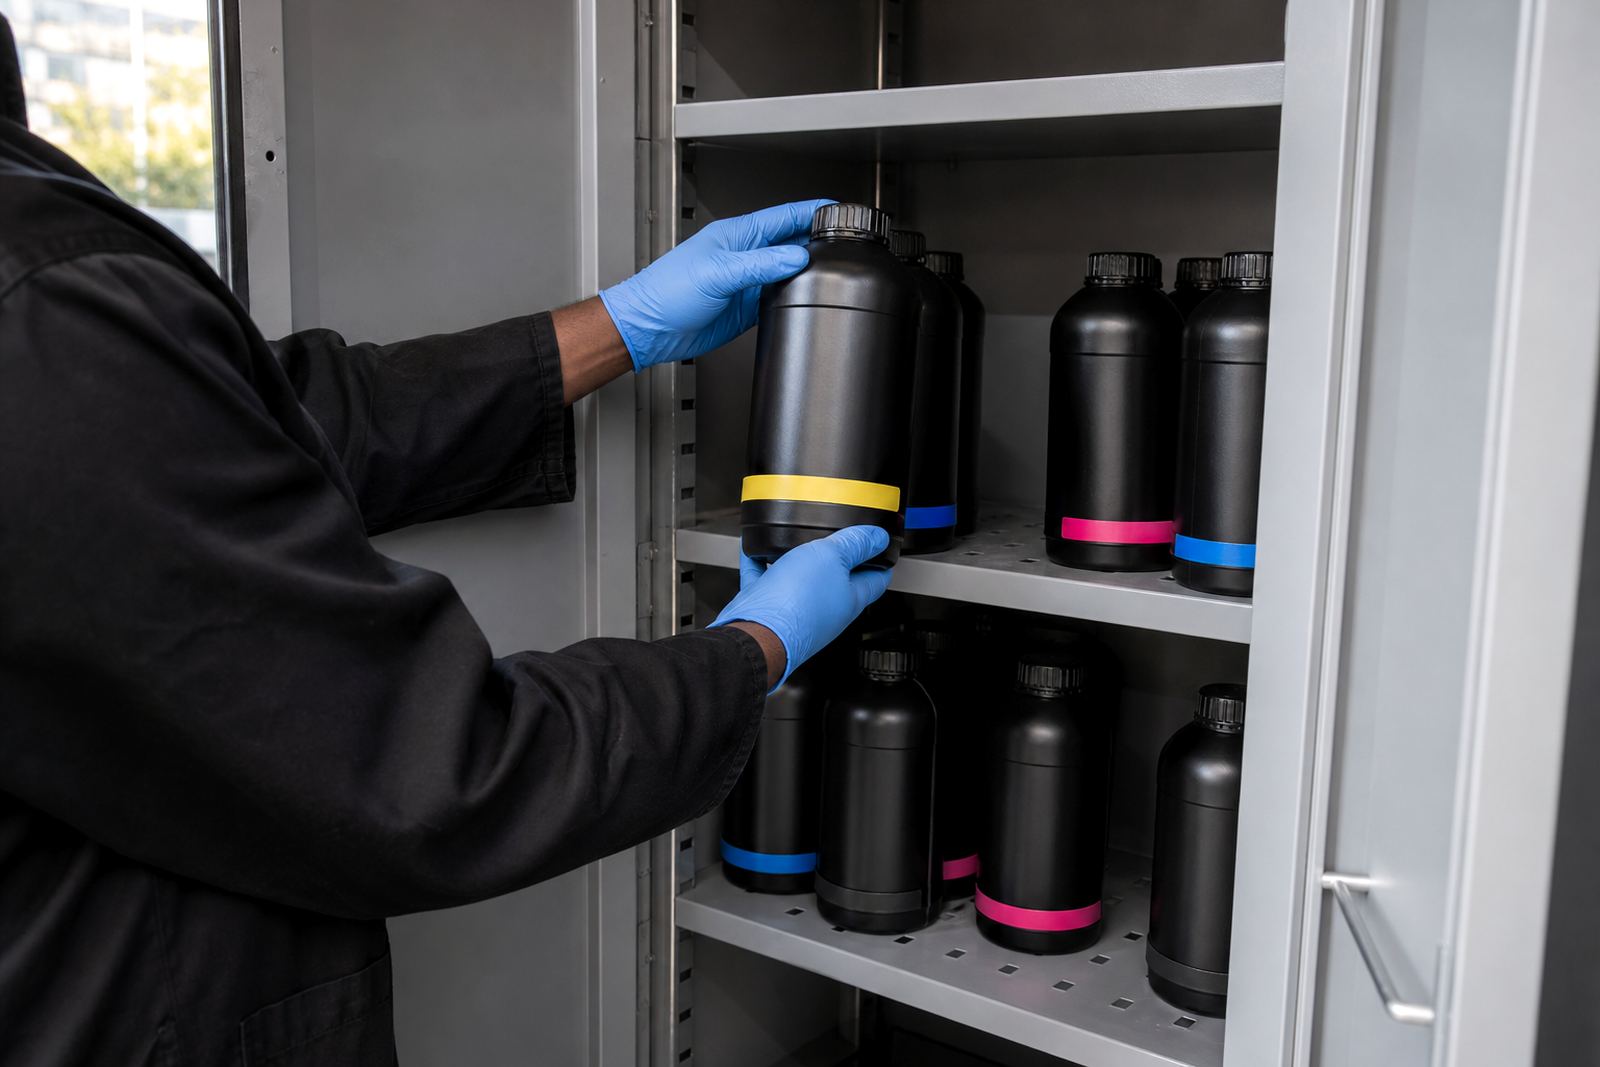
White ink should be stored cleanly and handled with care so the pigment stays mixed and the system remains stable. Keep lids closed, avoid contamination, and do not leave containers open in dusty or humid areas. In places like Gqeberha and Durban, moisture in the air can affect storage conditions if the workshop is not managed properly. In dry inland areas, static and dust can cause other problems, so the same habits still matter.
When planning repeat orders, note the substrate type, printer profile, curing settings and any issues from the last run. That record helps with faster restocking and fewer surprises the next time the same job comes in. For teams handling frequent signage or display work, a simple production note can save time and reduce wastage.
UV Ink supports enquiries through the contact page enquiry form, with We courier UV ink to Cape Town, Johannesburg, Durban, Pretoria, Gqeberha and other centres. The team in Epping can help with compatibility checks, adhesion testing, sample pack prep, operator training and remote technical support when a white ink job needs a second look.