When clear varnish earns its place on the job
Clear varnish is used when a print needs more than colour alone. It can create a gloss contrast on matt artwork, raise logos or patterns for a tactile feel, and give selected areas a cleaner finish before cutting, folding or mounting. On packaging, signage and display work, it helps direct the eye without adding another colour layer.
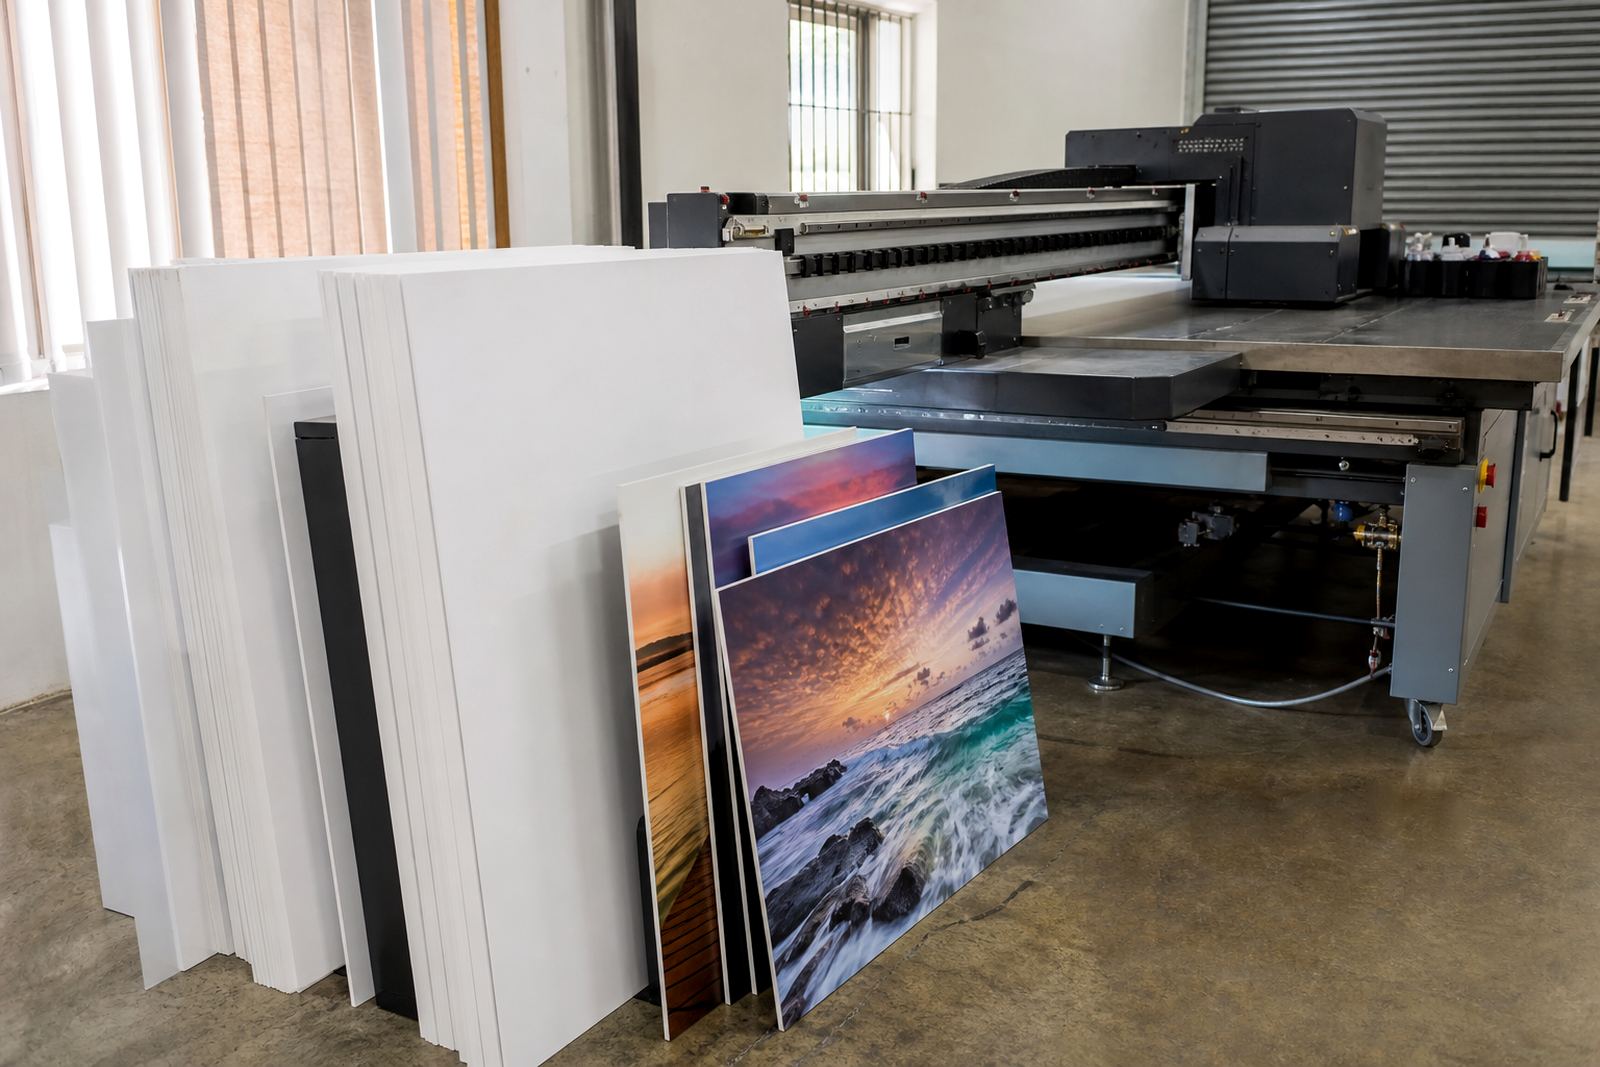
For South African print rooms, the choice often comes down to the substrate and the end use. Foam board, rigid PVC, acrylic, fluted board and coated papers all behave differently under UV-curable varnish. Some surfaces take a crisp raised effect, while others need a lighter coat and tighter curing control to keep the finish even. If the job is going near a shopfront in Durban or a coastal display in Gqeberha, check how the surface will hold up in humidity too.
- Use varnish for spot gloss, matte contrast or raised detail
- Check whether the substrate is coated, porous or non-porous
- Plan for cutting, folding, lamination or handling after print
- Allow for the actual environment the job will live in
How to prepare artwork and file layers for varnish
Good varnish work starts in the artwork stage. Separate the varnish layer clearly from the colour layers so the operator can place it exactly where it is needed. Keep the shape clean and avoid tiny islands that may not print well, especially on fine text or delicate line work. If the varnish is meant to sit over a logo or pattern, build in enough edge tolerance so registration does not leave a rough halo.
For best results, prepare the file with a named spot layer or a clearly marked varnish plate. Many shops also keep a simple checklist for repeat work, so the same file does not need to be rebuilt every time. A neat setup saves time when orders move between Cape Town, Johannesburg and Pretoria and different operators need to follow the same instructions.
- Use a separate varnish layer with a clear label
- Avoid very small text, hairline rules and tiny isolated shapes
- Leave enough trap or overlap where varnish meets colour
- Confirm if the varnish is spot, flood or raised before sending the job
Printer setup, adhesion and curing checks
UV-curable varnish needs the right balance of laydown and curing. Too little varnish can leave a flat patch that does not show the effect. Too much can soften detail, cause edge spread or leave the finish uneven. The printer should be set up for the specific media and the operator should confirm that the varnish cures fully without making the surface brittle.
Before running a full production batch, do a small test on the actual media. Check if the varnish bonds well, if the surface feels dry after curing and if the finish survives a rub test. Some materials need more careful preparation, especially if they are dusty, textured or have a coating that resists adhesion. If the job is going out to Paarl or Bellville, it is worth checking the final handling method too, since stacking and transport can mark uncured or overbuilt varnish.
- Confirm media compatibility before the full run
- Test adhesion on a sample sheet or offcut
- Check cure fully, then do a light rub and bend test
- Adjust pass count and speed if the varnish sits too heavy
Building gloss contrast and raised effects
One of the most useful varnish techniques is contrast. A matt printed background with a glossy varnish highlight can make a logo or image feel sharper without changing the colour values. Raised varnish adds another layer of interest, especially on packaging sleeves, presentation panels and premium labels. Used well, it gives a job a hand-finished look that customers notice immediately.
Keep the effect practical. Deep raised varnish can look impressive, but if the print is going to be packed tightly or handled often, a lighter build may last better. On display work, choose where the shine should land under lighting and where a softer finish is better. If the artwork includes fine detail, the varnish should support it rather than cover it. A small test board can show how the effect reads from 1 metre, 3 metres and closer up.
- Use gloss against matt to create visible contrast
- Keep raised areas away from tight folds and heavy wear points
- Test the look under showroom lighting and daylight
- Build the effect to suit handling, not only appearance
Common problems and how to avoid them
Most varnish issues come from setup rather than the varnish itself. Poor adhesion can happen when the substrate has dust, oil or a coating that resists bonding. Uneven gloss may point to inconsistent laydown, incorrect curing or surface contamination. If the varnish looks cloudy or the finish feels tacky, stop and test before continuing production.
In busy shops, weather can also affect results. It is better to recheck the first sheets than to lose a full run.
- Keep substrates clean and dry before printing
- Do not rush through a first-off test sheet
- Watch for tackiness after curing and stop if needed
Safe handling, storage and job handover
UV varnish should be handled with the same care as any other print consumable. Follow the safety data sheet, wear gloves and keep the work area tidy so lids, spills and cloths do not become a problem. Make sure staff know how to store the product, mix or shake it only as instructed and keep it out of direct heat and sunlight. Clear labelling matters when several varnish products are used on the same floor.
Before a job leaves the print room, confirm curing, stacking and packing instructions. If the finished piece is going into courier delivery across South Africa, allow for vibration and contact during transit. A simple handover note helps the next person know whether the surface can be stacked flat, wrapped with slip sheets or needs extra drying time. That small step can prevent rework and complaints.
- Follow the safety data sheet for every product used
- Wear gloves when handling varnish and contaminated items
- Store containers sealed, upright and away from heat
- Record any special curing or packing notes for dispatch