What proper UV curing should look and feel like
When UV-curable ink is cured correctly, the print should be dry to the touch straight off the machine and ready for light handling without smudging. The surface finish may be matt, satin or gloss depending on the ink set and media, but the coating should look even, not patchy or greasy. On rigid boards and flexible roll media, cured ink should feel firmly anchored to the surface rather than sitting loose on top.
A simple first check is visual. Look closely under bright light for gloss changes, pinholes, mottling or a sticky look in heavy colour areas. Then run a clean finger, in a glove, across a non-critical section. If the ink marks easily or feels tacky after the printed piece has passed through the curing stage and cooled, the cure needs attention. In Cape Town, coastal humidity can make some media behave differently, so check prints more often after a weather change or a long production run.
Checks to do during normal production
Do not wait for a finished stack to find a cure problem. Build a few quick checks into every shift, especially when changing material, slowing the line, or switching between flatbed and roll-to-roll work. A small change in speed, lamp output, or print height can affect the final result.
- Confirm the print speed matches the recommended cure setting for that media.
- Check lamp intensity and any warning lights before starting a new job.
- Watch for odour, tackiness, or soft ink on heavy solids and dark fills.
- Inspect the leading and trailing edges of each board or panel.
- Check that the substrate is clean, dry and free from dust or release powder.
- Look for heat distortion on thin plastics, which can affect adhesion.
If the result changes halfway through the job, note the time, media type and machine setting. That record helps when troubleshooting with your operator or technical support team, and it saves repeat waste. A print that seems fine at first but fails later can point to under-curing, not bad artwork.
How to test adhesion without damaging stock
Adhesion testing should be simple and consistent. It is there to show whether the cured ink is bonding properly to the surface, not to punish the print. Start with a test piece from the same batch and use the same curing settings as production. Allow the print to cool before testing, since some inks can feel softer when they are still warm.
Use a small cross-hatch or tape pull method if your production process allows it, and compare the result with previous approved samples. For flexible media, also bend the print gently and check whether the image cracks, flakes or lifts at the edges. On rigid material, rub a corner with a clean cloth to see whether pigment transfers. If the print is for retail displays or packaging, pay extra attention to areas that will be folded, cut, stacked or handled often.
- Test on a sample from the same batch of media.
- Wait for the print to cool before judging the cure.
- Check corners, folds and high coverage areas first.
- Compare new output with a known good sample.
- Record the result for future repeat orders.
When to adjust curing settings
If the surface stays tacky, the lamp may be too weak, the print may be moving too fast, or the ink layer may be too heavy for the curing stage. If the print looks chalky, brittle or overheated, the cure may be too aggressive. Both problems can damage the final result, so make one change at a time and test again.
Pay attention to these common signs: poor bond on the edges, visible rippling on flexible media, loss of fine detail, or a dull finish that should be consistent. Printer compatibility matters too. Some substrates accept UV-curable inks better than others, and not every media type behaves the same on flatbed and roll printers. If you change from one vinyl, board or film to another, rerun your checks instead of assuming the last setting will work the same way.
After any stop-start event, run a fresh test strip before restarting full production. That small step often catches problems before a long job is affected.
Curing issues by media type and print setup
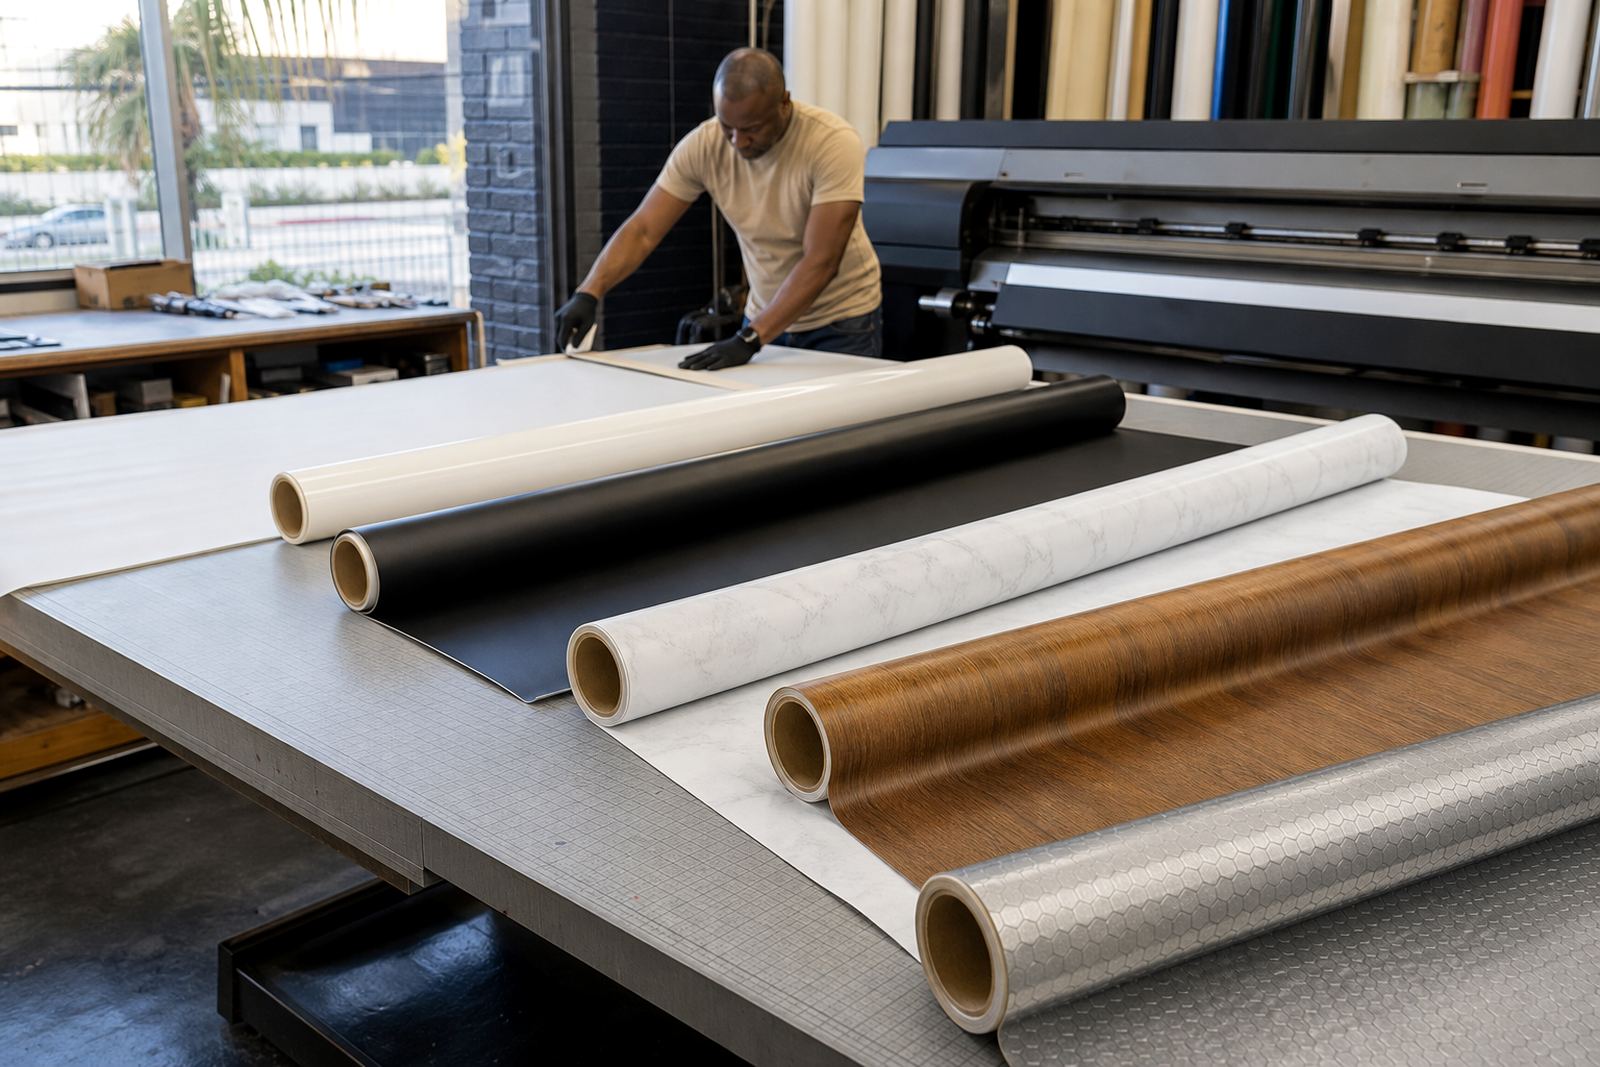
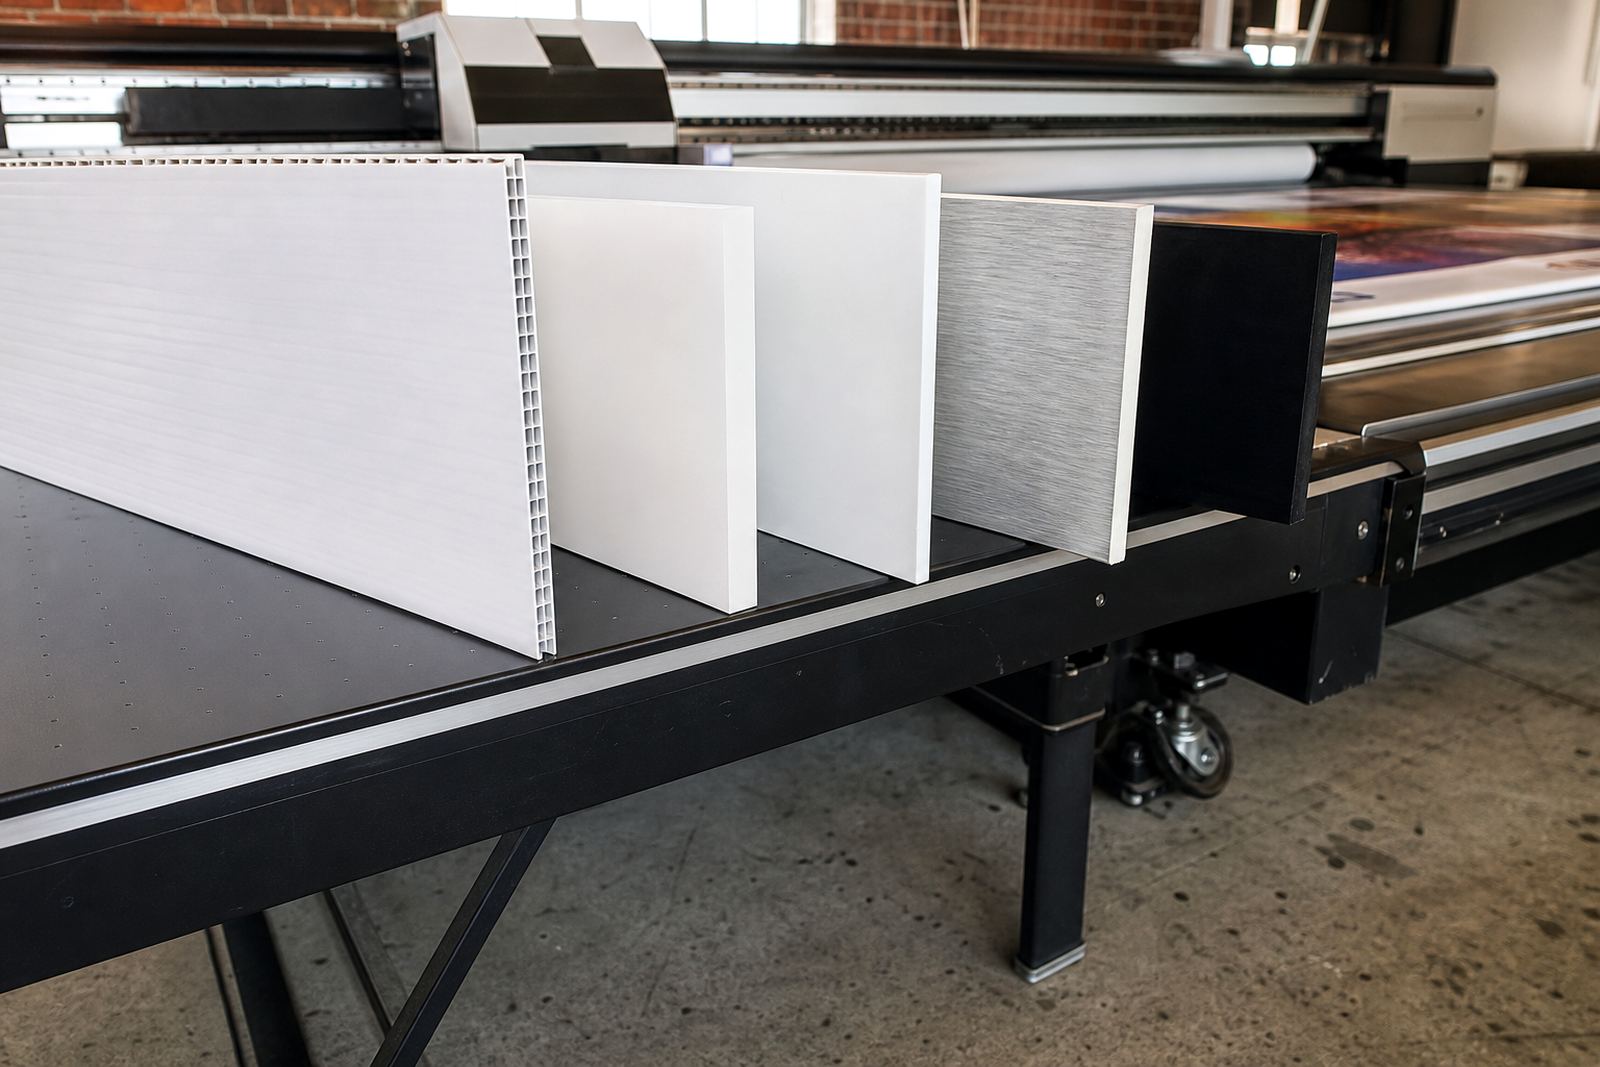
Rigid boards, films and roll media each show curing issues in different ways. On board, the ink may appear fine at first but fail at the corners if surface dust or oil is present. On roll media, tension and heat can change the cure result, especially on long runs. Glossy media may show curing faults clearly under light, while textured surfaces can hide weak bonding until the print is flexed.
Keep a simple checklist for every media change:
- Was the surface cleaned before printing?
- Did the media come from a dry area and not a damp store room?
- Was the printer set for the correct material thickness?
- Did the curing stage match the speed and ink laydown?
- Was there any curl, wave or static during feed?
If a job is going out to Johannesburg, Durban, Pretoria or Gqeberha, allow for transport, stacking and temperature changes during courier movement. A print that passes a quick test in the workshop should still be strong enough to handle real packing and delivery conditions.
Safe handling and support after curing checks
Always follow the safety data sheet for the ink you are using, and wear gloves when handling uncured or freshly cured prints. Even when a print feels dry, normal print-room hygiene still matters. Keep work surfaces clean, avoid touching ink with bare hands, and make sure waste cloths and test strips are handled properly.
For repeat work, keep a record of the media type, curing settings, and the result of each test. That makes it easier to repeat a successful job and spot when a new batch behaves differently. If you need help selecting ink, checking compatibility, planning a production run or training an operator, write to UV Ink through the contact page form with your printer model and ink colours. Our Epping, Cape Town team supports courier stock across South Africa, including Bellville, Paarl and the major metro areas.
Good curing is not just about a dry surface. It is about a print that holds together, travels well and stays fit for the job it was made for. A little checking early can save a lot of rework later.