Start With the Rigid Media, Not the Printer
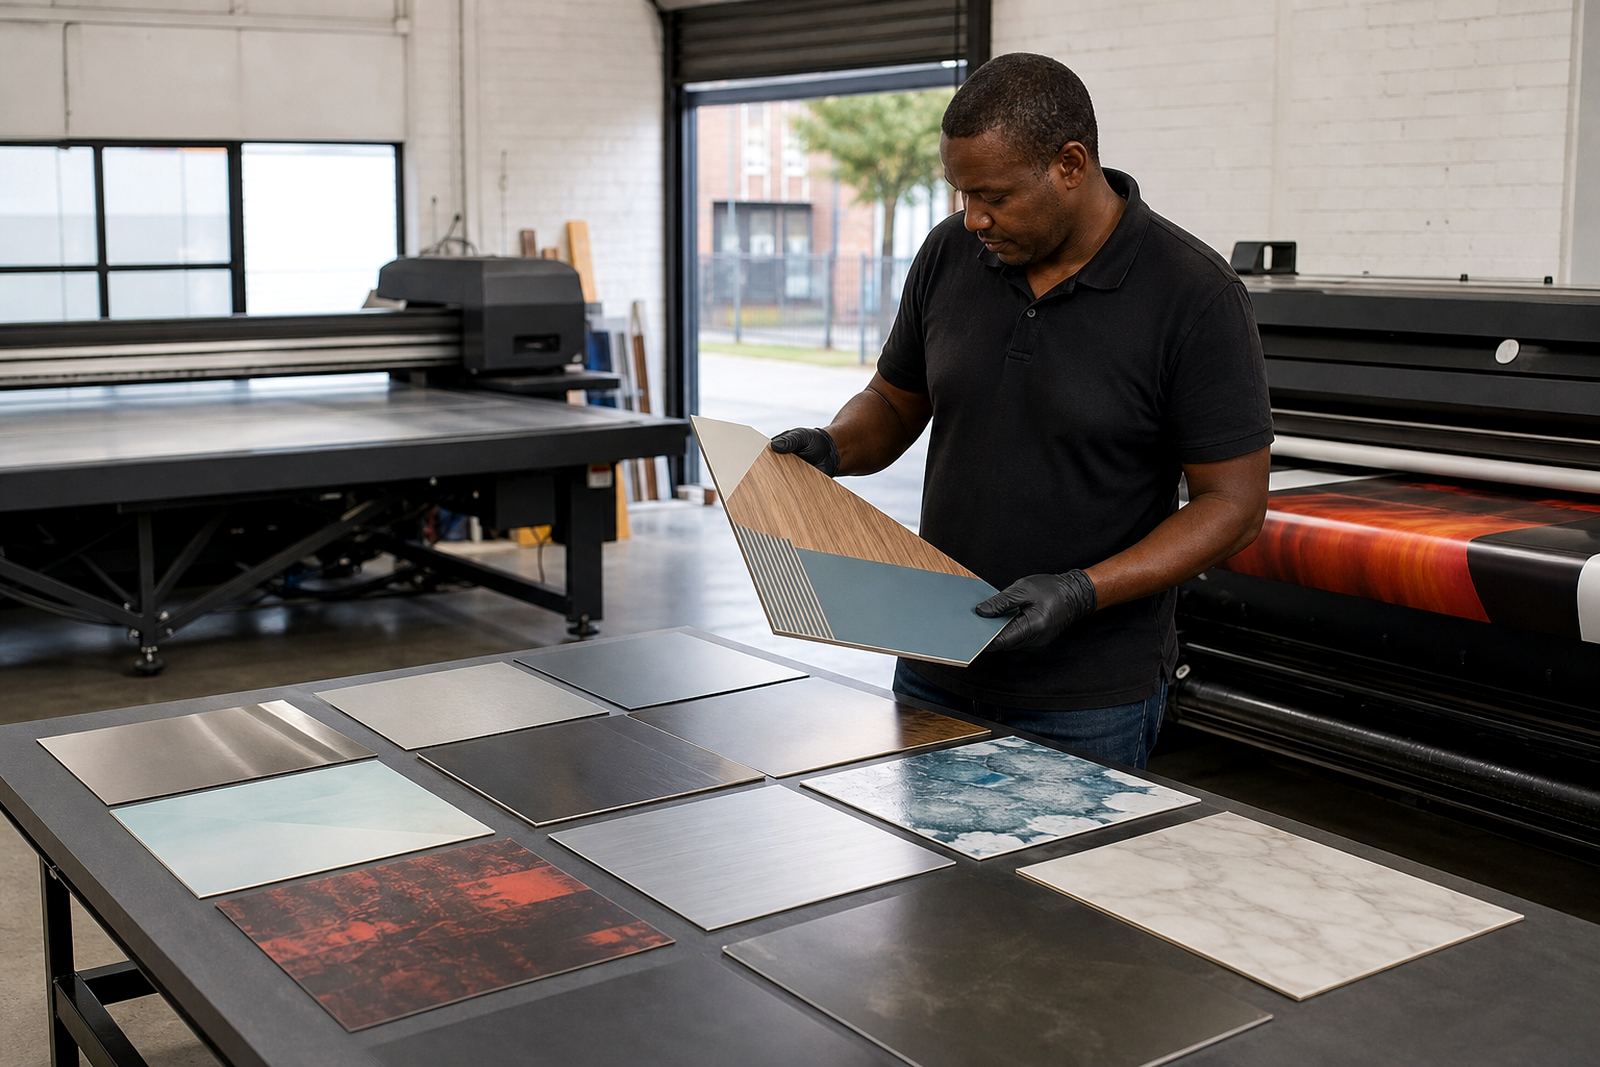
Flatbed jobs behave differently on every rigid surface. Foam board, PVC sheet, acrylic, aluminium composite panel, corrugated plastic and timber each take ink in a different way, so the first question is not only what printer you have, but what material is going through it. A good match helps the ink sit correctly, cure fully and stay put when the board is cut, mounted or moved around the site.
In Cape Town, Johannesburg or Durban, boards may also arrive with dust, moisture, static or surface residue from storage and transport. That can affect adhesion before the first pass is even made. Wipe down the sheet, check for warping and allow cold stock to acclimatise before printing. On coastal jobs, especially around Epping, Bellville and Gqeberha, humidity can change how a surface behaves from one day to the next.
- Confirm the substrate type before loading the job
- Check for dust, oil, moisture and surface damage
- Let stored media settle to room temperature
- Keep a record of which media worked best on each machine
Decide Whether White Ink Is Needed
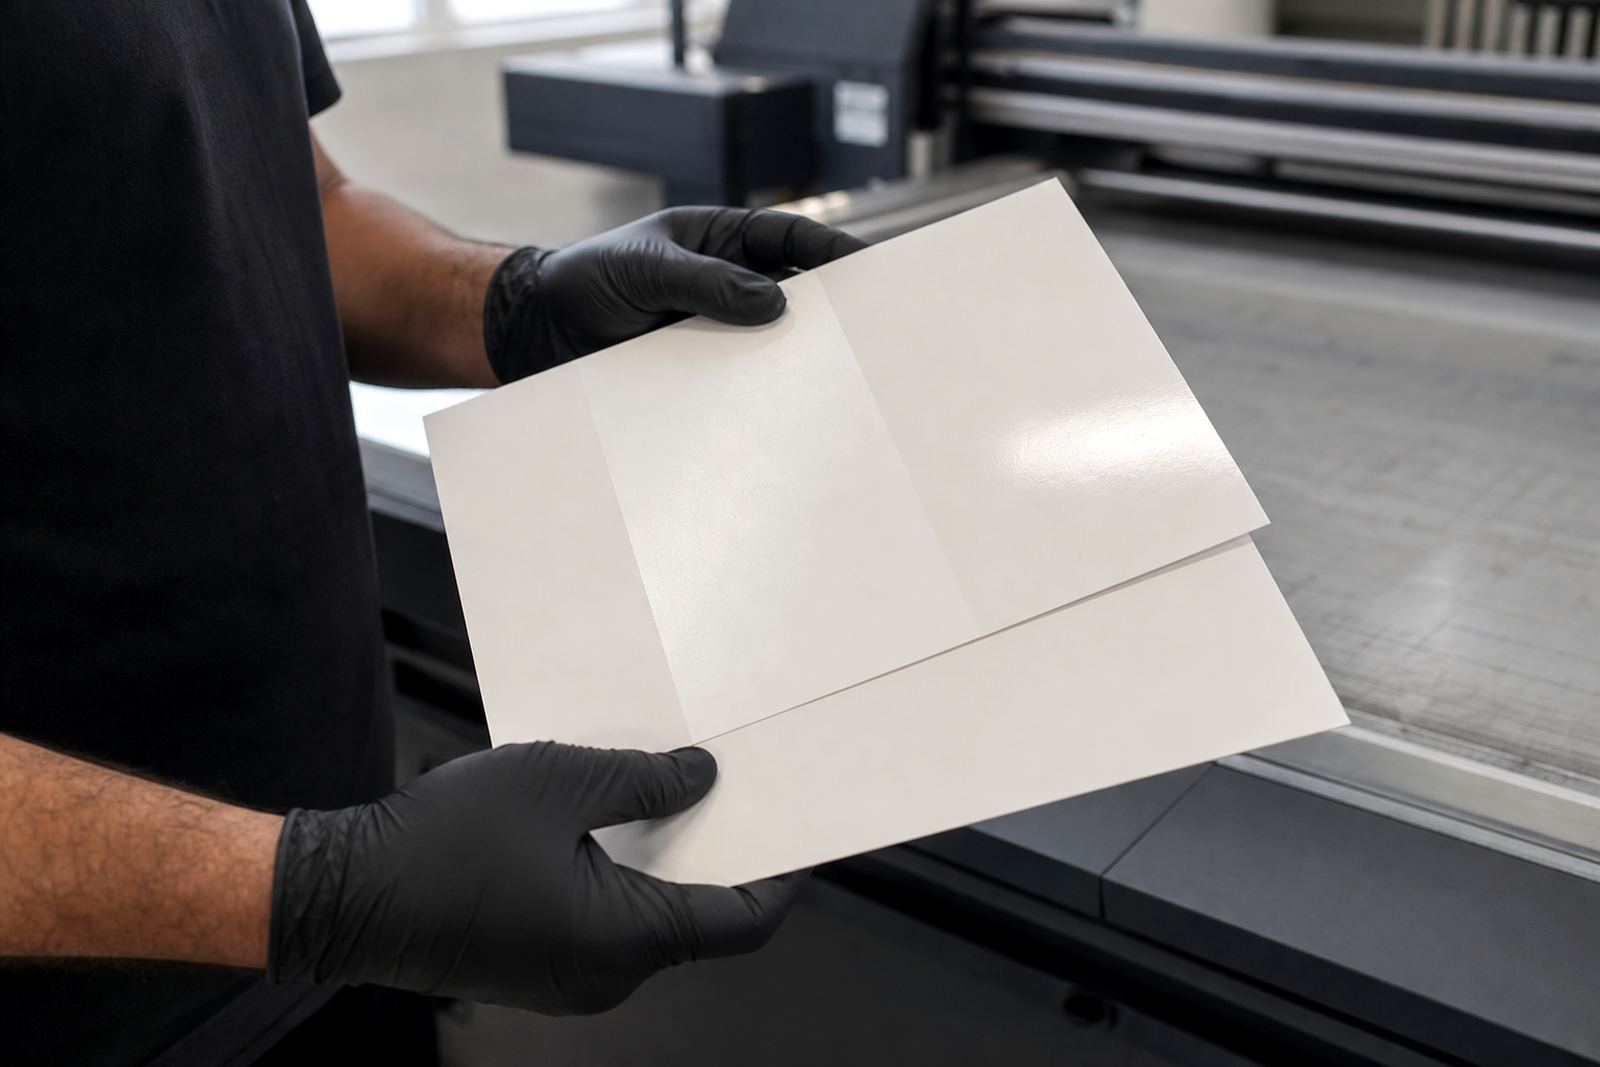
White ink is often the difference between a print that looks flat and one that stands out on dark or clear rigid media. On coloured boards, acrylic, glass-like surfaces or special effect jobs, white can be used as an underbase, a spot layer or a full flood layer before colour. The exact approach depends on the final finish you want, the opacity needed and how the top colours must appear.
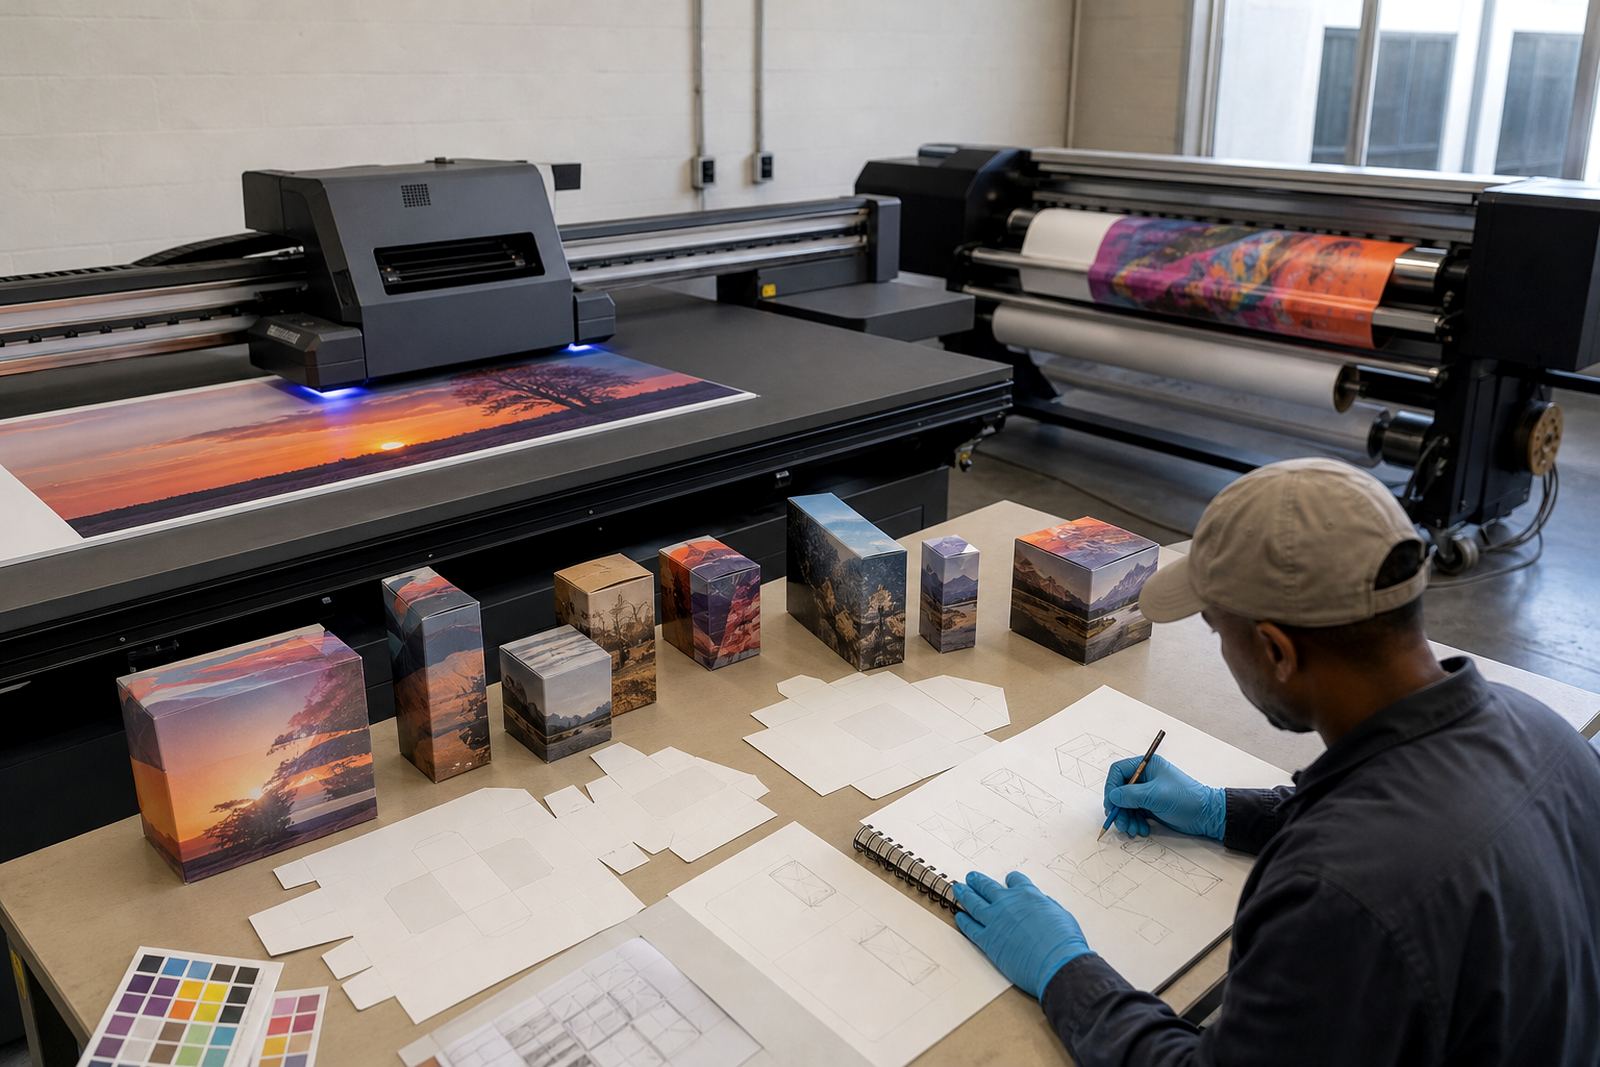
If you are printing packaging samples, display panels or shop signage, test the white density before going into production. Too light and the colour can look dull. Too heavy and fine detail may lose sharpness. For some jobs, the cleanest result comes from a two stage check: one sample with white under colour and one without it, so the client can compare the finish under the same light.
- Use white ink on dark, transparent or uneven coloured media
- Check whether the design needs underbase, spot white or flood white
- Compare samples under daylight and indoor light
- Keep white ink circulation and agitation in line with the printer setup
Match Ink to Printer Setup and Speed
UV-curable inks need to suit the printer, the head type and the production pace. A flatbed set up for short runs and detailed work may behave differently from a roll-to-roll unit doing longer production runs. Ink viscosity, drop formation and curing response all matter. If the machine is moving too fast for the cure settings, the print can feel tacky or show poor finish. If curing is too aggressive, some surfaces may distort or lose detail.
Always check compatibility before loading a fresh batch. The right ink should support stable jetting, clean edges and reliable adhesion without constant adjustment. A short purge and test strip can save a lot of rework later on.
- Confirm compatibility with the printer model and head configuration
- Check edge sharpness, dot gain and any surface tack
- Keep spare test material close to the machine for quick checks
Use Adhesion Testing Before Full Production
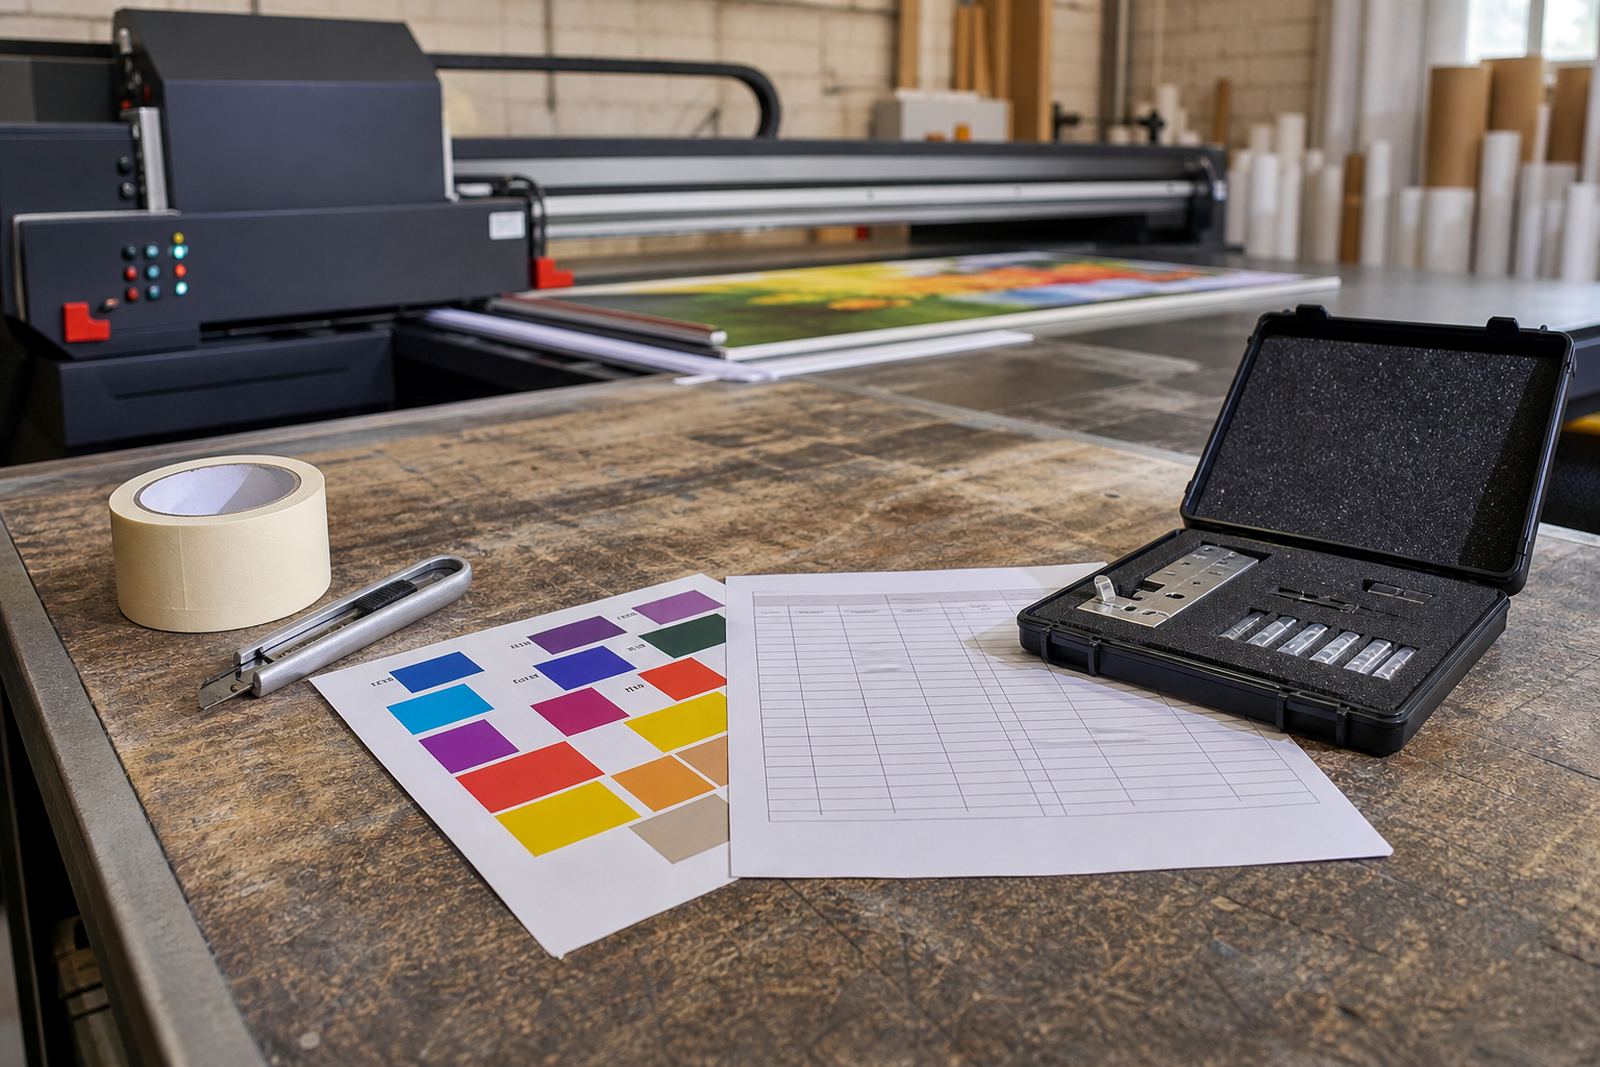
Adhesion testing is one of the simplest ways to avoid costly mistakes. A print may look fine when it leaves the bed, but still fail later if the surface prep, cure or ink choice is off. Test a small area first, then do a proper cure check and a tape pull or rub test where suitable.
For signage and display work going out to Pretoria, Durban or Gqeberha, ask how the board will be used after delivery. Will it be cut, drilled, laminated or fixed outdoors? Will it sit in the sun, near sea air or under bright retail lights? These details help you decide whether the selected ink and curing method are enough for the job at hand. If the test fails, do not push ahead. Adjust the surface prep, ink layer or cure setting first.
- Run a test patch before the full sheet run
- Check print after curing, not only straight off the printer
- Do a rub test or tape pull where appropriate
- Re-test if the media batch changes
Plan the Finish, Gloss Level and Handling Needs
Flatbed users often focus on image quality, but the finish matters just as much. Some boards need a crisp matt look, while others need a higher sheen for retail display. The finish can also change how fingerprints, scratches and light reflection show up on the final piece. If the print is for a reception sign, point-of-sale panel or packaging sample, the visual result should be planned before the job is printed.
Think about the full handling chain too. Will the board be stacked, couriered, wrapped or installed on site? A cured print that still marks easily will cause problems when it leaves Epping and heads to another province. Leave enough time for proper cure and cooling before packing. If the board is being cut or drilled, make sure the print surface can cope with the next step without lifting or scuffing.
- Choose the finish based on viewing distance and lighting
- Allow time for cooling after curing before stacking
- Protect printed faces with suitable interleaving material
Work Through a Simple Pre-Press Checklist
A steady pre-press routine keeps flatbed work predictable. It also helps newer operators and makes repeat orders easier to manage. Many South African print rooms have found that a short checklist reduces waste more effectively than fixing problems after the sheet is already printed. Keep the process the same whether the job is a one-off sample pack or a long production run.
Before starting, confirm the media, colour target, white ink need, cure setup and delivery deadline. If the job is going to Cape Town, Johannesburg, Durban, Pretoria or Gqeberha, factor in courier timing as well. A small delay in packing or curing can hold up the whole order. For safe handling, follow the safety data sheet and wear gloves when handling inks, cleaning materials or ink-soiled components.
- Check substrate type, dimensions and quantity
- Confirm white ink, colour layers and finish expectation
- Review curing settings and operator notes
- Follow the safety data sheet and wear gloves
- Allow time for packing, courier booking and repeat checks