1. Start with the substrate, not the printer
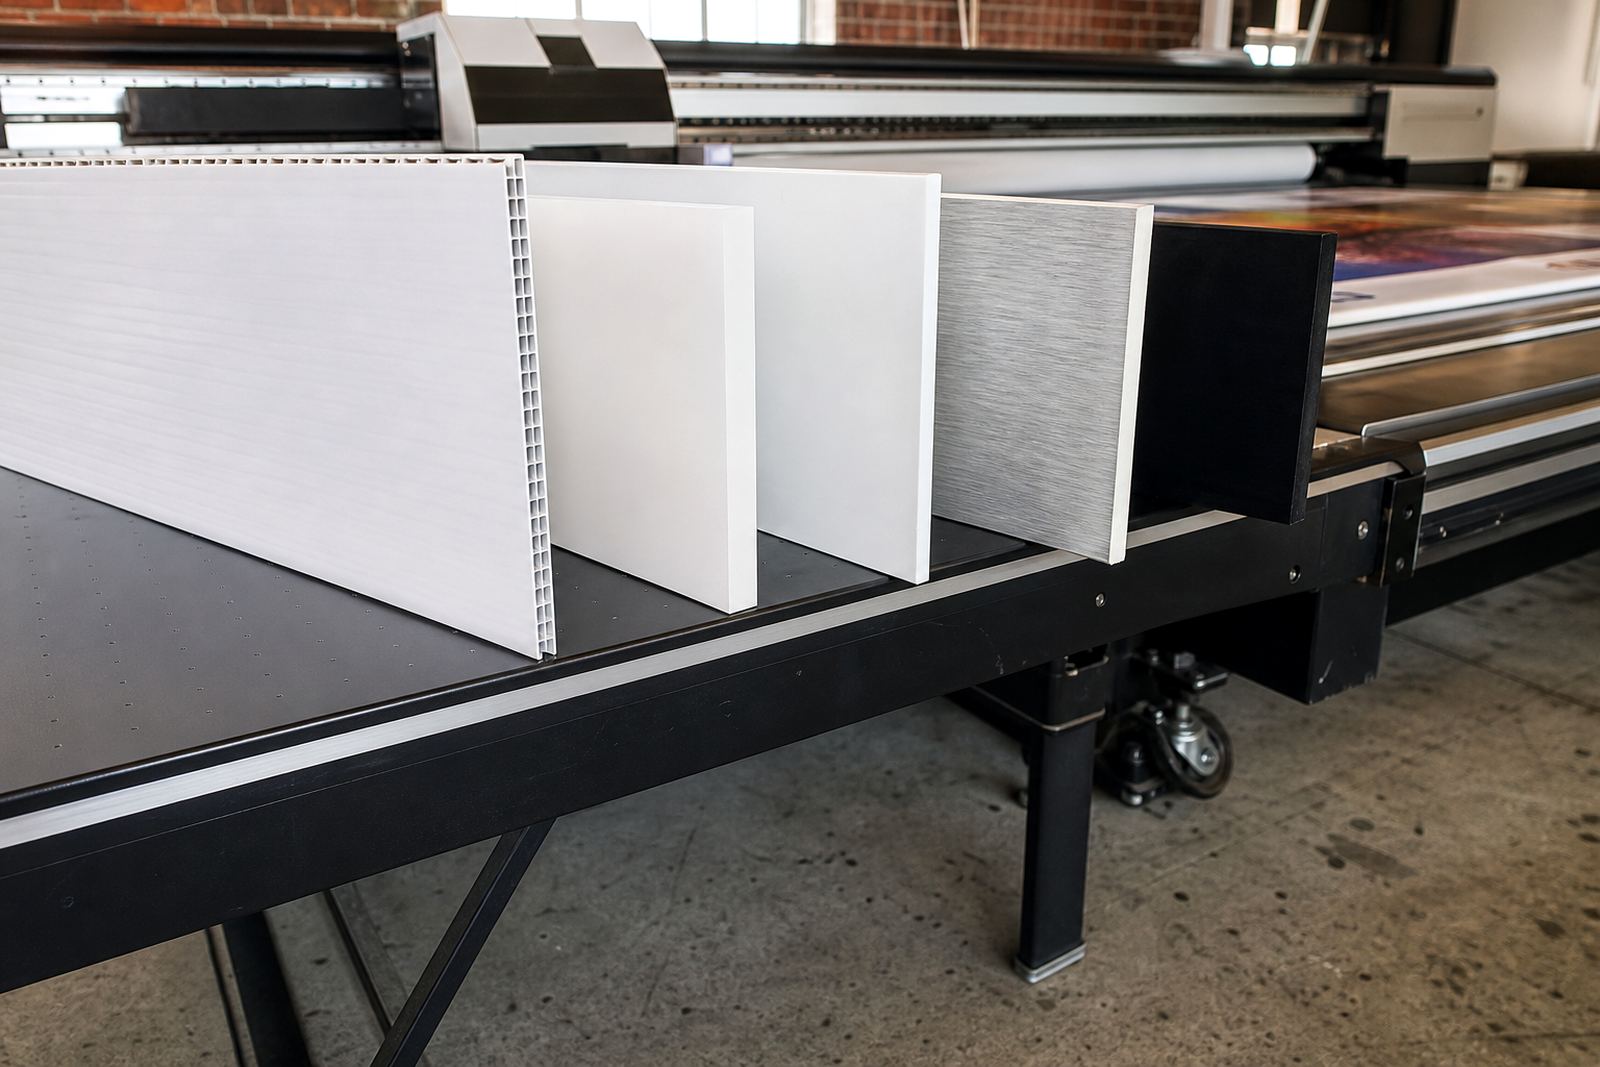
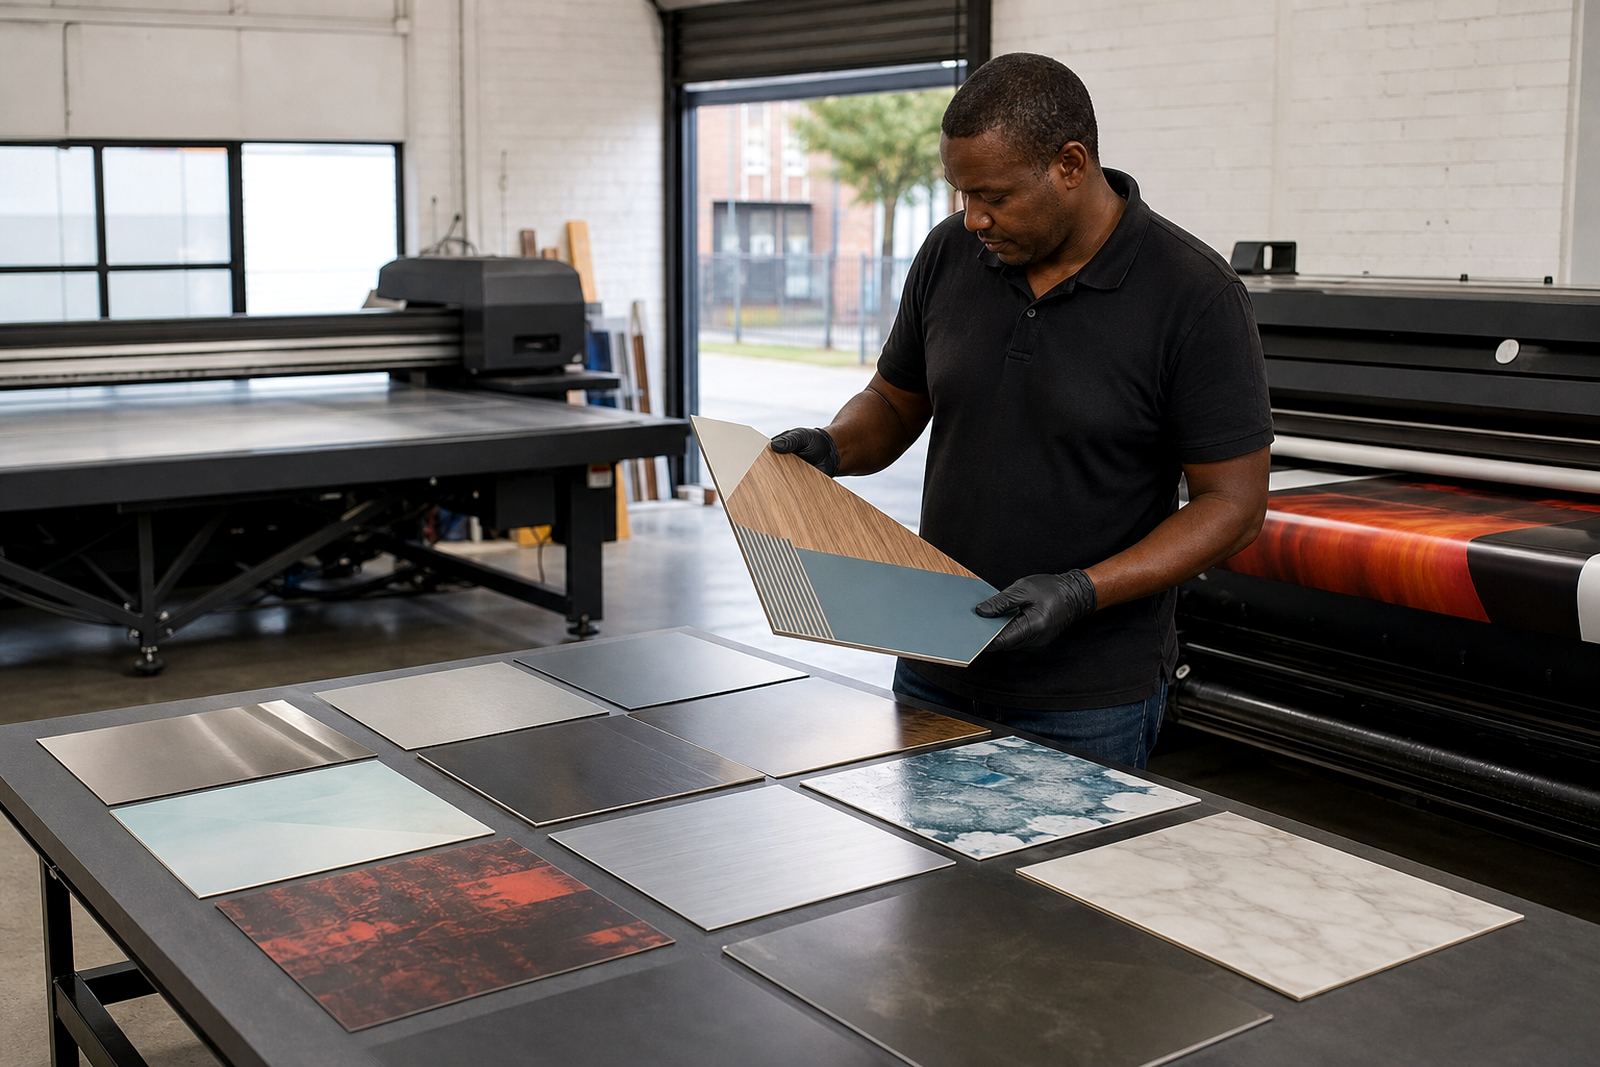
Before you run a full job, identify exactly what you are printing on. Aluminium composite, acrylic, PVC board, foam PVC, glass, coated metal, corrugated plastic, vinyl and some treated films each behave differently under UV-curable inks. Smooth, non-porous materials often need less ink penetration but more attention to surface energy, while flexible materials can move, stretch and collect dust fast.
Wipe the sample with a clean lint-free cloth and note any mould release, oil, dust or packaging residue. On coastal jobs in places like Cape Town or Gqeberha, humidity can change surface behaviour during the day, so test the actual sheet or roll you plan to print. If the substrate is cold to the touch, let it acclimatise in the production area first.
2. Do a small test print before production
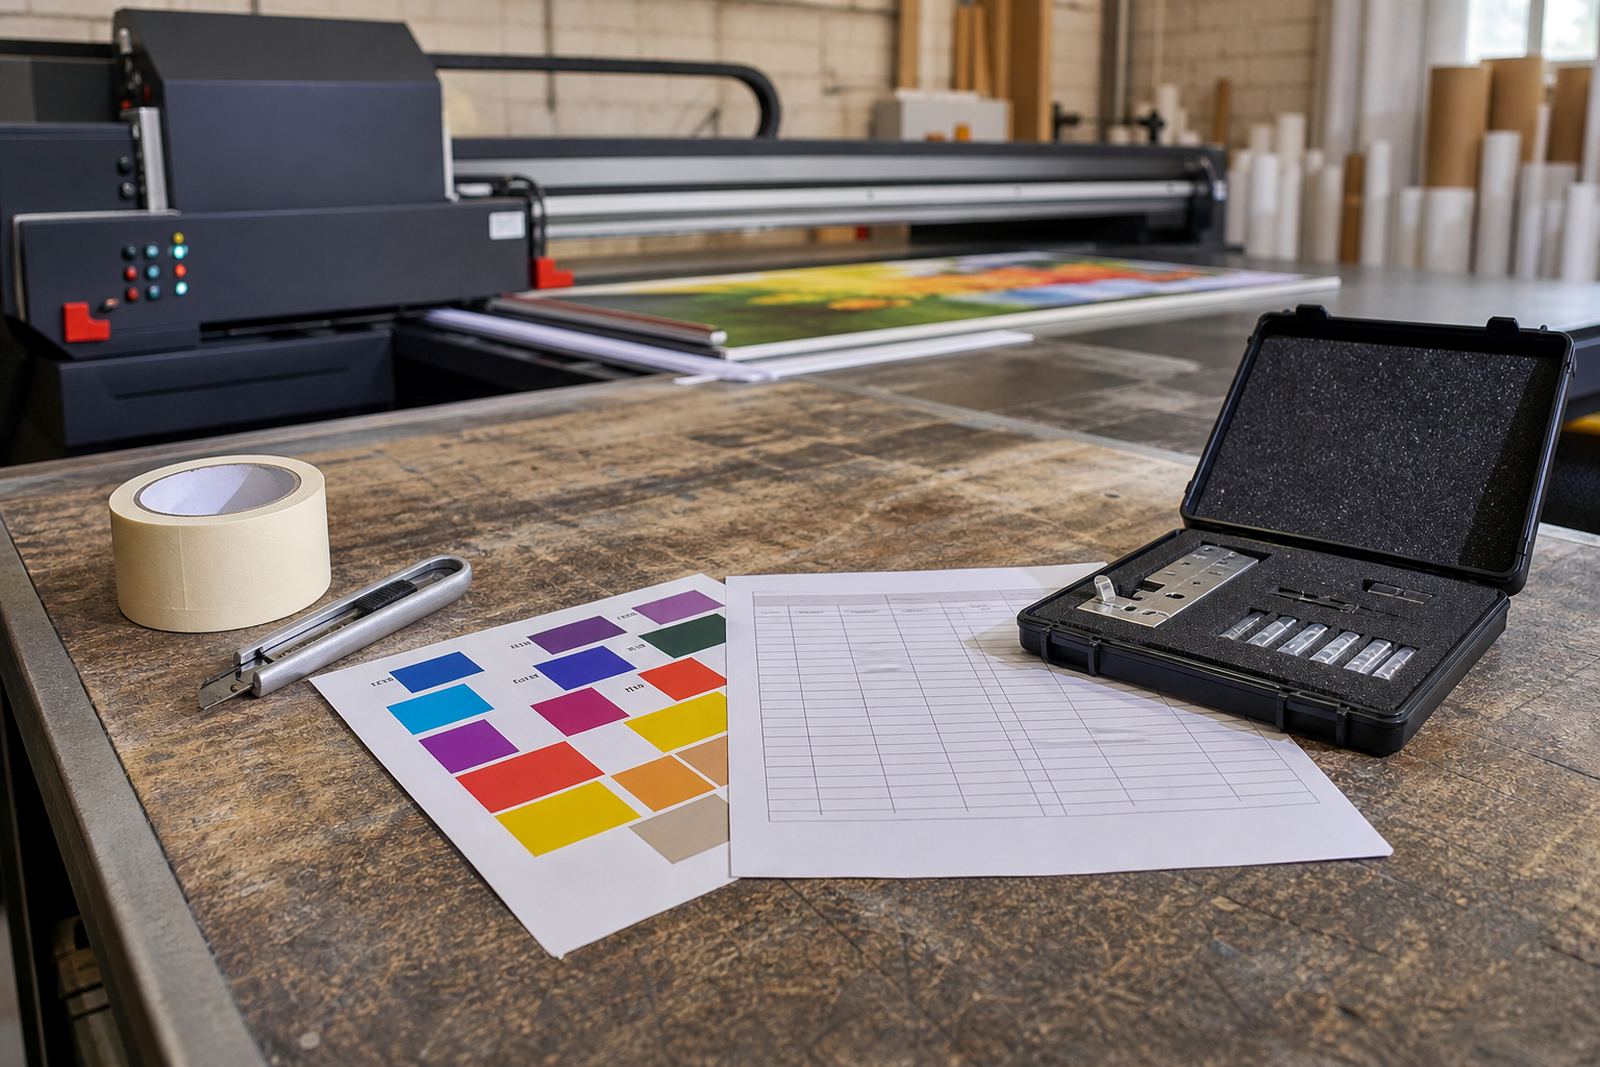
Print a simple test panel before you commit to the full run. Include solid blocks, fine text, light tints and overprints, because each part shows a different adhesion risk. Keep the settings close to production speed, then record the ink laydown, lamp power or curing output and pass count.
- Label the sample with substrate name, batch, date and operator.
- Print at least one wet rub test area and one full coverage area.
- Check both the face and the edges, because edge lift often shows first there.
- Allow the print to cool before you handle it, especially on rigid sheets.
If the print looks dry but marks when rubbed straight away, the cure may be incomplete or the surface may need better prep. A sample that looks fine in the morning can still fail after a few hours, so keep one piece aside for a later check too.
3. Check curing before you trust the result
UV inks cure when the correct light output triggers the chemical reaction in the ink film. If the cure is too light, the surface can remain tacky or weak. If it is too strong, some plastics can warp, and certain inks may become brittle. Balance matters more than speed.
Look for three signs: a fully dry touch, no smell of uncured ink after a short rest, and no transfer when you rub with moderate pressure. Use the same test on different pass counts because a heavy build often needs more energy than a light one. On roll-to-roll work, make sure the web tension is stable, because movement can affect both curing and adhesion at the same time.
If you are unsure, slow the line slightly and repeat the test. It is better to catch a weak cure on a sample than on 500 metres of production.
4. Use a simple adhesion checklist
A short checklist keeps the team consistent, especially when different operators are covering shifts. Keep the check visible near the machine so it becomes part of the routine rather than a last-minute fix.
- Substrate cleaned and dry
- Correct profile or settings loaded
- Sample printed at production settings
- Cure checked after cooling
- Rub test passed on solid areas and edges
- No flaking, lifting or powdery surface
- Sample marked and stored for reference
For repeat orders, compare the new sample with the approved piece from the previous job. Even the same material can vary from batch to batch, so do not assume last week’s result will be the same this week. Keep notes in a proper production log, it saves time later.
5. Handle rigid and flexible materials differently
Rigid boards usually need clean edges, even pressure and careful handling after print. A board that is stacked too soon can scuff at the corners or pick up marks from packaging. Flexible materials need a different approach because they can curl, stretch or release tension after printing. If the film is being wound or folded too soon, adhesion can be affected even when the cure is sound.
For rigid work, check for lifting around drilled holes, routed edges and corners. For flexible work, check for cracking when the sample is bent gently in the direction it will be used. If a material is going to be laminated, folded or installed outdoors, test that use case before full production. A print that survives handling in the workshop may still fail once it reaches the site.
6. When to stop and adjust the process
If the sample shows poor adhesion, do not push ahead and hope it will settle. Stop, check the material, then review the full setup: cleaning, ink compatibility, cure settings, temperature and speed. Sometimes the fix is small, like improving surface prep or giving the print a bit more cure time. Other times the substrate simply is not a good match for the job.
Keep in mind that some surfaces can vary across a single sheet or roll, especially if storage conditions were poor. If one side performs better than the other, note it and test again before changing the whole workflow. For safety, follow the product safety data sheet and wear gloves when handling inks, clean-up materials and test prints. That habit protects the team and keeps results more consistant.
If you need help matching ink to substrate, checking a sample or setting up a practical test method, our team in Epping can assist with compatibility checks, adhesion testing and remote technical support for customers across South Africa.