Start with the media, not just the printer
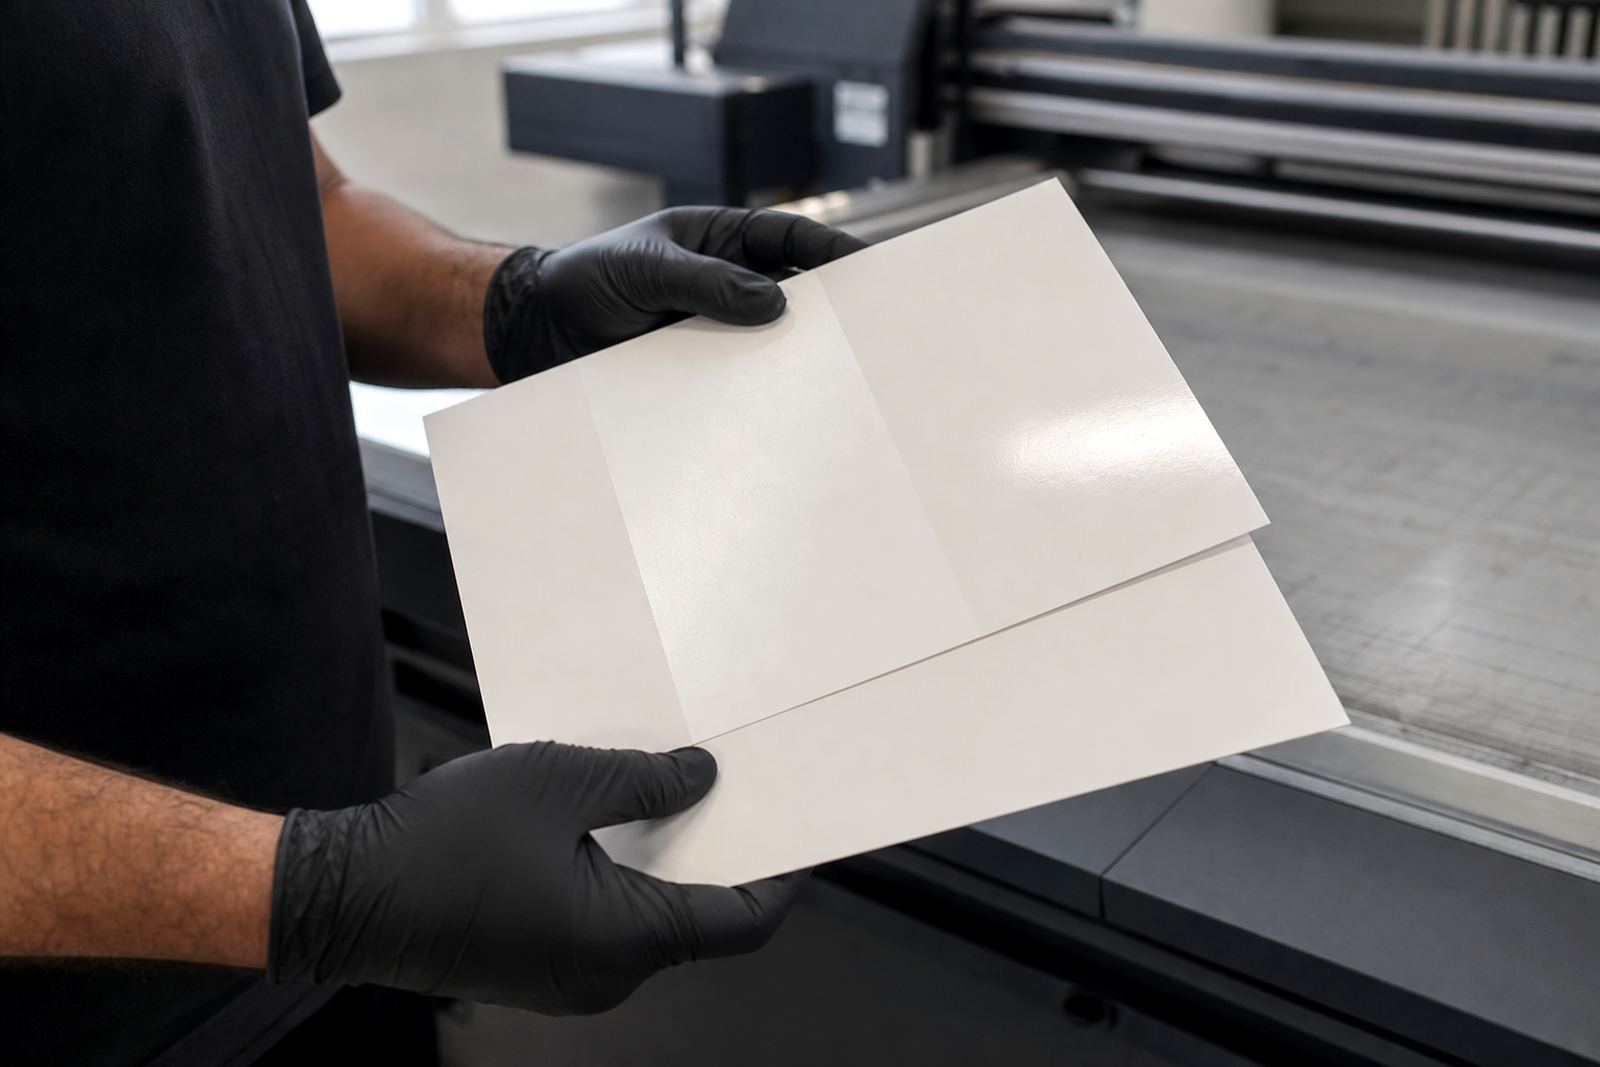
Roll printers can look similar from the outside, but the media changes everything. PVC banner, self-adhesive vinyl, clear film, backlit media, coated paper and textile-receiver rolls all take ink differently. A roll that runs well at high speed may still need a different curing setting or ink laydown if the surface is smooth, porous or heat-sensitive.
Before a full production run, confirm three basics: the media surface, the intended use and the finishing method. If the job will be laminated, cut, welded or exposed to outdoor moisture in places like Cape Town, Durban or Gqeberha, the ink needs enough surface bond to handle that finishing stage. For rolls going to retail graphics, fleet markings or packaging wraps, check whether the print must stay flexible after curing or if it will sit under a laminate.
- Identify the substrate finish: gloss, matt, coated or textured.
- Check whether the roll will be stretched, folded or trimmed after printing.
- Confirm if the job is for indoor, outdoor or moisture-prone use.
- Test a short sample before committing to the full reel.
Balance curing so the ink bonds without damaging the roll
UV-curable ink needs the right curing balance. Too little curing can leave the surface tacky and weak, while too much heat or lamp intensity can distort sensitive media, tighten the roll or affect colour. On some films, overcuring can also make the surface brittle, which is not ideal if the finished print must flex around edges or move through converting steps.
Good curing is not only about lamp strength. Speed, ink layer thickness, media coating and the printer setup all play a part. If the print looks dull, smears during handling or does not pass a simple scratch check, the curing setting may need adjustment. On the other hand, if the media curls, shrinks or shows heat marks, the balance is too aggressive.
- Run a small test strip at the intended production speed.
- Check for tack, scratches and colour shift after cooling.
- Let printed rolls rest before slitting, laminating or packing.
- Watch for edge curl on thinner films and adjust heat if needed.
Check adhesion before the full production run
Adhesion is the practical test that tells you whether the ink has truly bonded to the media. A print may look fine straight off the machine, but still fail when rubbed, folded or handled by a finishing team. That is why adhesion testing should form part of every new media trial, especially if the roll will be used on signage, point-of-sale graphics or packaging components.
A simple field check can save time and material. Let the sample cure fully, then rub it with a clean cloth, apply mild tape to a corner and remove it, or flex the sample in the way the final product will be treated. If ink lifts, cracks or powders, the combination of ink, media and curing needs review. Adhesion can also vary from batch to batch, so it is worth checking new rolls even when a previous run worked well.
- Test fresh media as well as stored media, especially in humid coastal conditions.
- Keep a record of the media type, date and printer setting used.
- Repeat the test after any change in speed, temperature or lamp setting.
- If the print will be overlaminated, test before and after lamination.
Prepare the press for stable, repeatable output
Roll printing rewards steady production habits. If the media feeds unevenly, the tension changes or the operator has to keep correcting alignment, you will see it in the print. Banding, wrinkles and poor edge registration often come from setup issues rather than the ink itself. That is why production planning matters as much as the print file.
Make sure the roll is stored flat, clean and away from dust. In a busy workshop, even a small amount of grit can mark a glossy film. On long runs, keep an eye on feed tension and take-up alignment so the roll does not wander. For thinner media, avoid handling the print while it is still warm from curing. Let it settle, then move it to the next stage in a clean area.
- Inspect the roll for dents, moisture or edge damage before loading.
- Use consistent tension from start to finish.
- Keep the print path clean and free from dust build-up.
- Separate printed rolls from unprinted stock to avoid mix-ups.
Use a simple checklist for colour trials and repeat jobs
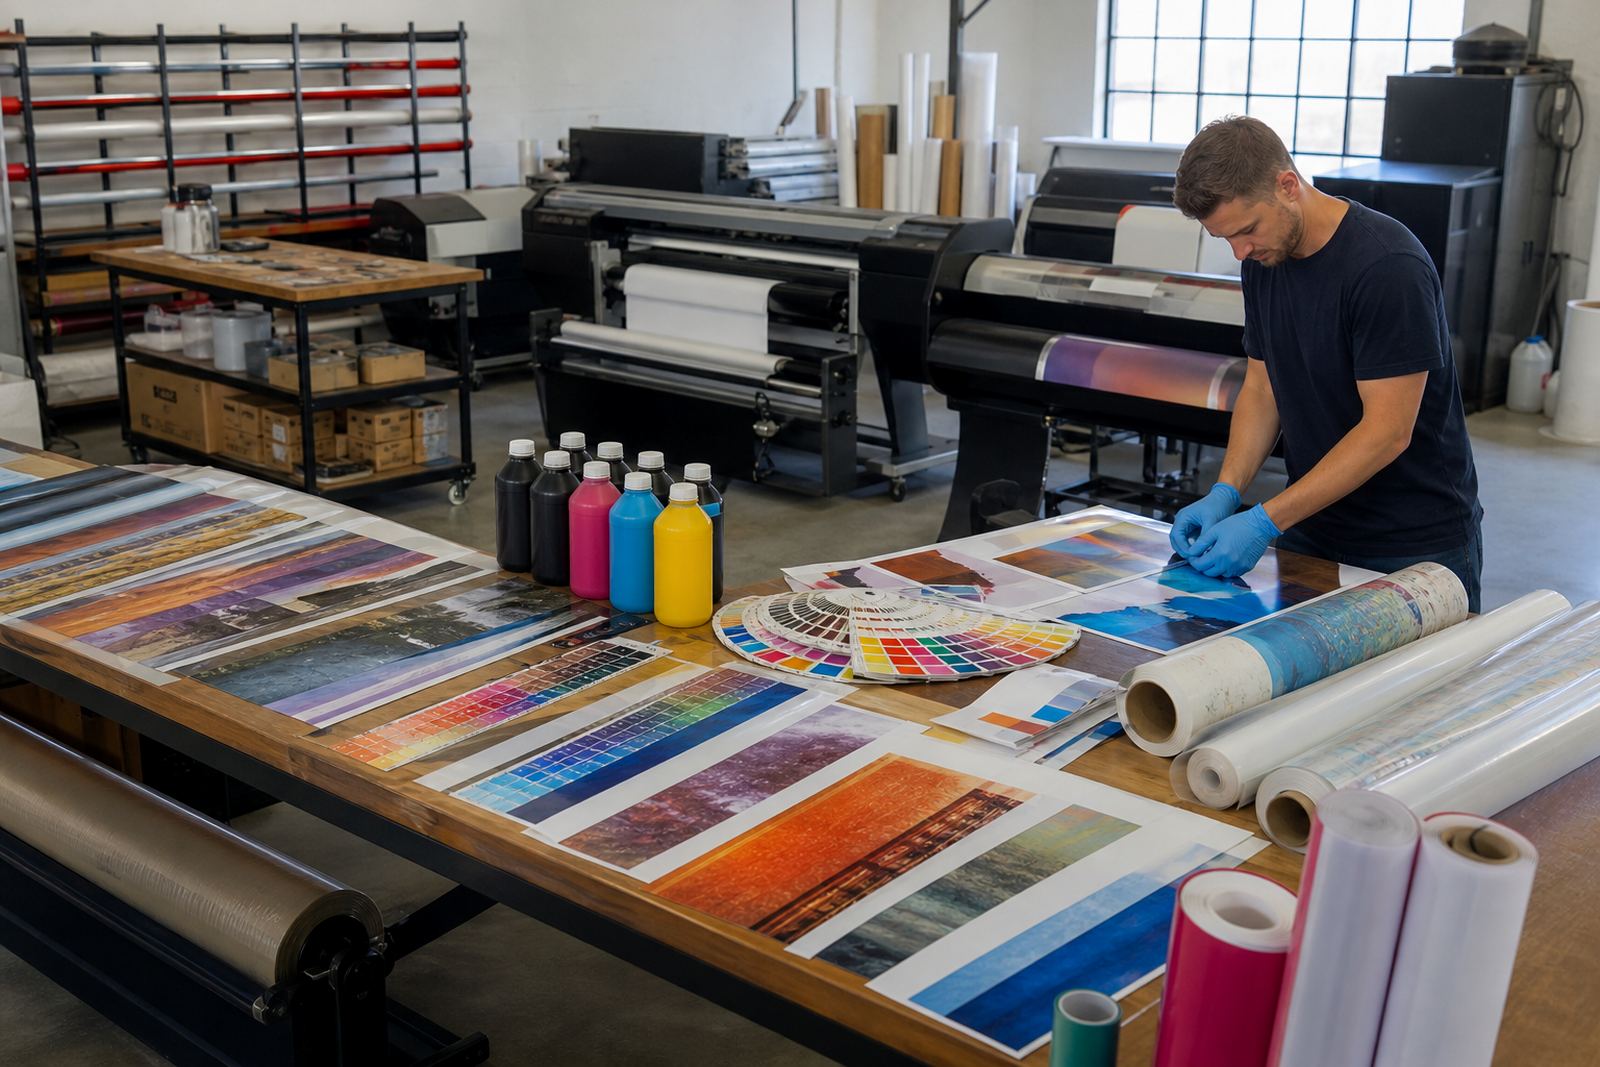
Colour on roll media can shift depending on the surface and curing level, so colour trial support is worth doing even for familiar jobs. A small trial strip helps you confirm brightness, contrast and ink density before you run the full order. This is especially useful for repeat work where the client expects a previous match, or for jobs that move between different roll widths.
Keep a basic job sheet for every repeat order. Note the media type, print mode, curing setting, drying or cooling time and any finishing steps. If the result looks right, save that setup and use it again next time. A written record is especially useful when more than one operator is involved or when the job comes back after a gap of several weeks.
- Print a test strip with the final artwork and relevant spot colours.
- Compare the trial under natural light and workshop lighting.
- Record the printer settings used for each approved job.
- Store approved samples with the job notes for future reference.
Handle and store printed rolls safely after curing
Once the print leaves the machine, the next risk is handling. Freshly cured roll prints still need care when they are moved, slit, packed or stored. If the surface is dragged across a dirty table or pressed too tightly on the core, the print can pick up marks or flatten in unwanted places. In warmer inland areas like Pretoria and Johannesburg, and in coastal humidity around Cape Town or Gqeberha, storage conditions can also change how the roll behaves.
Wear gloves when handling inks and printed material, and always follow the safety data sheet supplied with the ink. Keep the work area ventilated, avoid skin contact and wipe up spills immediately. Store finished rolls upright or on a clean rack, away from direct sun, moisture and heavy pressure. If the roll will be couriered to another city, pack it so the edges are protected and the core stays round.
- Allow the print to cool fully before packing.
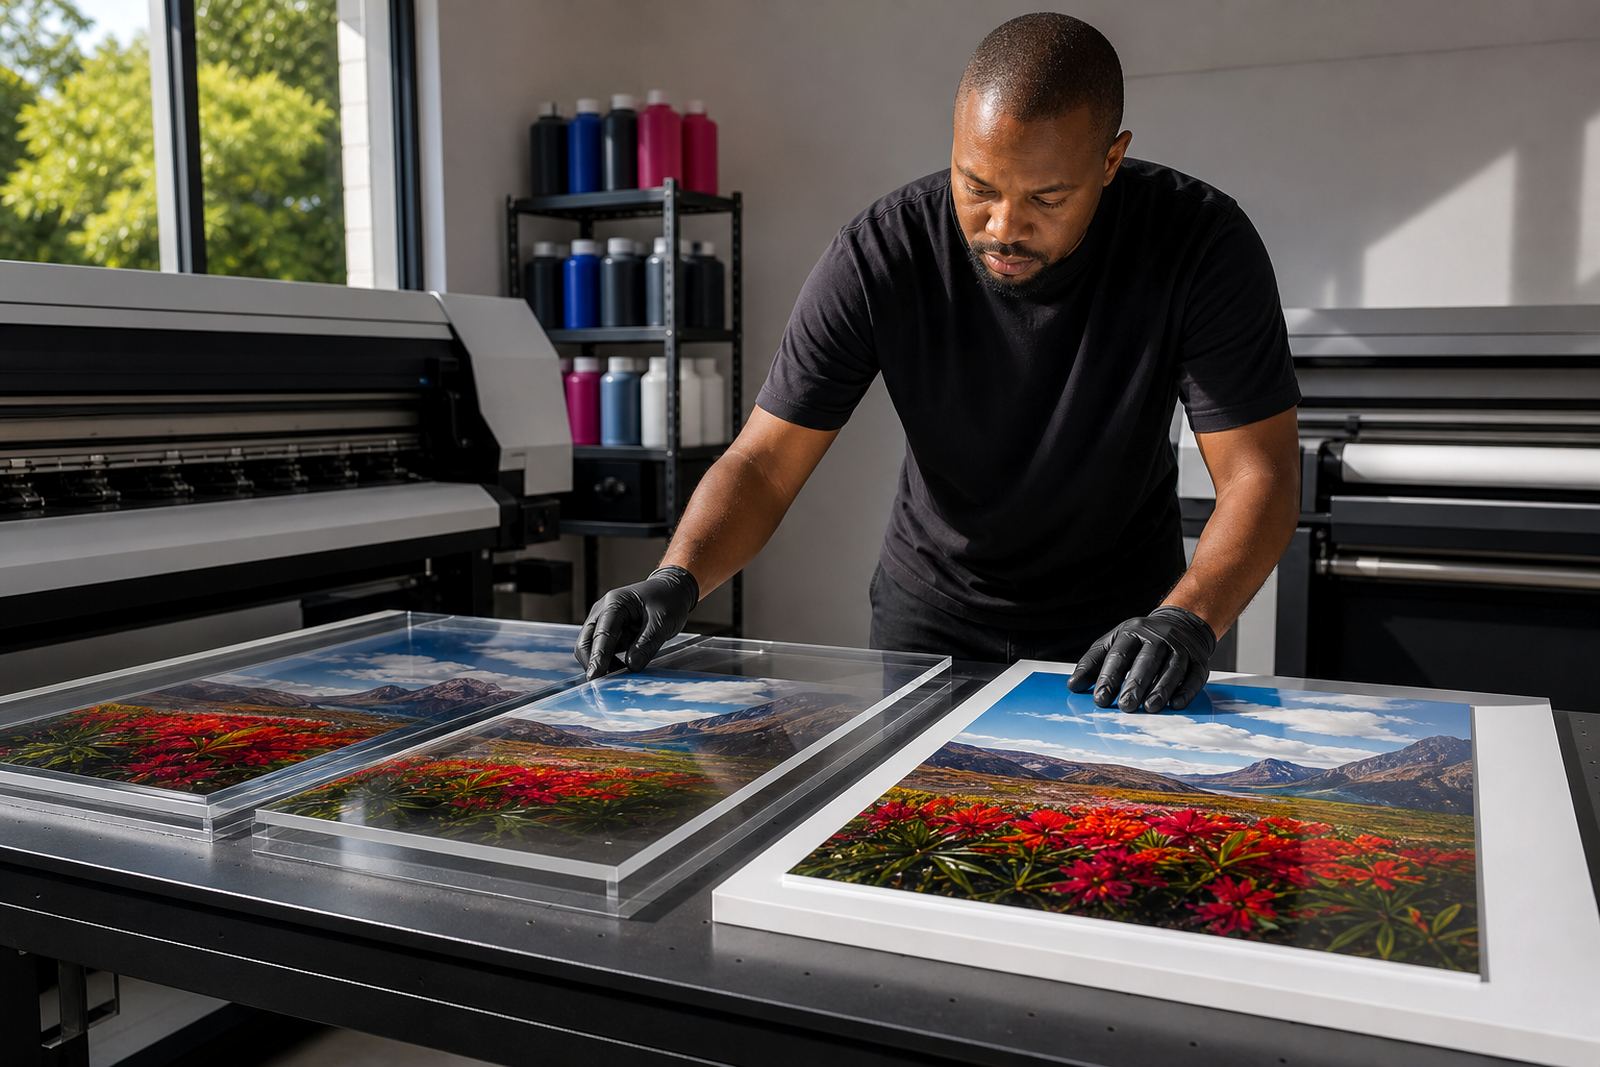
- Use clean gloves and keep the surface free from fingerprints.
- Protect the roll ends and label the job clearly.
- Keep inks, wipes and cleaning materials stored according to the safety data sheet.
Get practical support when the job needs a second look
Some roll jobs are straightforward, while others need a closer look at media choice, curing, adhesion or operator setup. That is where technical support can save time. A small adjustment at the start can prevent wasted rolls, missed deadlines and avoidable reprints. For teams running production across multiple shifts, training also helps keep results consistent from one operator to the next.
UV Ink supports roll printer users from Epping, Cape Town and supplies We courier UV ink to Cape Town, Johannesburg, Durban, Pretoria, Gqeberha and other centres. Support services include ink selection, compatibility checks, adhesion testing, curing guidance, colour trial support, sample pack prep, production planning, operator training, safe handling briefing, remote tech help, courier stock support and repeat order management.
If you need to check a media choice or confirm a print setup before a run, write to UV Ink through the contact page form and send through the job details. A clear request with media type, printer model and intended use makes it easier to guide the next step.