Why backlit panels expose weak ink choices
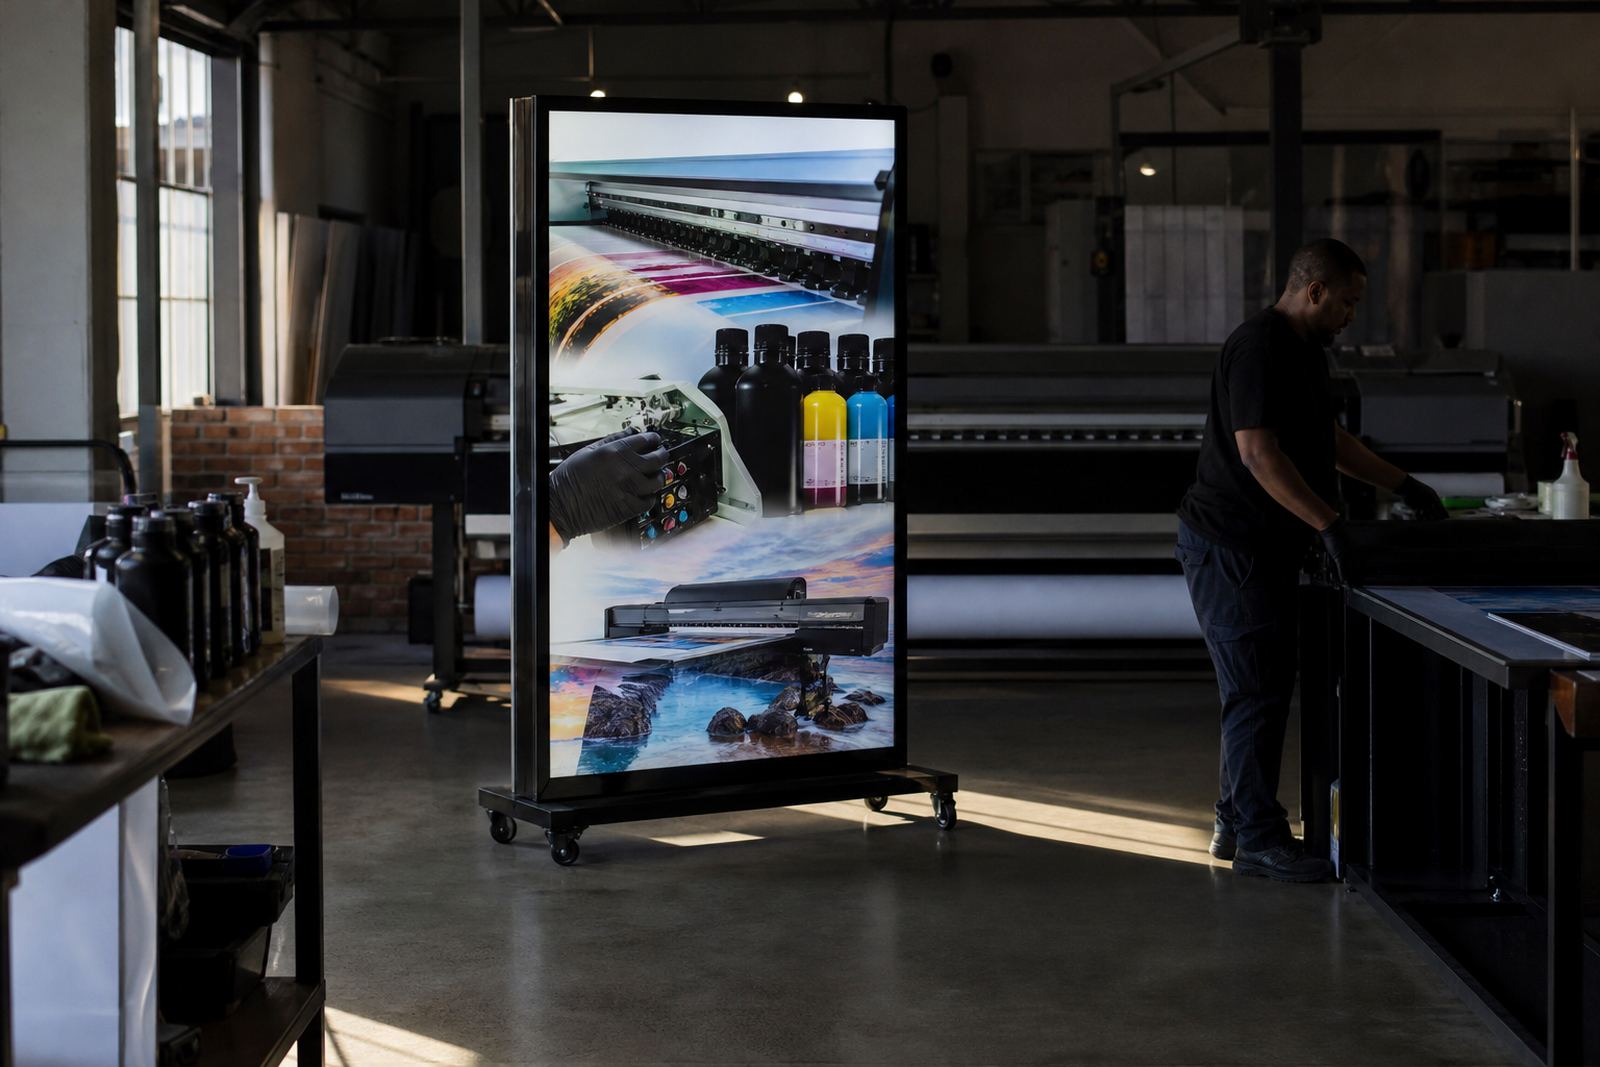
A lightbox does not hide uneven print work. Once the LEDs or fluorescent tubes switch on, thin coverage, banding, poor curing and colour shifts show up immediately. That is why lightbox graphics need inks that cure properly and hold their density across the full sheet or roll, not just at the start of the job. In Cape Town, Durban or Gqeberha, humidity can also affect handling and storage, so the ink has to remain consistent from opening drum to final print.
For this use case, the aim is not only bright colour but balanced light transmission. A good result depends on the right ink set, the correct media and a printer profile that suits the final viewing distance. If the panel will be seen in a mall, roadside pylon or inside a shopfront window, the light source and viewing angle must be considered before production starts.
Typical printer set-up for lightbox graphics
Lightbox work is usually produced on flatbed printers for rigid boards or on roll-to-roll printers for flexible backlit film and banner stock. The best choice depends on whether the graphic needs to be mounted behind acrylic, applied to a lightbox frame, or finished as a tensioned panel. Printer compatibility matters because different heads, ink channels and curing systems respond differently to UV-curable ink viscosity and drop formation.
- Flatbed printers for rigid boards, acrylic-faced panels and sandwich signs
- Roll-to-roll printers for backlit film, translucent vinyl and flexible lightbox skins
- Correct curing set-up so the ink cures through the full layer, not only on top
- Clean feed and take-up handling to avoid scuffs, curl and edge damage
If the job will be couriered to Johannesburg or Pretoria, pack it so the printed face cannot rub against foam, tape or cardboard during transit.
Planning the layout so the lit image stays even
Lightbox artwork often looks different on screen than it does once installed. The safest approach is to plan for even ink coverage across the entire visual, with attention to skin tones, logos, text blocks and large solid areas. When the viewing distance is short, small flaws show up fast, especially in shopfront graphics and indoor menu boxes.
Colour trial support can save time here. Print a small section first, then check it under the same light source that will be used in the final frame. If you are matching a franchise panel or a repeated retail display, keep the same substrate, cure settings and print direction across all units. That helps avoid the common problem of one panel looking warmer or cooler than the next.
- Test the print under backlight, not only under normal room light
- Allow for trim margins and frame lips so no white edge appears
- Keep type sizes readable after the light source is switched on
- Use one set of settings for the full run, not different settings per panel
Common mistakes that show once the light is on
The most common mistakes are simple but costly. Under-curing can leave the print tacky, and over-curing can affect adhesion or make the ink look flat. Another issue is selecting a media that blocks too much light, which leaves dark patches and uneven colour. A third problem is trying to print a bright lightbox graphic without enough white management or without checking how the ink behaves on the chosen substrate.
Adhesion testing is worth doing before a full production run, especially when printing for coastal areas where moisture and heat can change how materials behave. If the job is for a building in Durban or a site near the sea in Gqeberha, store the media flat and closed until use. Follow the safety data sheet and wear gloves when handling ink and cleaning materials. It is a small step, but it matters when the team is working through a full shift or handling repeat orders in busy periods.
Budget ranges for lightbox graphics in Rand
The budget for a lightbox job depends on the size of the panel, the substrate, the number of colours used and whether sample packs or testing are needed first. Smaller shopfront inserts may be relatively straightforward, while large roadside displays need more planning, more media and more careful packing. Courier delivery also adds cost if the panels are going to Johannesburg, Durban, Pretoria or further out to Bellville and Paarl.
As a practical guide, lightbox graphics can start from a few hundred Rand for smaller test pieces and run into several thousand Rand for larger production sets, especially when multiple panels or repeated replacement graphics are included. If you are working to a tight budget, ask for ink selection advice and compatibility checks before committing to a full print. That often avoids wasted media and rework later on.
- Small sample or test output: from a few hundred Rand
- Single shopfront panel or insert: usually in the low thousands
- Multiple panels, repeat orders or complex finish requirements: higher budgets needed
How we support lightbox work from Epping
Based in Epping, Cape Town, we support lightbox graphics with ink selection, compatibility checks, curing guidance and sample pack prep. Our team also helps with production planning, operator training, safe handling briefing, remote tech help and repeat order management. That support is useful when the same customer needs the same look across several branches or across different towns.
Our team includes Michael van Wyk, Lindiwe Maseko, Hennie Opperman, Shanaaz Allie, Moagi Shirinda, Nadine Motaung and Thabo Steyn, each focused on a different part of the process from sales to logistics and training. For an ink order, write to UV Ink through the contact page form with your printer model and ink colours, and courier stock support is available for Cape Town, Johannesburg, Durban, Pretoria, Gqeberha, Bellville and Paarl. For lightbox graphics, the main goal is simple: get the colour right, get the cure right, and keep the finish steady from first panel to last.