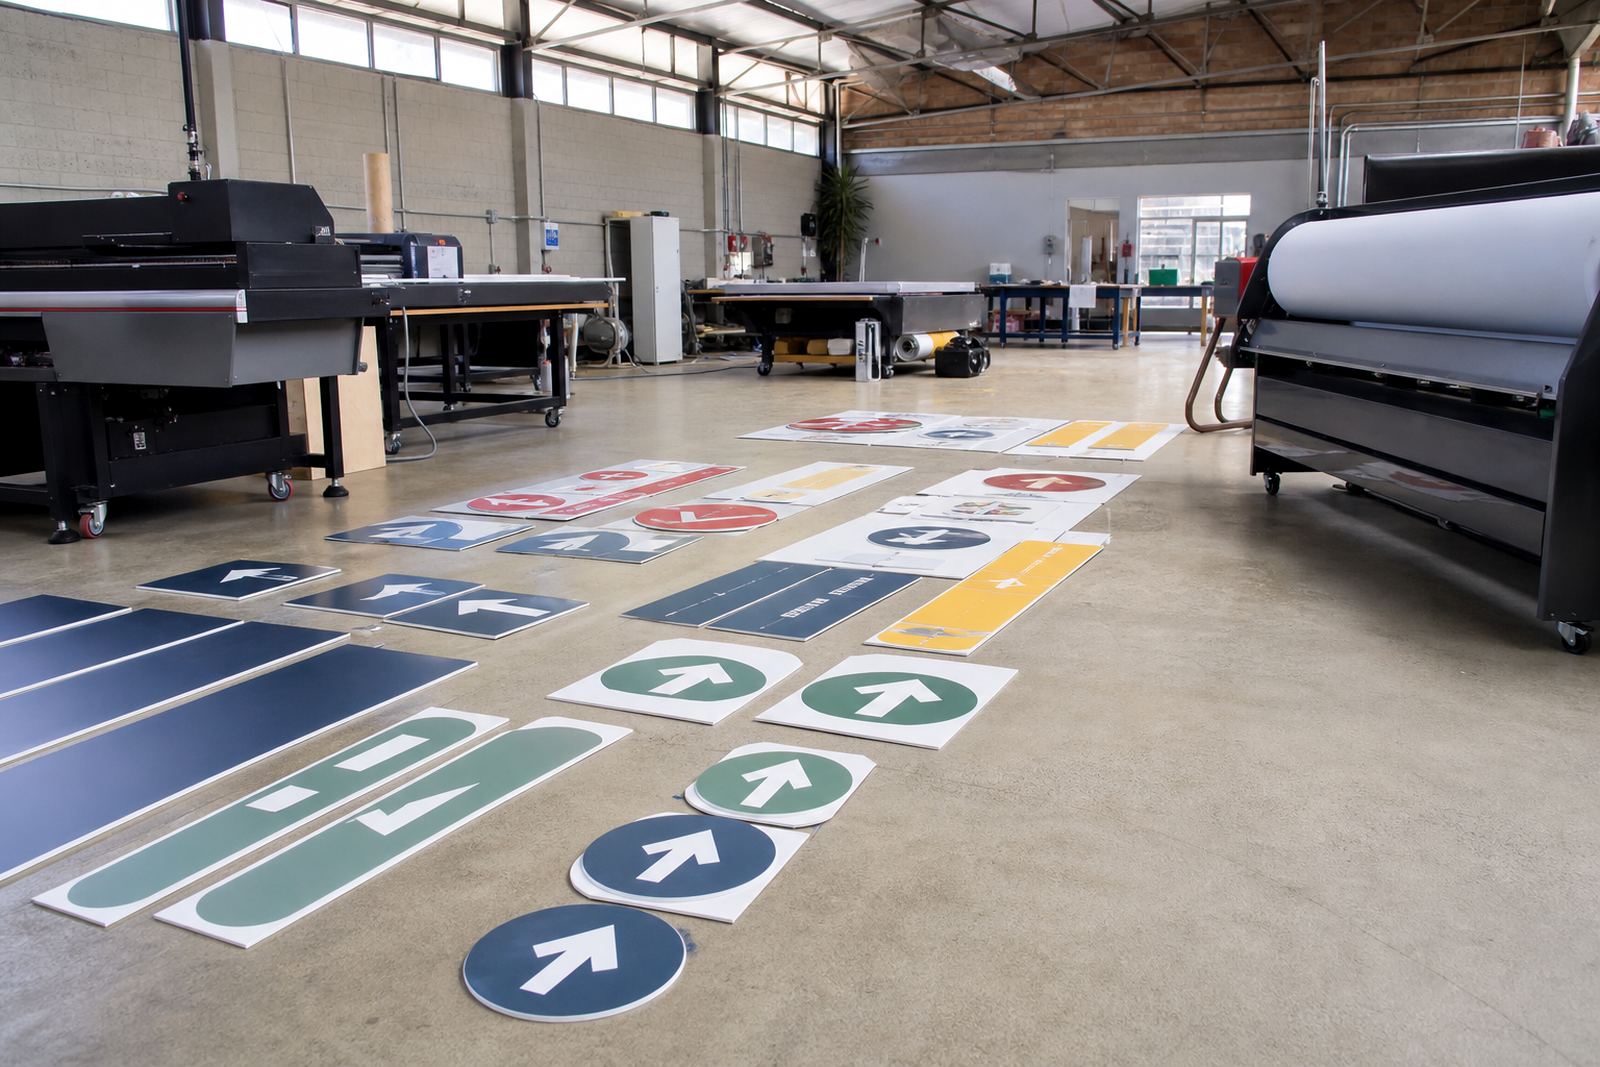
Utility trailer branding for Brackenfell roads
The client was a local graphics team in Brackenfell working on a fleet of utility trailers used for trade work around the northern suburbs and wider Cape Town area. The brief was straightforward on paper, but the finish had to be tidy and durable because the trailers spend their days behind bakkies, in loading yards and on roads where dust, UV exposure and water are constant.
They needed decal sets for branding and trailer numbering on compatible film, with strong colour, good edge definition and enough adhesion to stay put on painted metal and prepared composite panels. The team also wanted a simple production path they could repeat for later trailers without having to rework the settings every time. We kept the focus on consistency, colour match and curing control, not guesswork.
- Client type: local graphics and sign team
- Area: Brackenfell, Cape Town
- Application: utility trailer branding and numbering
- Substrate: compatible self adhesive film for outdoor use
The print brief and the site conditions we planned around
Trailer graphics are not like indoor labels. The job had to survive coastal humidity, early morning condensation in winter and the occasional pressure wash after muddy site work. In Cape Town, that mix matters, especially if the trailers are parked outdoors near salt air and full sun for long periods. The graphics team also needed a process that would work with their existing flatbed and roll to roll setup without slowing production during busy weeks.
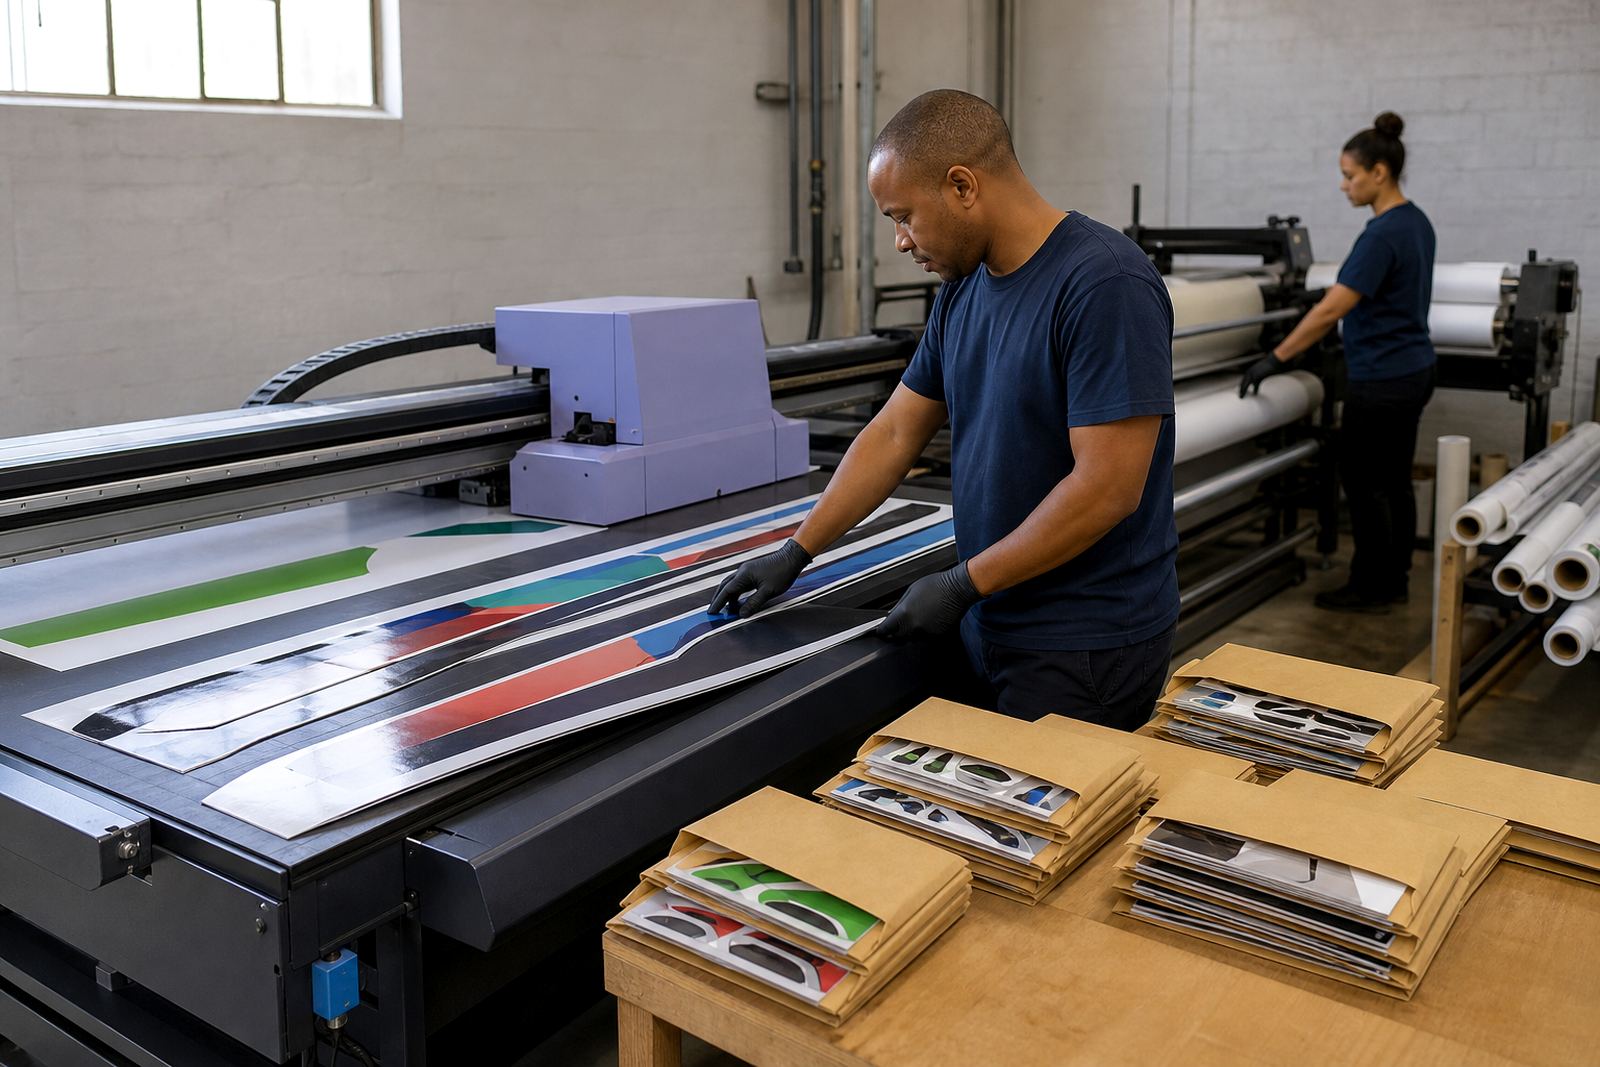
There were a few constraints. The film needed to accept ink cleanly without feathering. The printed decals had to cure fully before handling so the crew could weed, trim and apply them without marking the surface. They also wanted a print sequence that would make repeat jobs simpler, because trailer numbering changes often and reprints need to match the original set closely.
- Outdoor exposure: sun, rain and coastal humidity
- Handling: frequent lifting, trimming and application
- Finish requirement: clean numbering and readable branding from a distance
- Production need: repeatable settings for later sets
What we supplied and how we set it up for UV print rooms
We supported the team with UV-curable inks suited to their printer setup, then checked compatibility with the chosen film before production began. That meant confirming ink laydown, cure response and adhesion behaviour on the same stock that would be used for the actual trailer sets. The aim was to avoid wasted material and avoid surprises once the decals reached the application stage.
We also gave curing guidance so the printed sheets could be handled safely after output. UV-curable ink cures under UV light, forming a finished print that can be handled soon after curing when the settings are correct. If curing is too light, the surface can stay tacky or mark easily. If it is too heavy, the print can become brittle or lose flexibility. Getting that balance right is important on trailer graphics, where the film may need to conform over panel edges and rivets.
- Ink selection matched to the printer and film
- Adhesion checks before full run production
- Curing guidance for safe handling and trimming
- Colour trial support for logo and numbering clarity
Three week production path from trial to final sets
The project moved through a practical three week timeline. In week one, the graphics team reviewed the substrate choice, tested a small batch and checked how the ink cured on the film. We worked through colour response, line sharpness and edge adhesion so the print could hold up in day to day use. That first stage also helped the crew confirm the safest handling method for the dried sheets.
Week two was about refining the output and preparing the full decal sets. We assisted with sample pack prep, repeat order notes and a sensible production plan so the trailer numbers and branding could be printed in the right order. By week three, the final sets were ready for application and the team could fit them without stopping to troubleshoot the print stage. It saved time and cut down on reprints, which is often where trailer work gets expensive.
- Week 1: substrate checks and small test prints
- Week 2: colour trials and production planning
- Week 3: final print sets and application support
Results on the trailers and what improved
The finished trailer graphics came out with clear numbering, crisp branding and a colour finish that held up well against handling during fitting. Once applied, the decals gave the trailers a neater on-road presence and made the fleet easier to identify at depots and job sites. The client team was also able to keep the process practical, which mattered more than any flashy promise.
On the production side, the main benefit was a result the shop could repeat with confidence. The print settings, curing response and film choice all lined up, so later sets could be matched more closely. That matters when you are adding a trailer to a fleet six months later and you want the new unit to look like it belongs with the rest. We would repeat the same approach again for similar work: check compatibility first, confirm adhesion, then lock in the curing settings before running the full batch.
- Better readability for trailer numbers at distance
- Tidy brand presentation for site and road use
- Repeatable print settings for future sets
- Less handling damage after curing was dialled in
What we would repeat for the next trailer run
If this job came back tomorrow, we would follow the same sequence with no shortcuts. Start with the film and printer compatibility check, run a small test, confirm adhesion and cure, then move to the full set. That approach is especially useful in South Africa where a trailer might go from dry inland conditions to wet coastal weather, or from a city yard to a dusty site in one week. A print that looks fine in the workshop still needs to hold up outside.
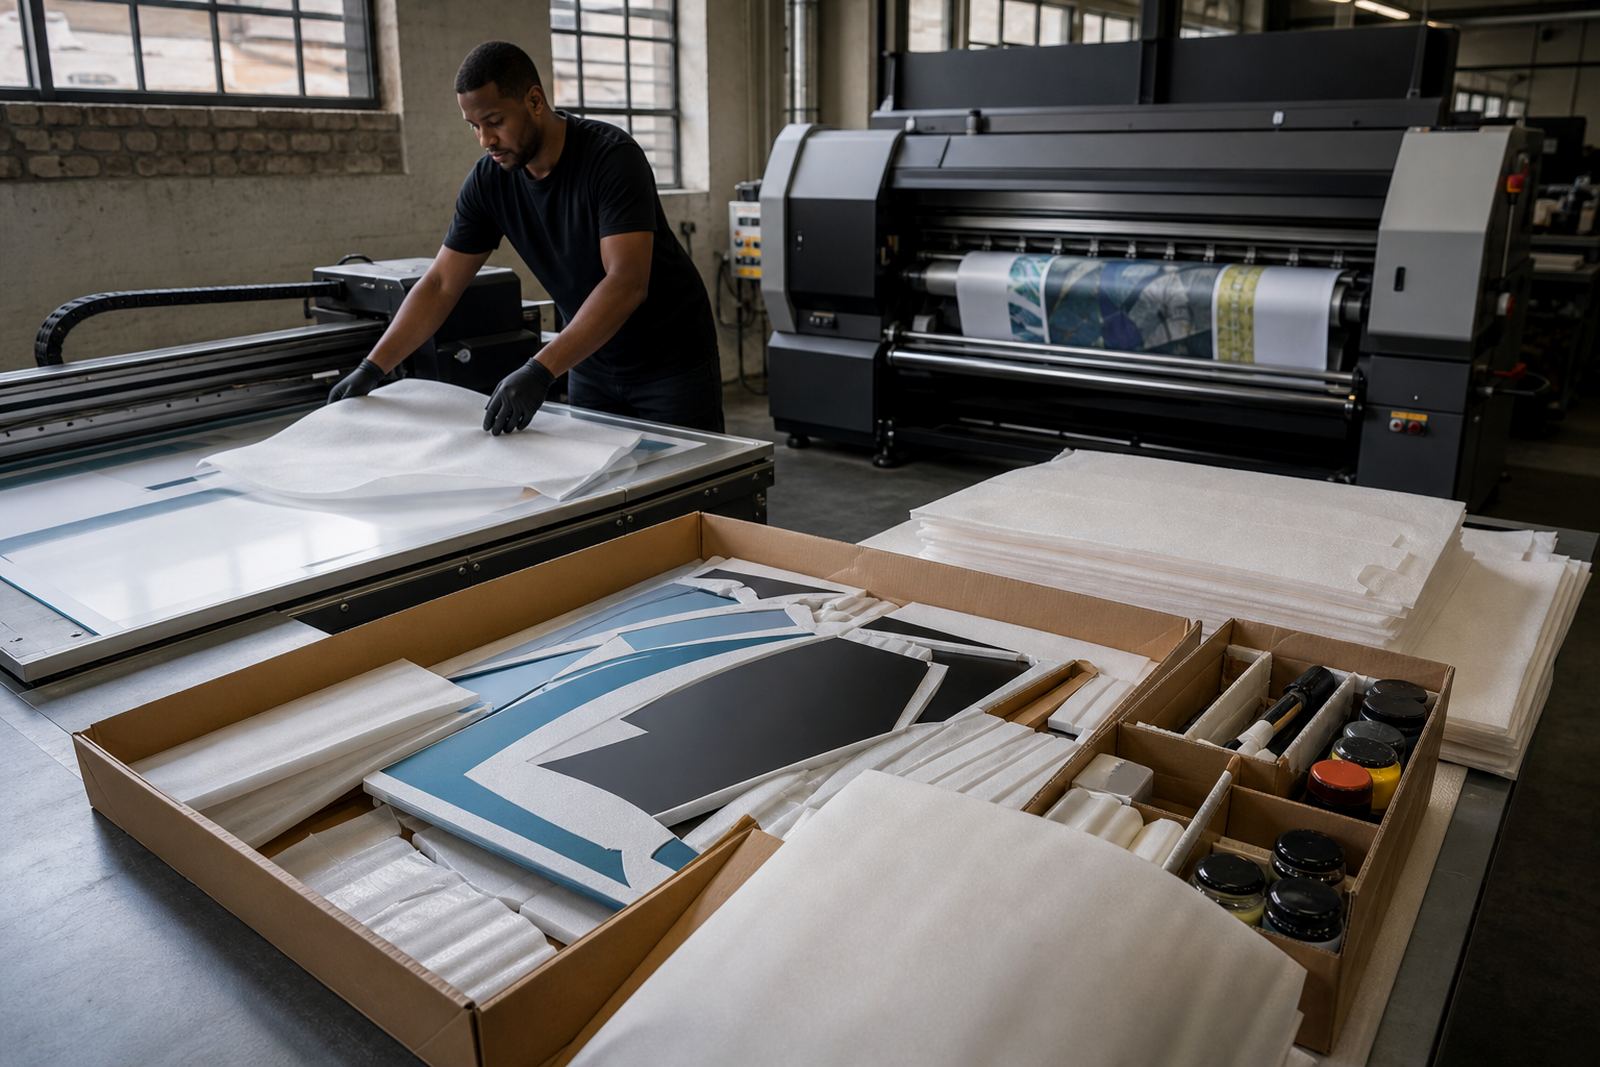
For repeat trailer graphics, we also recommend keeping a simple job record with substrate type, curing notes and the order of the decals. That makes repeat order management easier and reduces confusion when a fleet grows over time.And as always, follow the safety data sheet and wear gloves when handling ink and printed sheets.
- Keep a record of substrate and curing notes
- Use the same film spec for repeat sets
- Handle printed material with gloves
- Check final fit before full application
Ink data
| Project type | Trailer graphics for utility branding and numbering |
|---|---|
| Town | Brackenfell, Cape Town |
| Print method support | UV-curable inks for flatbed and roll to roll printers |
| Material | Compatible self adhesive film for outdoor decals |
| Timeline | 3 weeks from test prints to final sets |
| Support included | Compatibility checks, adhesion testing and curing guidance |