Short-Run Packaging Work That Had To Look Finished
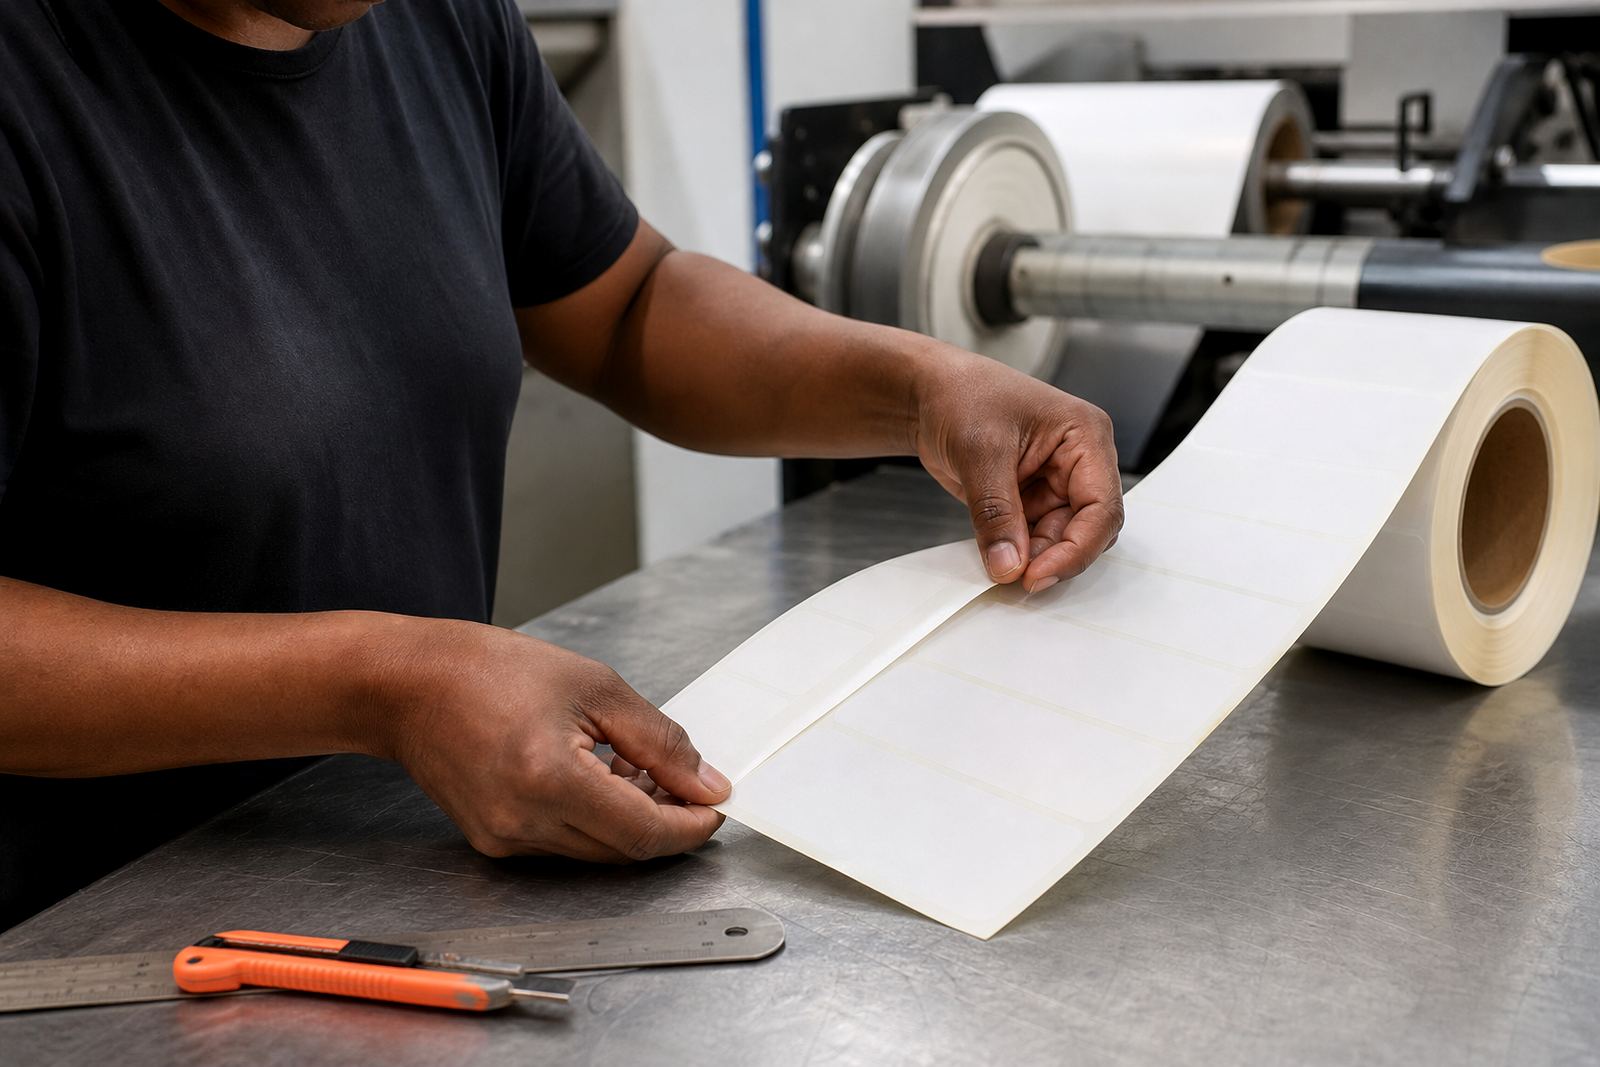
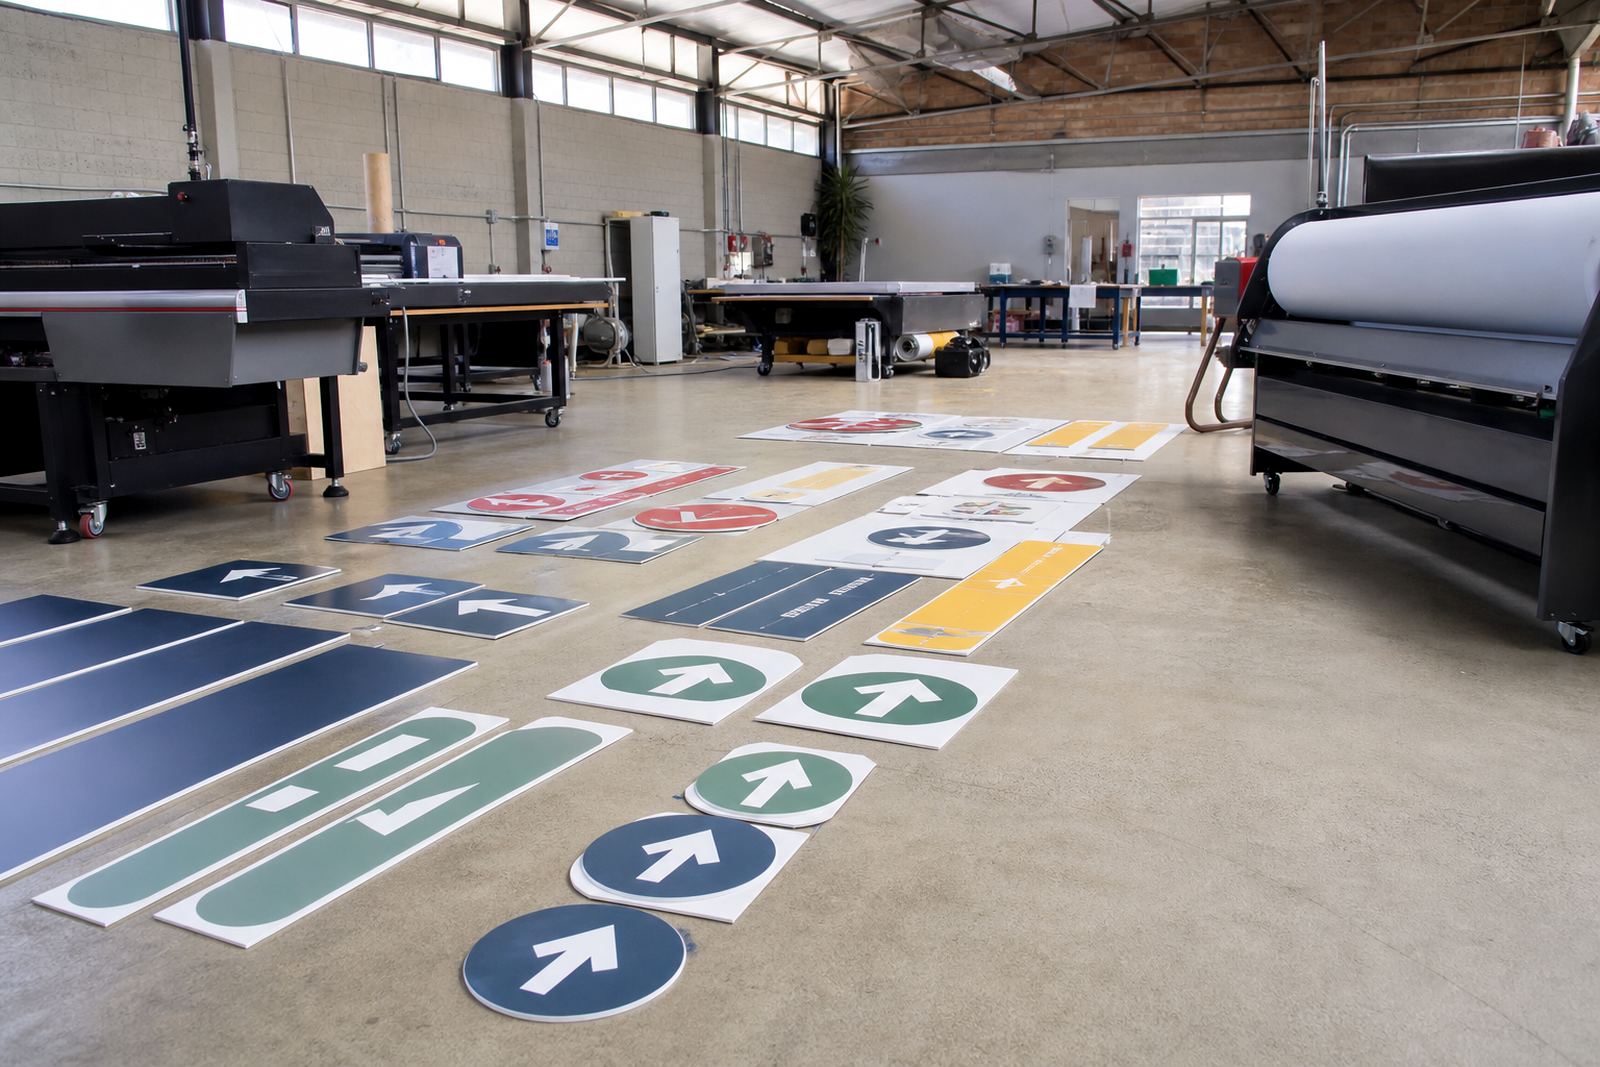
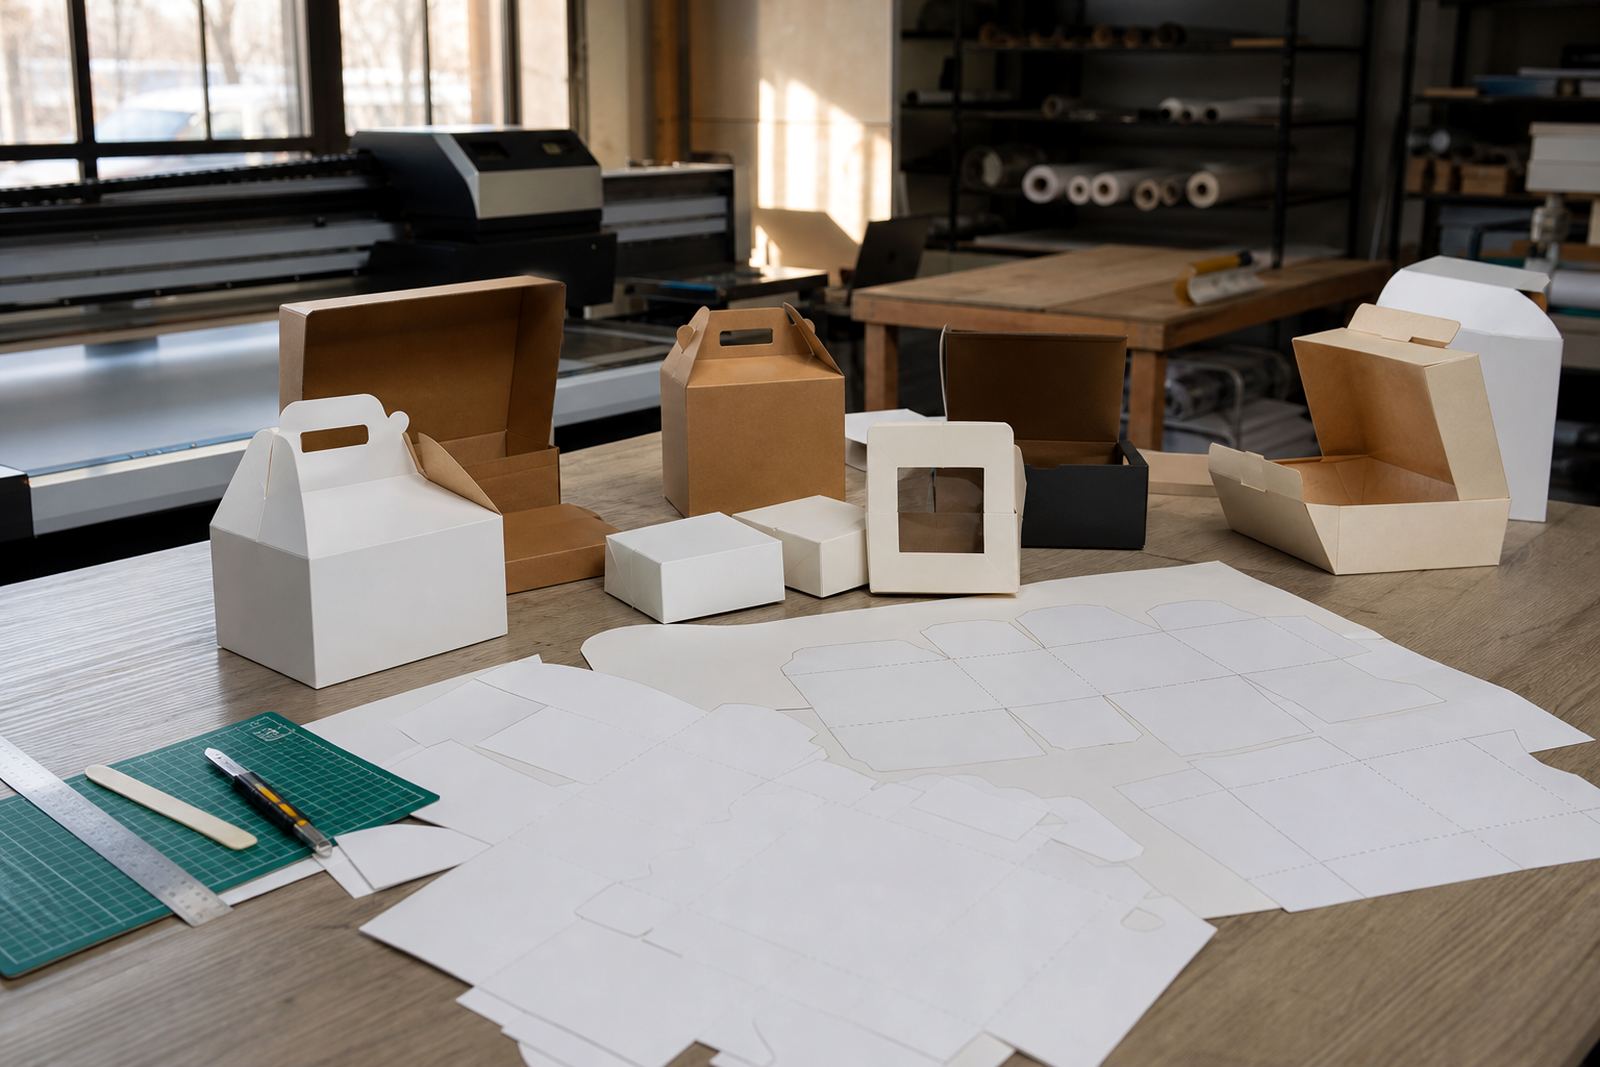
The brief came from a packaging mock-up studio in Cape Town that needed sample cartons and presentation sleeves for client meetings, shelf checks and internal sign-off. The team wanted print that held fine type, solid blocks and clean fold lines without slowing production down. Because the work was short-run and changed often, the ink choice had to suit quick turnarounds and regular substrate changes.
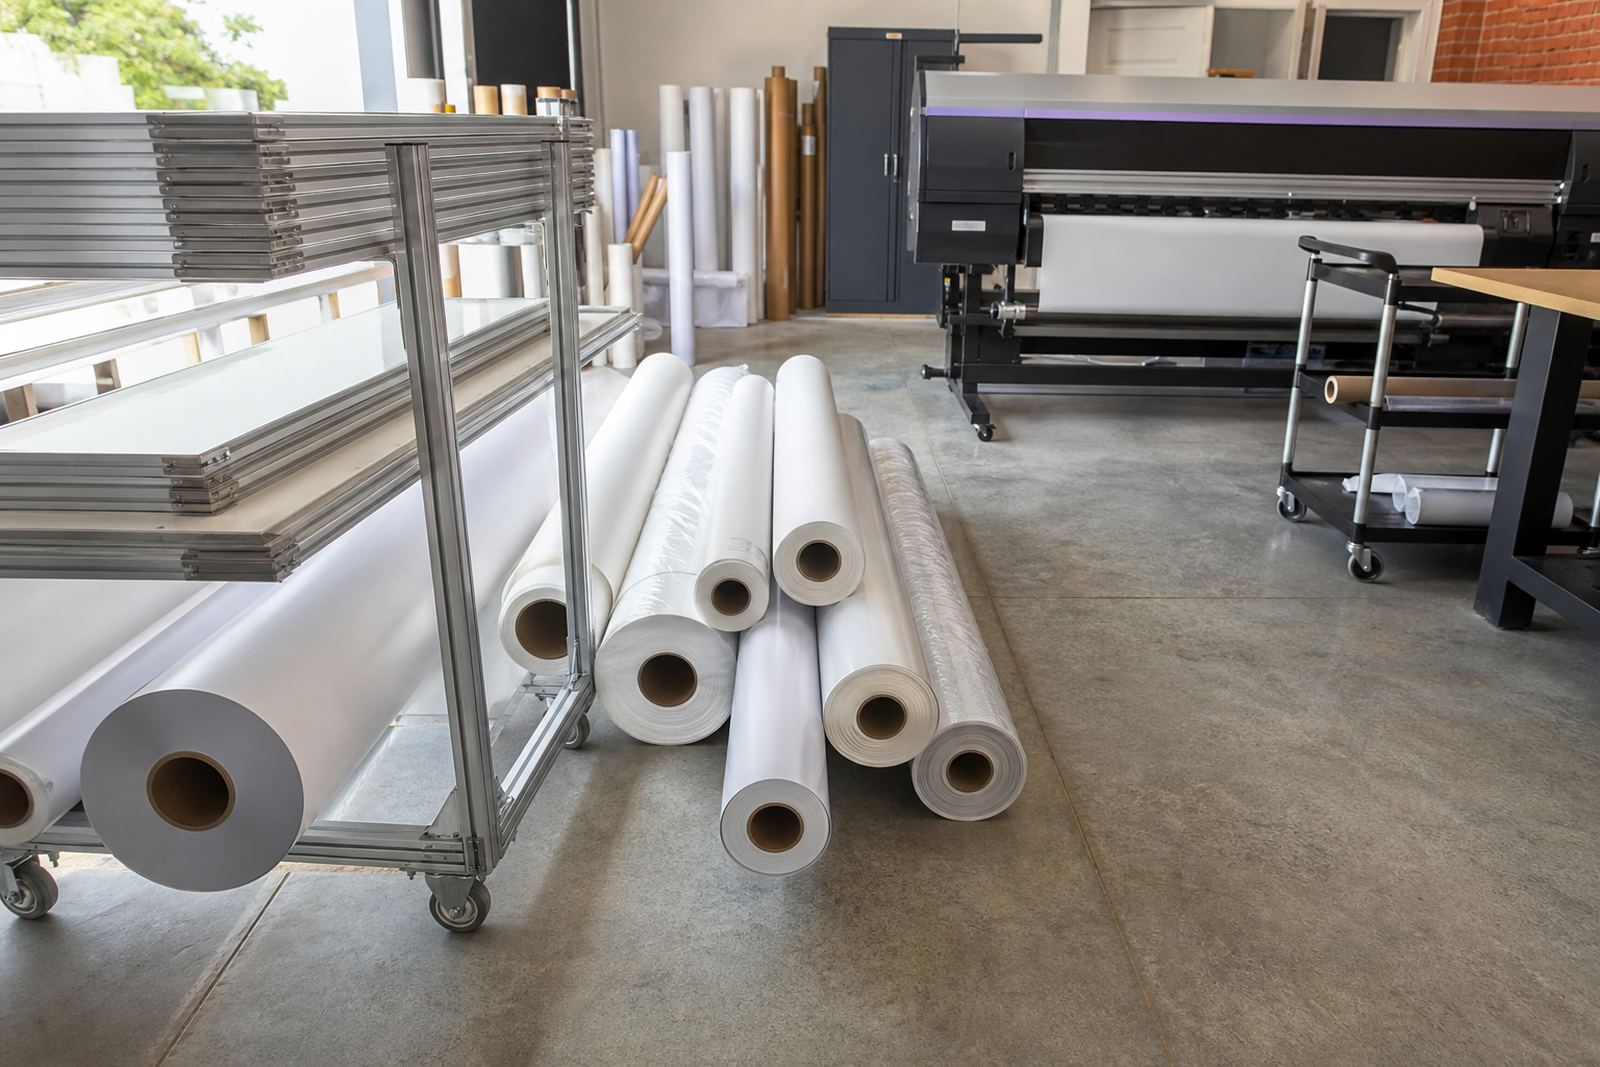
The main challenge was consistency. The studio was printing across coated boards, synthetic sleeves and a few trial materials with different surface tension and ink take-up. They also needed prints that cured properly under their existing UV system, with good adhesion straight off the press and no tacky finish when pieces were stacked for packing.
- Client type: packaging mock-up studio
- Town: Cape Town
- Application: carton samples and presentation sleeves
- Printing setup: flatbed and roll-to-roll UV printing
What The Job Needed From The Ink
The studio was not looking for a one-size-fits-all answer. They needed UV-curable inks that would behave predictably on sample cartons, fold-over sleeves and presentation items that were handled often during approvals. The print had to cure evenly, resist scuffing during packing and support crisp detail on small text and logos. They also needed clear guidance on which board and film combinations would give the best adhesion before running full sets.
We worked through the application details first, then matched the ink set to the print methods in use. That meant checking substrate type, surface finish, curing strength and whether the pieces would be die-cut, folded or laminated after printing. The studio was dealing with changing layouts, so colour trial support mattered too. They wanted a practical way to compare results before committing to a larger sample batch.
- Needed stable curing on coated and uncoated boards
- Needed clean adhesion on sleeves and trial cartons
- Needed support for small text, solids and spot details
- Needed repeatable results for client approval rounds
Ink sets and profiles we supplied
We supplied UV-curable inks suited to the studio’s flatbed and roll-to-roll printers, along with compatibility checks for each substrate they planned to run. Our team reviewed the intended materials, advised on adhesion testing and gave curing guidance for both the sample press runs and the final presentation sets. We also helped the operators with handling steps so the prints could be stacked, trimmed and packed without marking.
Because the job was based in Cape Town, we kept the process simple. Sample pack prep was done to match the likely job mix, and remote tech help was available during the first runs. We also discussed production planning so the studio could sequence colour trials before full assembly. The aim was not only to get ink on board, but to make sure the finished mock-ups looked presentable when handed to a brand team or buyer.
- Ink selection for short-run mock-up work
- Adhesion testing on boards and sleeve materials
- Curing guidance for smooth handling after print
- Remote tech help during first production runs
Timeline, Checks And Production Notes
The project moved over three weeks from first brief to final sample approval. In week one, we gathered the print conditions, substrate list and finish requirements. In week two, the studio ran trial pieces and checked cure strength, scuff resistance and fold behaviour. In week three, they completed the presentation sets and repeated the successful settings for the final client mock-ups.
That schedule worked well because the testing was done before the full run. It also allowed for one or two small adjustments to colour density and curing output when the studio switched between materials. Packaging samples can fail at the edges or crease lines if curing is not balanced properly, so we treated those areas with extra care. The result was cleaner handling and fewer reprints.
- Week 1: brief, substrate review and ink matching
- Week 2: sample trials, curing checks and adhesion tests
- Week 3: final mock-ups and repeat run settings
- Key control points: fold lines, edges and stacked sheets
Results For The Packaging Mock-Up Team
The studio achieved more dependable sample output, especially on presentation sleeves where the client wanted a polished look before any full production decision. The ink held well on the selected materials and cured cleanly, which made it easier to trim, fold and assemble the pieces without damage. The team also had a clearer method for checking new substrates before they committed to a larger batch.
Just as important, the workflow became easier to repeat. Instead of adjusting settings on guesswork, the operators had a documented route for compatibility checks, curing guidance and handling. For a packaging mock-up studio that works under tight approval timelines, that saved time and cut down on avoidable rework. It also helped when the weather turned humid near the coast, because the team knew which checks to repeat before each run.
- Cleaner stacking and packing after print
- Better repeatability across different board types
- Less rework during approval stages
- More confidence when changing substrates
Kept for the next ink changeover
If we were running this kind of packaging project again, we would follow the same sequence: confirm the substrate, test adhesion early, confirm curing output and only then move to the final sample set. That approach is especially useful for short-run packaging where each piece needs to look finished even if the order is small. It also keeps the production team from wasting time on material that is not suited to the print method.
We would also keep the focus on safe handling. UV-curable inks should be used in line with the safety data sheet, and gloves should be worn during handling and clean-up. Operators should follow the recommended curing setup, ventilation practice and storage instructions for the ink system in use. In a busy print room in Cape Town, that discipline matters as much as colour accuracy.
- Confirm substrate compatibility before full runs
- Repeat adhesion testing when materials change
- Keep curing checks in the first production stage
- Follow the safety data sheet and wear gloves
Ink data
| Project type | Packaging mock-up studio support for short-run cartons and presentation sleeves |
|---|---|
| Location | Cape Town |
| Timeline | 3 weeks from brief to final sample approval |
| Ink type | UV-curable inks for flatbed and roll-to-roll printers |
| Core services | Ink Selection, Compatibility Checks, Adhesion Testing, Curing Guidance, Colour Trial Support |
| Output focus | Crisp detail, clean cure and reliable handling on sample packaging |