Brief for an indoor POS run in Century City
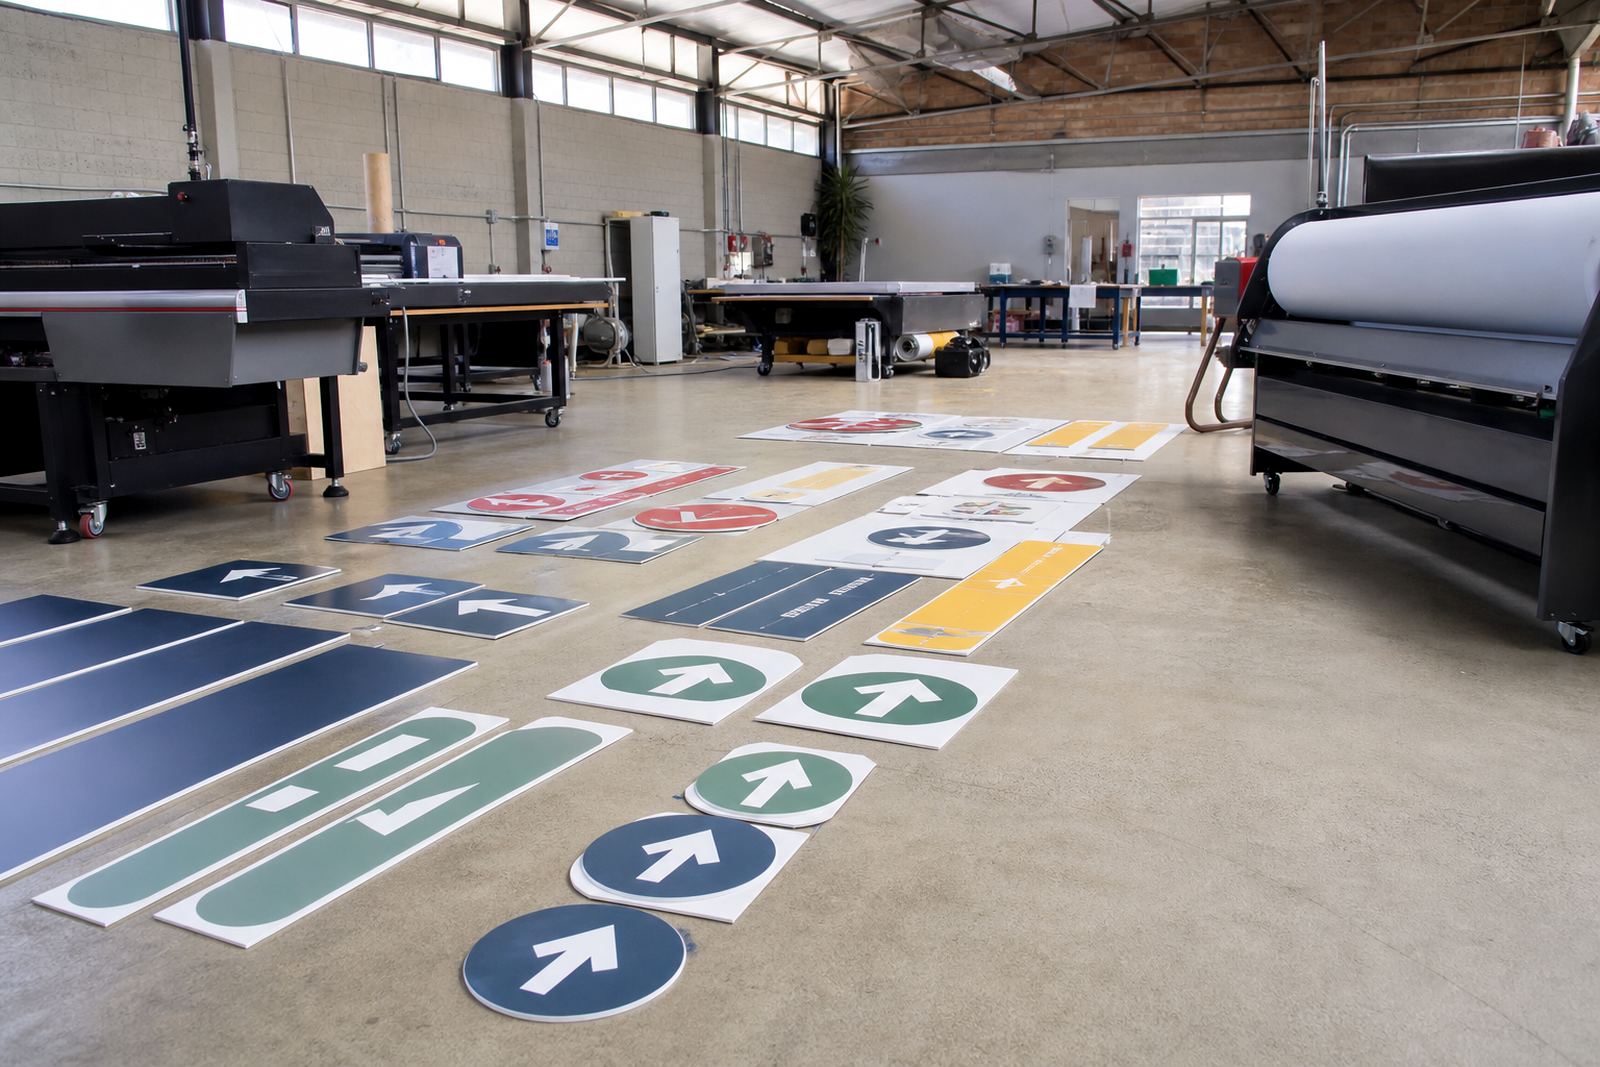
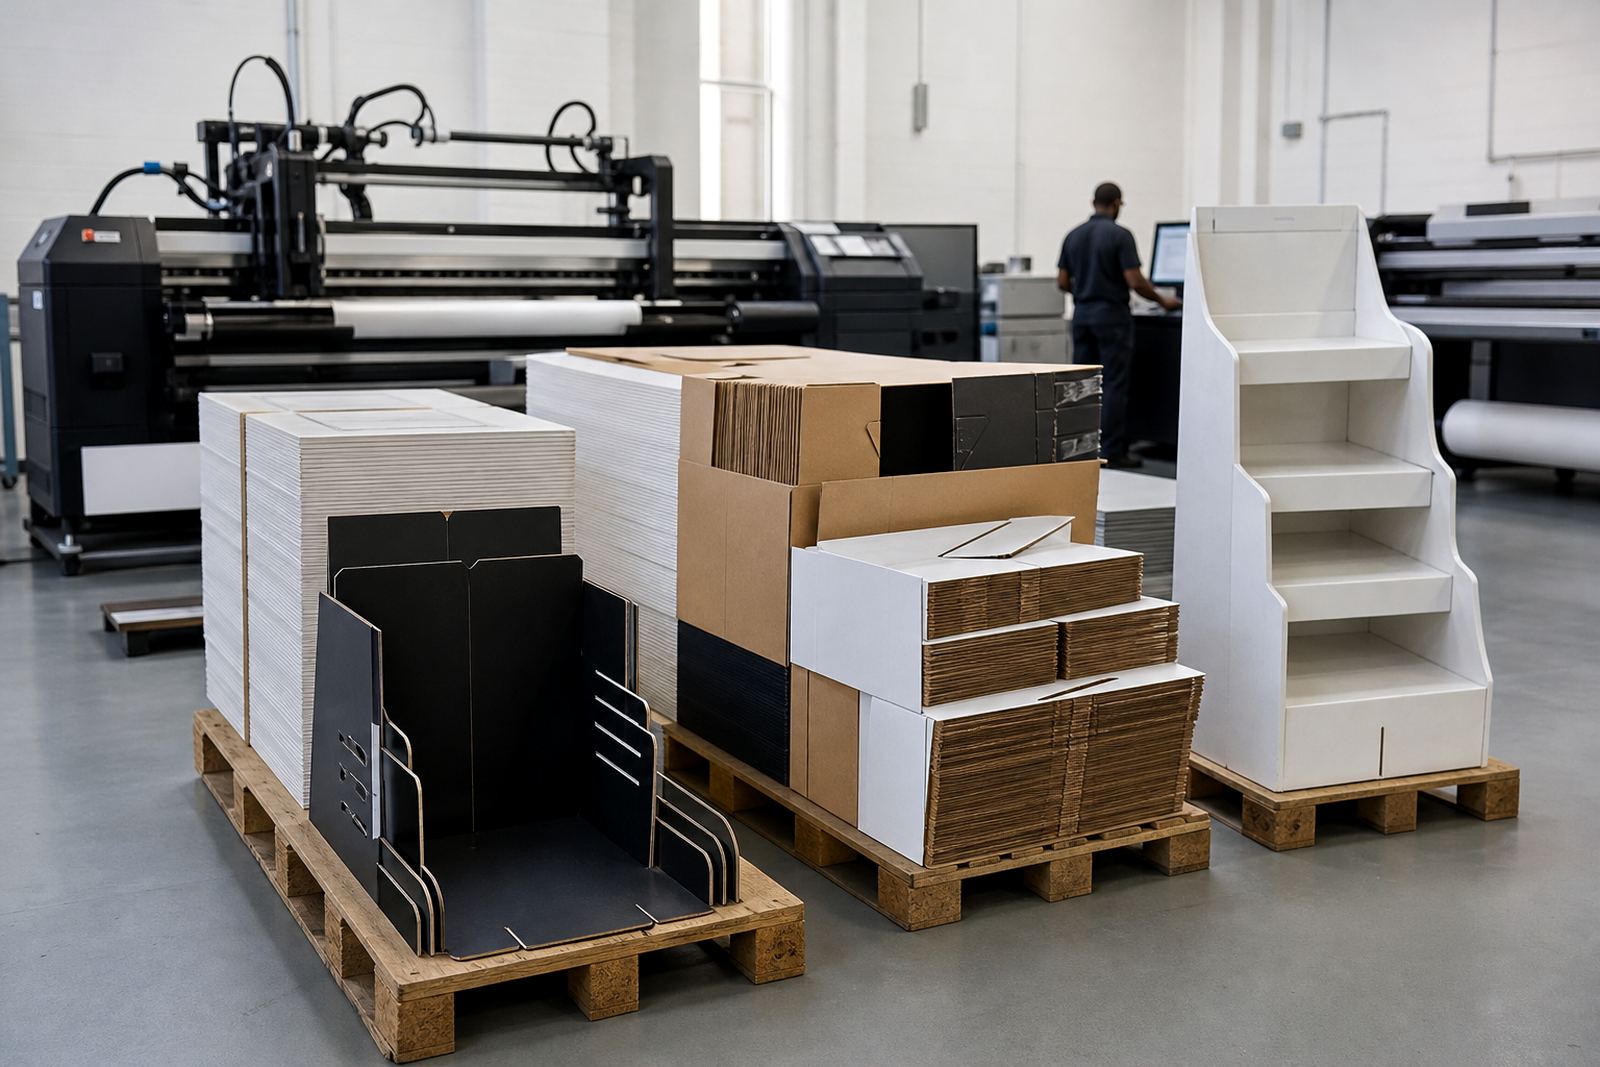
The brief came from a display producer working on a retail point-of-sale campaign in Century City, Cape Town. The job called for crisp graphics, tight registration, strong white underlay, and a controlled varnish effect that would stand up to close viewing under shop lighting. The pieces were for indoor use, so the finish had to look sharp without becoming brittle or tacky after curing.
The team also needed a practical ink setup that could run smoothly on a mixed production schedule. That meant checking how the UV-curable inks would behave on the selected board, confirming printer compatibility, and making sure the white ink could sit properly under the CMYK layers without causing blocked nozzles or uneven laydown.
What the production team needed to solve
The main constraints were print clarity, adhesion, and curing control. White ink can be unforgiving on some boards if the surface energy is low or if the curing is too aggressive. In this case, the client wanted a finish that looked clean from the front and did not show banding, pinholes, or gloss variation when viewed under bright indoor lights. They also had a short production window, so there was little room for reprints.
- Substrate testing on the exact board stock
- Strong white opacity without muddying the colours
- Varnish effect that cured fully and evenly
- Ink flow suited to flatbed production
- Safe handling guidance for operators on shift
Because the work was for a retail environment, the producer needed reliable curing at production speed. That is especially important when a job includes layered effects, since undercured ink can mark, scuff, or shift during cutting and finishing.
Ink matching, adhesion checks and curing guidance
We supplied UV-curable inks for the flatbed workflow and checked the intended use against the printer setup the client was running. The goal was to make sure the inks suited the print heads, the laydown profile, and the production speed. We also assisted with sample pack prep so the team could test white coverage and varnish behaviour before committing to the full run.
Our support focused on the practical side of print production. That included adhesion testing on the board, guidance on curing settings, and advice on how to manage layer build-up without over-curing the surface. For the white, we looked at how many passes were needed to get good opacity while keeping the finish even. For the varnish effect, we checked that the cured layer did not disturb the surrounding print or leave a rough edge.
- Ink selection for white, CMYK and varnish layers
- Compatibility checks for the chosen flatbed printer
- Adhesion testing on the production board
- Curing guidance for layered indoor graphics
- Colour trial support before the full run
Timeline from sample to finished boards
That timeline mattered because the campaign had to land on schedule and the producer was working around other indoor display jobs. Epping stock support and courier delivery across Cape Town helped keep the process moving, with follow-up supply available if the team needed more ink mid-job. In print production, a day saved on testing can make the difference between on-time handover and a rushed finish.
Results on the final POS campaign
The final graphics came out with good white coverage, consistent colour, and a varnish finish that added contrast without affecting readability. For an indoor campaign, that kind of result matters because the customer sees the finish up close, often under harsh retail light and at arm’s length.
The producer was able to run the job with less guesswork because the ink behaviour had already been tested against the board. That reduced waste, cut down on operator uncertainty, and helped the team keep production steady. It also meant the printer settings could be reused with more confidence on future POS work using similar materials.
What we would repeat on the next run for UV print rooms
For another layered POS run, we would keep that order of checks in place: confirm the substrate, test the white first, then lock in the curing settings before full production. That approach saves time and keeps the finish predictable. For layered indoor POS work, it is also worth briefing the operator on safe handling and giving a quick reminder to follow the safety data sheet and wear gloves during ink changeover and cleaning.
We would also keep the communication tight on repeat orders, especially if the campaign is being reprinted for another store or another suburb. A well-planned ink trial, clear curing guidance, and a small sample pack can prevent problems later in the run. With UV-curable inks, the details matter and the best results usually come from steady setup rather than last-minute correction.
- Repeat the substrate test before production starts
- Confirm printer compatibility on the actual machine settings
- Keep white and varnish trials separate from the main run
- Use gloves and the safety data sheet for handling
- Plan courier stock support for any top-up orders
Ink data
| Project type | Indoor point-of-sale graphics with white layers and varnish effects |
|---|---|
| Town | Century City, Cape Town |
| Ink type | UV-curable inks for flatbed and roll-to-roll print workflows |
| Key checks | Adhesion testing, curing guidance, compatibility checks |
| Timeline | 3 weeks from brief to approved production |
| Supply area | Epping, Cape Town with courier delivery across South Africa |