What overcure looks like on the finished print
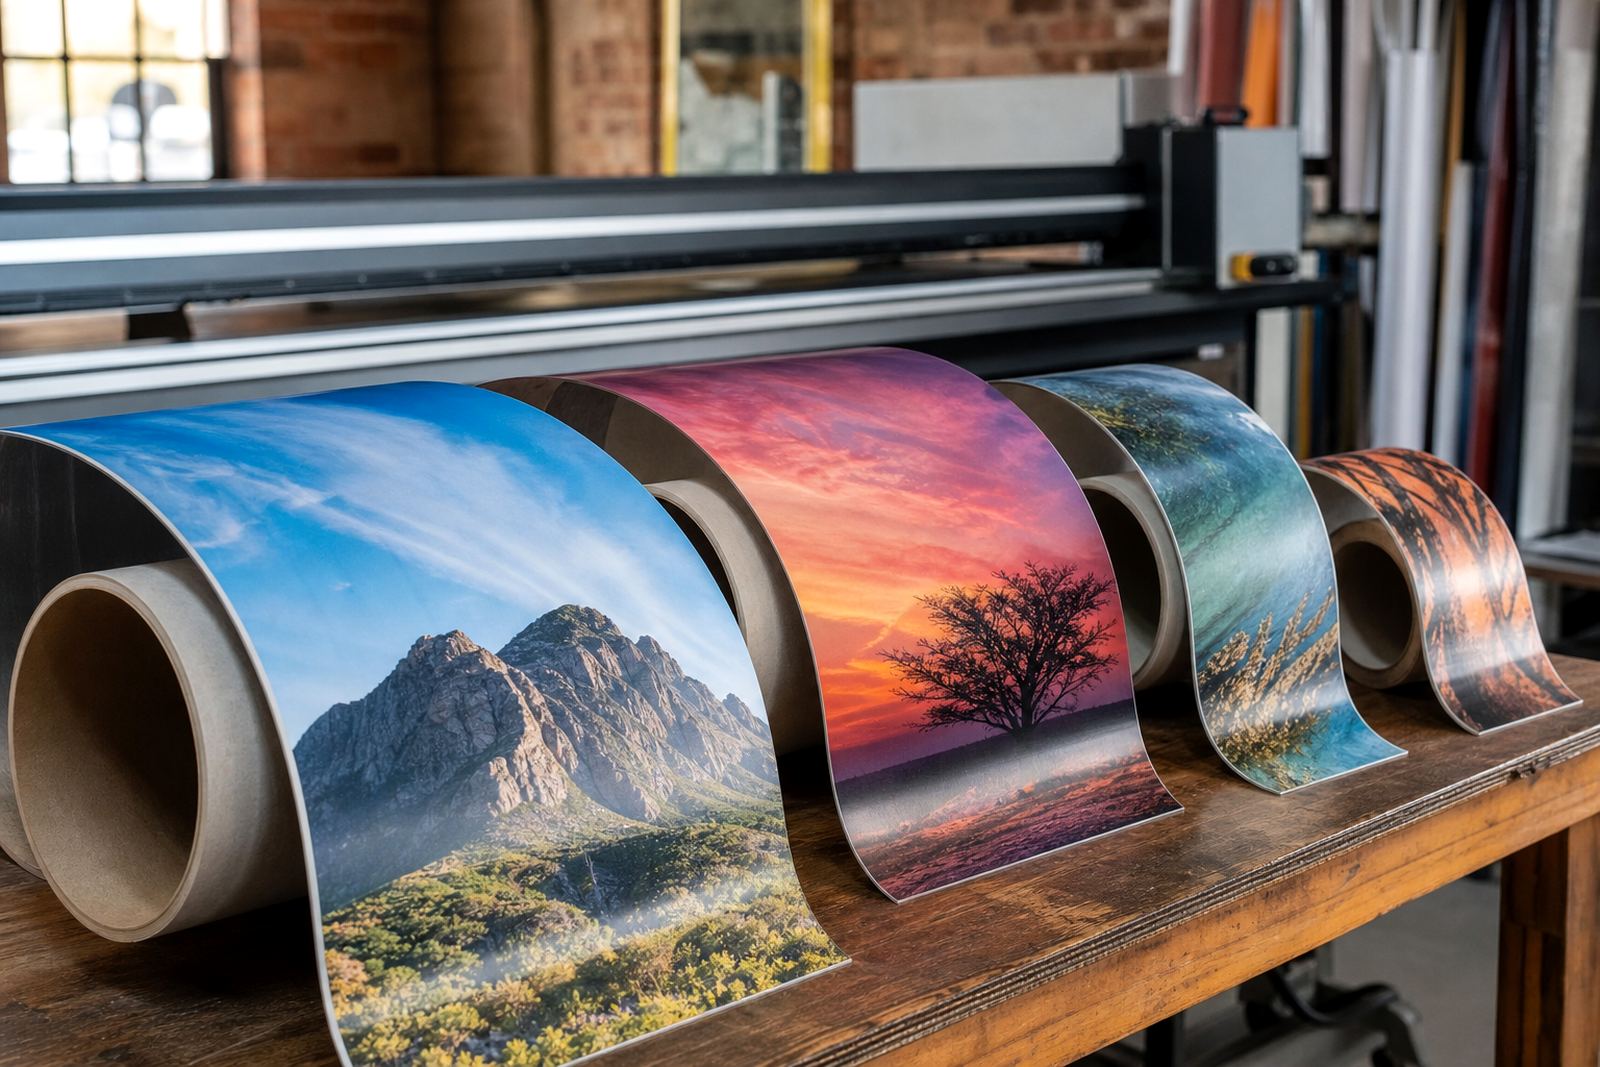
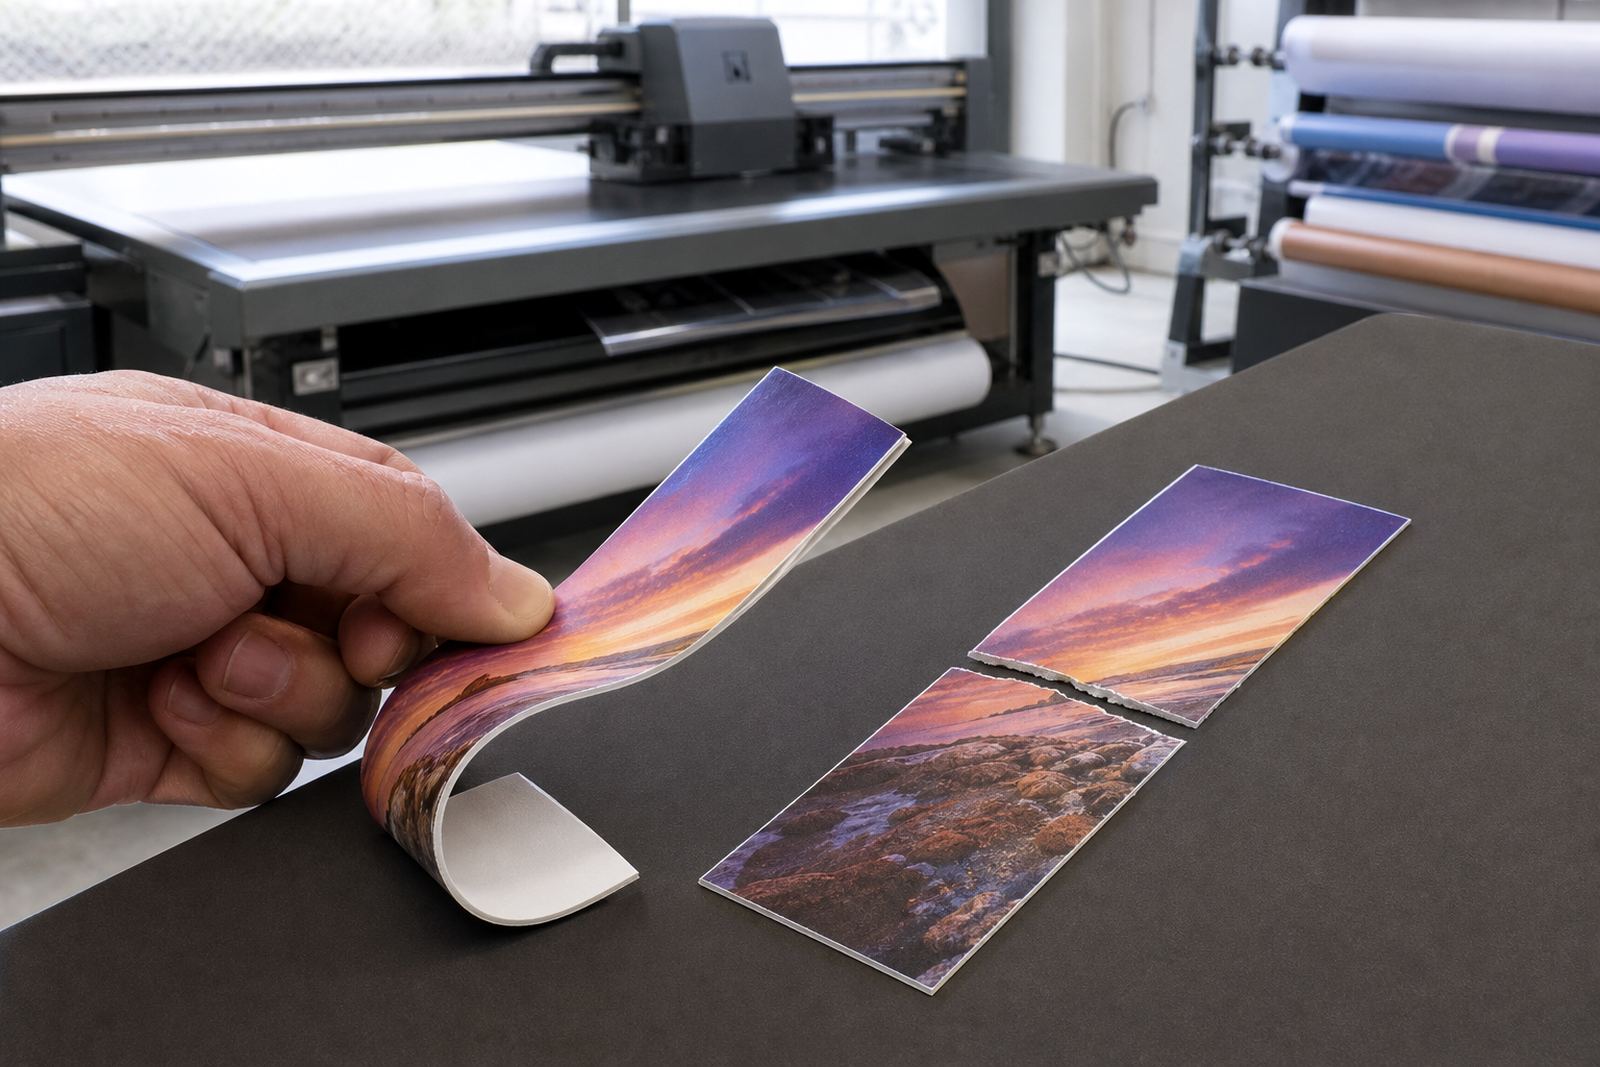
When UV ink is exposed to too much curing energy it can crosslink too far. The print may still look bright, but the surface can become stiff, chalky or prone to cracking when it is bent, cut or handled. On rigid boards the damage may show later as edge chipping, while on flexible media you might see flaking along folds or in areas that are trimmed close to the image.
In a production run the first warning is often simple to spot. The print feels harder than usual, the gloss or matt finish changes, and adhesion tests start giving mixed results. If you scratch the surface lightly and the ink breaks away in small flakes rather than stretching with the substrate, curing is likely too strong for that setup.
Why curing balance matters for UV-curable inks
UV-curable inks need enough energy to cure fully, but not so much that the film becomes over hardened. The right balance depends on the printer, lamp or LED output, ink layer thickness, media type and the job speed. A rigid display panel for indoor signage does not behave the same way as a roll-to-roll graphic going onto vinyl or banner media.
Good curing supports adhesion and print life. Too little curing can leave tackiness and weak bonding, while too much can reduce flexibility and make the print less tolerant of heat, handling and post-processing. In Cape Town, where coastal humidity can change how media behaves through the day, small adjustments sometimes make a big difference. It pays to test rather than assume one setting will suit every run.
Simple shop-floor checks before a full production run
Before committing to a long print run, do a short set of checks on the same material and settings. A small sample can save a great deal of waste. Start with a visual check, then inspect the cured ink after cutting, bending or rubbing the sample in the way the final product will be used. If the ink film looks powdery or fractures at the edges, stop and adjust the curing level.
It is also worth noting whether the problem shows up across the full sheet or only in one part of the bed. Uneven curing can point to lamp distance, travel speed or heat build-up in one area of the machine. A quick test on a spare piece of substrate often tells you more than a full production board ever will.
- Print a small sample at the planned production speed
- Check adhesion after the ink has cooled for a few minutes
- Fold, score or trim the sample as the job requires
- Compare the feel of the cured surface with earlier successful jobs
Substrate and printer compatibility are part of the cure
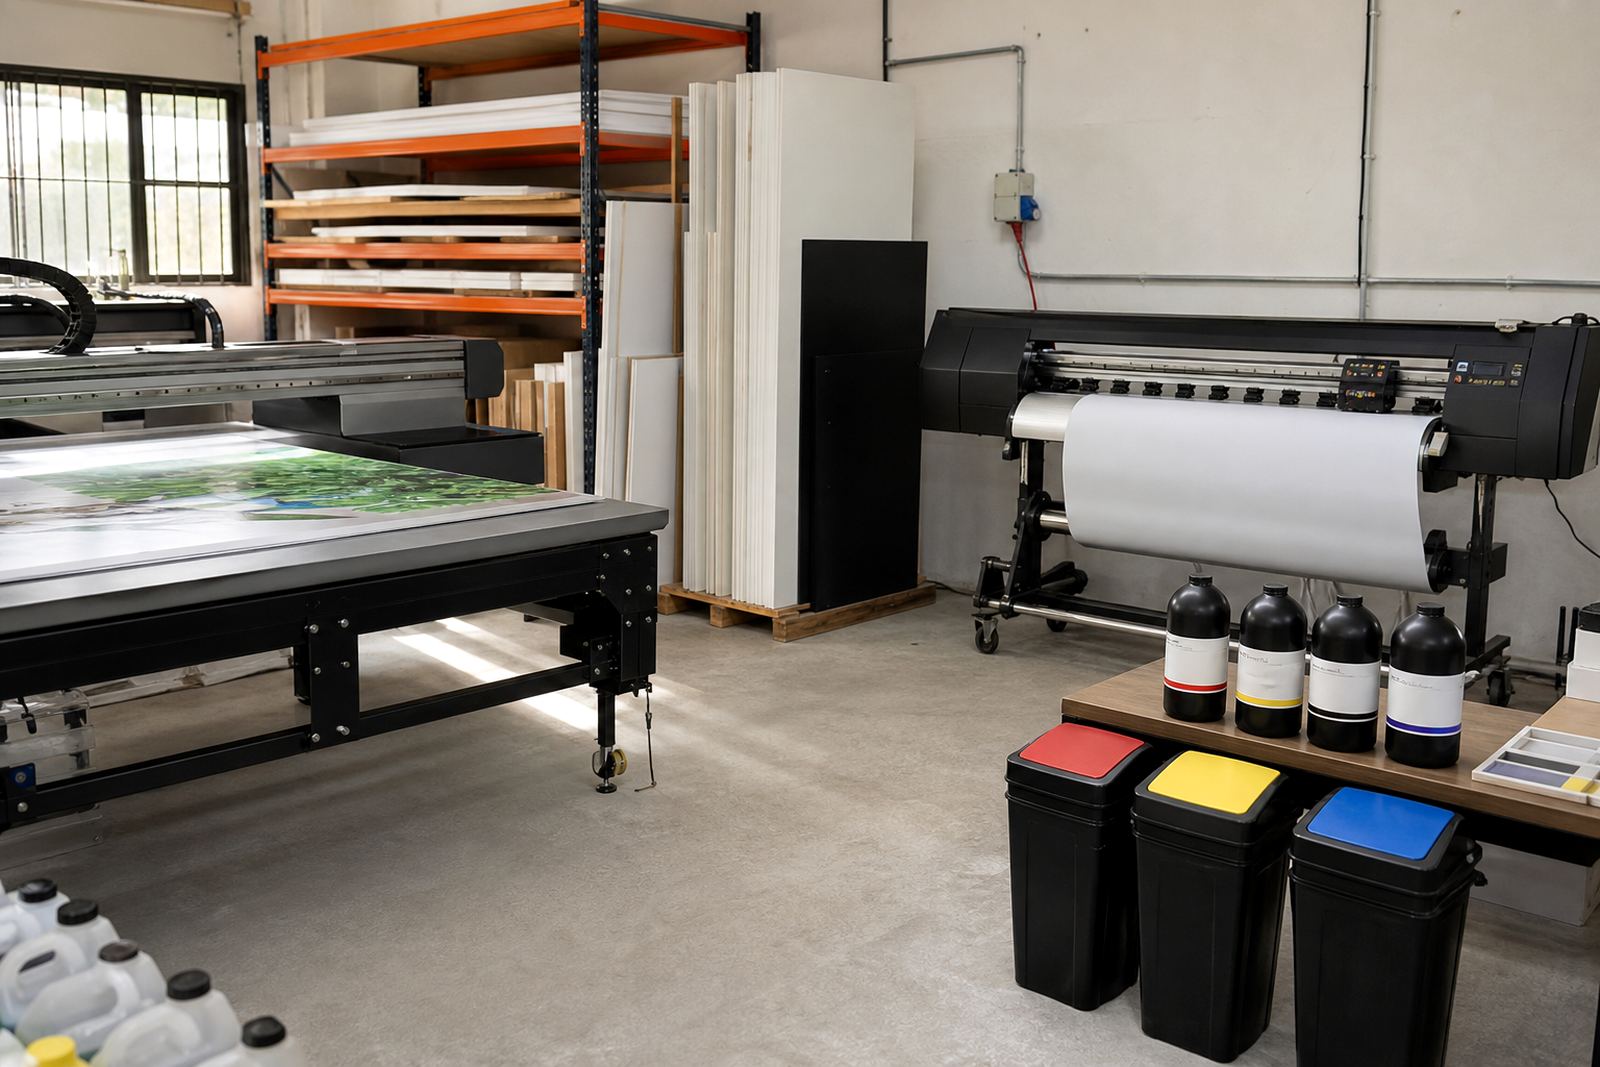
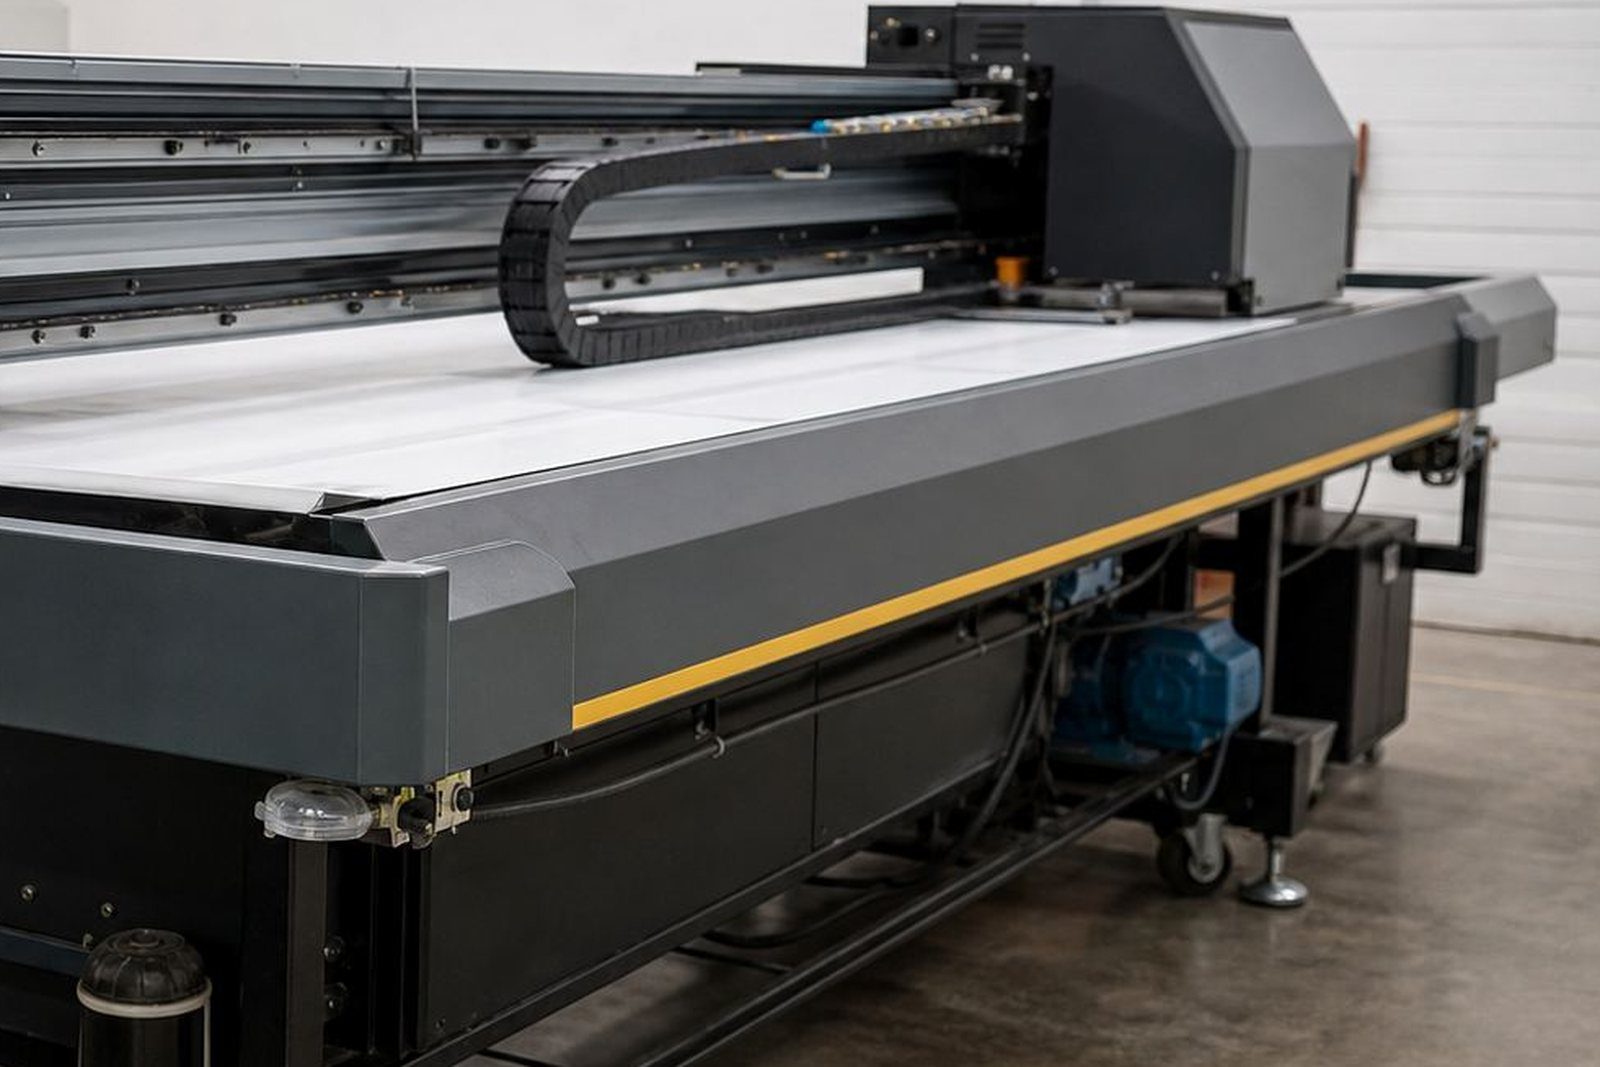
Overcure is not only about the curing unit. The substrate itself can push a setup toward brittle results. Some materials take ink well but lose flexibility once cured. Others need better surface preparation, adhesion testing or a different curing profile to hold the ink properly. Flatbed and roll-to-roll printers also behave differently, so a setting that works on one machine may not be suitable on another.
That is why compatibility checks matter. If you are producing for packaging, signage or graphics work that will be cut, folded or laminated, the cure has to be strong enough for durability but not so hard that the image fails during finishing.
From the ink lab: A mixed production week
A small sign shop in Epping may run rigid boards in the morning, then switch to roll media for a retail promotion in the afternoon. In that kind of week the temptation is to leave one curing setting in place and keep moving. But the board job might need a stronger cure for handling, while the roll job needs a lighter touch so it does not crack when wound or fitted. That is where overcure often starts, usually after a busy day and a machine left on the same setting for convenience.
Still, the better habit is to recheck the cure whenever the work type changes. A five minute test run can stop a batch of brittle prints and save on reprints, especially when courier deadlines are tight for Johannesburg, Durban or Pretoria deliveries.
Safety handling while curing and testing
UV ink and cured prints should be handled with care during testing and finishing. Follow the safety data sheet for the product in use, wear gloves and keep the work area clean. Even when a print looks dry, uncured residue can still transfer during trimming, wiping or sample preparation. Good housekeeping helps protect staff and keeps dust off the curing area.
If you are checking adhesion with tape, rubbing or bending tests, do it methodically and record the result. That makes it easier to compare jobs over time and spot a pattern if overcure keeps showing up. A steady routine is better than guessing, especially when a team is sharing a printer across shifts.
Getting help with the right cure for the job
At UV Ink in Epping, Cape Town, we help printers match the ink and cure to the job at hand. That includes ink selection, compatibility checks, adhesion testing, curing guidance, sample pack prep and remote technical help when a setting is not behaving as expected. We also support repeat order management and production planning so your team can keep a consistent routine.
If you are unsure whether a job is overcured or simply mismatched to the media, start with a sample and work from there. A short enquiry through the contact page is the quickest way to get practical guidance for Cape Town delivery or courier stock support to Johannesburg, Durban, Pretoria, Gqeberha, Bellville or Paarl.