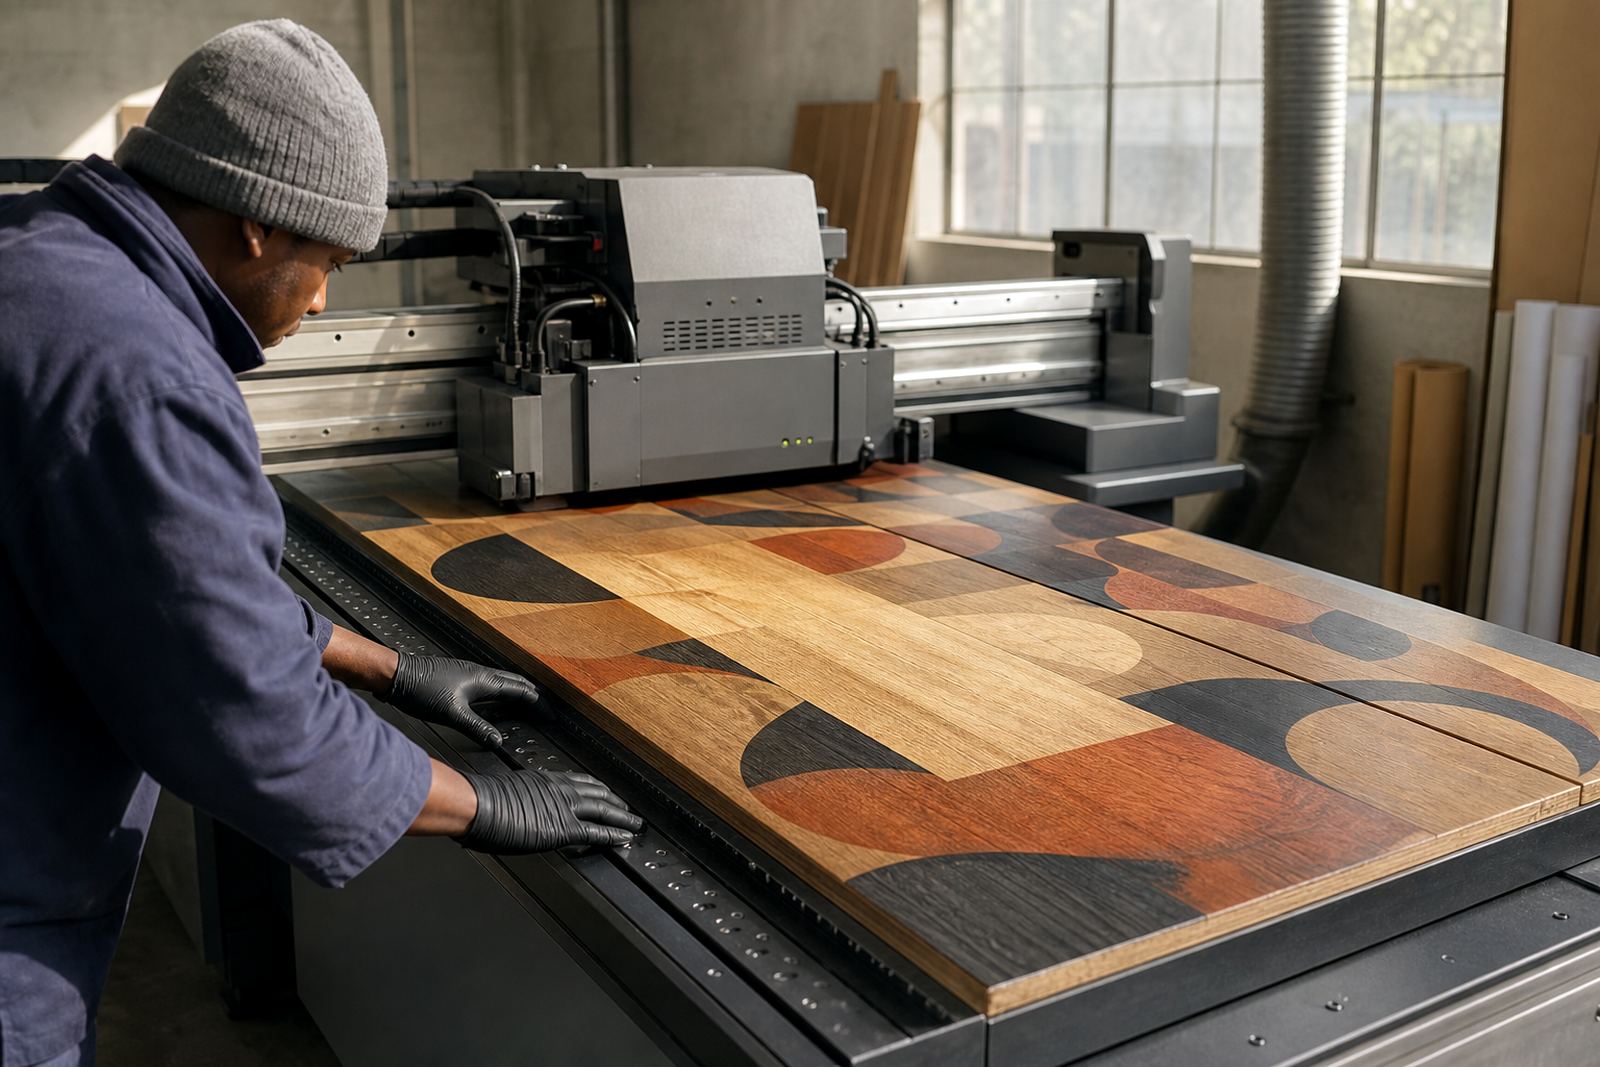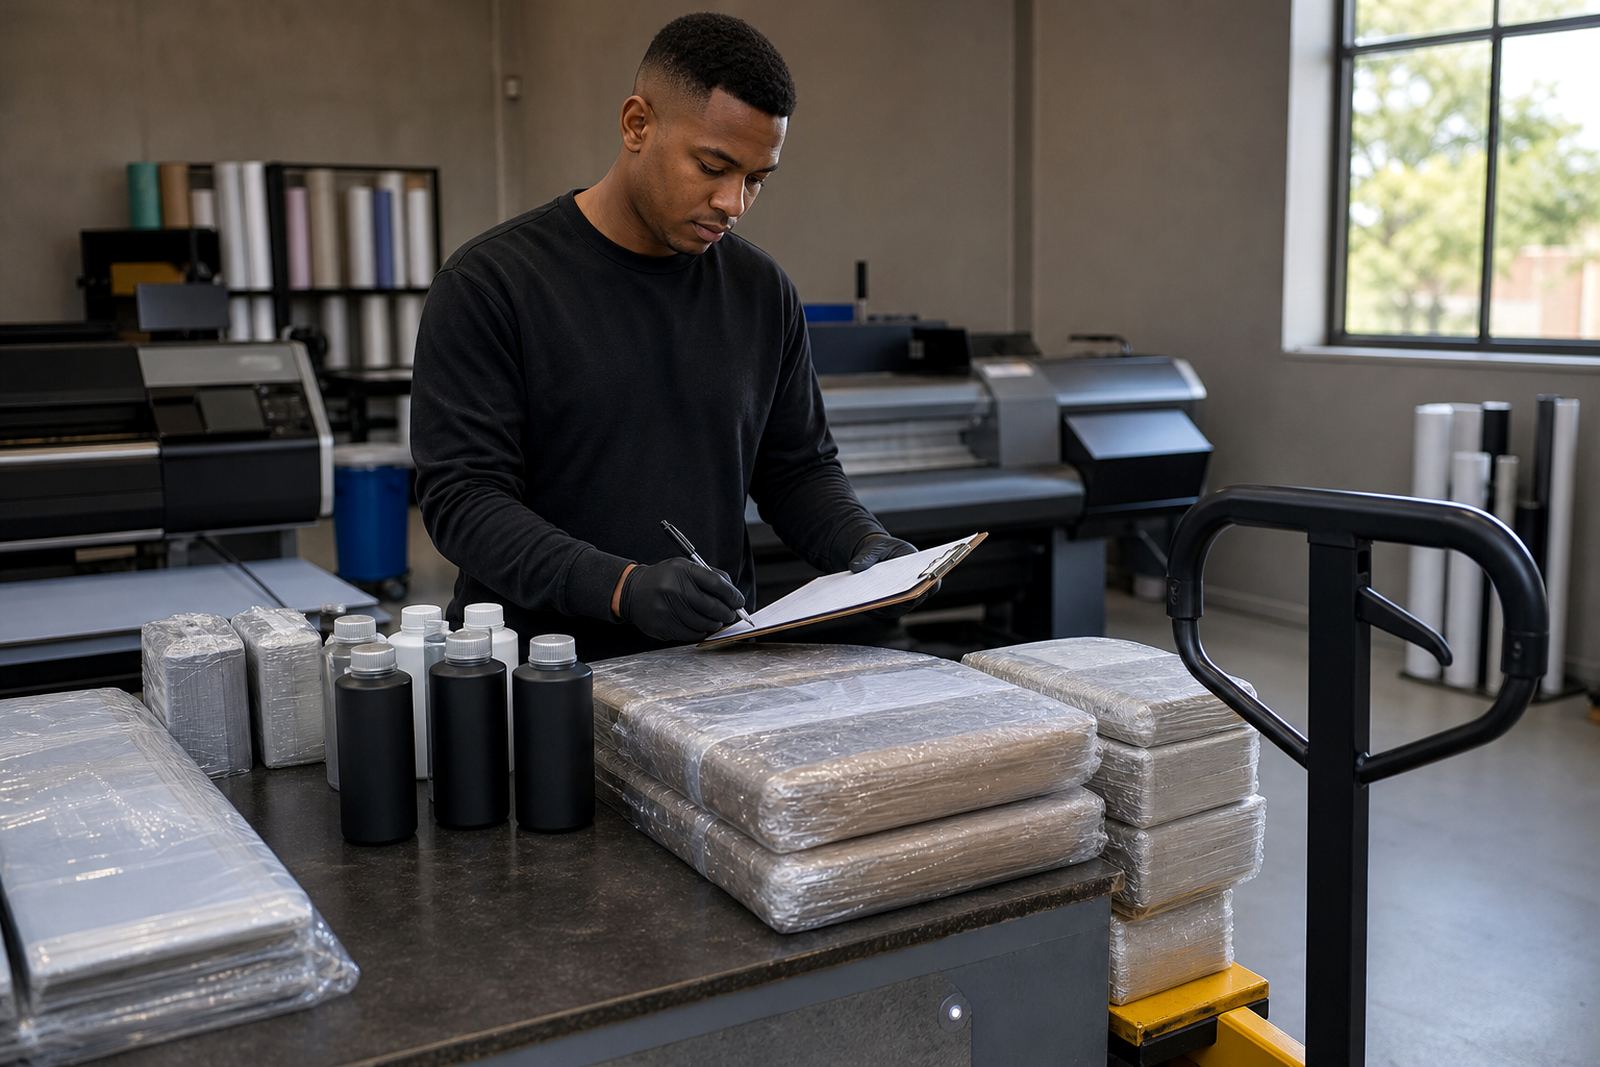
What undercure looks like on the press
Undercure happens when UV ink does not receive enough energy to fully cure on the substrate. The print may look fine at first glance, yet it can stay slightly tacky, scuff too easily or lose adhesion when handled. On flatbed and roll-to-roll work, that can mean a sign panel that marks under a fingernail, a label face that picks up dust or a graphic that shows fine cracking after trimming.
In practical terms, the signs are usually simple to spot if you know what to check. Run a finger lightly over a test area after curing, then look for residue on the glove, dull patches, smearing, or a smell that lingers longer than usual. If the print is being folded, cut or laminated, watch for edge lift and early failure at the corners where stress is highest.
- Tacky or slightly rubbery feel after curing
- Scuffing from light rubbing or stacking
- Poor adhesion on smooth plastics, board or coated media
- Uneven gloss or dull patches across the image
- Smearing during cutting, trimming or handling
Why cure settings and ink laydown must work together
Undercure is not only about lamp output. It can come from a mix of ink laydown, pass count, printer speed, lamp power, substrate type and the surrounding workshop conditions. A heavy ink deposit on a dark sign board needs more energy than a lighter pass on a white rigid sheet. On a humid Cape Town morning, for example, a coated media surface may behave differently from the same stock used later in the day when the shop warms up.
If the printer is moving too fast, the lamps may not deliver enough energy for the ink film thickness. If the ink layer is too heavy, the top may appear cured while the lower layer stays soft. That is why colour, speed and curing need to be checked together, not one at a time. A quick production note on each job helps the next run start from a better setting.
Watch for these common triggers:
- Printer speed set too high for the ink film thickness
- Insufficient lamp intensity for the substrate and pass count
- Incorrect print height or curing distance
- Dirty lamps, reflectors or glass covers reducing output
- Surface contamination such as dust, release agents or hand oils
Simple shop-floor checks before a full run
Routine checks do not need to be complicated. A short test strip at the start of a shift can show whether the ink is curing cleanly on that day’s material. Check adhesion after curing by cross-hatch cutting where suitable, or by using a light rub test on a spare section. If the job is for outdoor signage in Johannesburg or Durban, it is worth confirming the finish before the full sheet count goes through the printer.
Keep a small production record for each repeat order. Note the substrate, ink colour mix, pass count, speed, lamp setting and any room conditions that changed. If the result shifts from one batch to the next, the notes will help narrow down the cause. This is especially useful where a customer orders the same graphic again but wants the same colour and handling quality as the last run.
- Print a short test panel before the main batch
- Check surface feel once the panel has cooled
- Test edge adhesion after cutting or trimming
- Confirm there is no transfer when stacked
- Record settings for repeat work and reorders
Even a small adjustment can matter. A drop in curing output or a slight shift in print speed may not be obvious until the job is handled, packed or installed. That is when undercure becomes costly.
Substrate choice and adhesion on South African jobs
Different materials behave differently with UV-curable inks. Rigid boards, PVC sheets, corrugated board, coated plastics and some films each have their own surface energy and texture. A print that bonds well to one material may need extra preparation or a different curing setup on another. Coastal humidity can also affect how clean and dry a sheet feels before printing, particularly on stored stock in places like Gqeberha or Durban.
Where possible, keep the substrate clean, dry and free from dust. If a material is known to be difficult, test a sample before committing to production. For packaging or display work that will be folded or handled repeatedly, this check is not optional. It is part of good production control.
Useful habits for better adhesion include:
- Wiping down sheets to remove dust and handling marks
- Storing stock flat in a dry, shaded area
- Allowing cold material to settle before printing
- Checking whether the ink suits the surface finish
- Testing a new batch of media before large-volume runs
Training the operator to spot trouble early
The best cure settings still need a trained operator watching the job. If the person running the machine knows what a properly cured print feels and looks like, undercure can be caught before the batch is finished. That saves ink, time and substrate, especially on repeat production where the same mistake can multiply quickly.
Training should cover the basics of handling, curing guidance and safe work habits. Operators need to know when to slow down, when to reduce ink load and when to stop the press for a test print. It also helps to build a habit of checking the first sheets after a settings change, not halfway through the job. A few minutes at the start can prevent a long clean-up later.
Practical training points include:
- How to read the first signs of tackiness or scuffing
- When to adjust lamp power, speed or passes
- How to store and handle sample strips for comparison
- Why gloves should be worn when checking uncured or fresh prints
- How to follow the safety data sheet for the ink in use
A Paarden Eiland flatbed running UV ink all day
A sign shop in Epping may be running a mix of short-run rigid boards and roll work for branches across Cape Town, with a courier deadline on the same day. If the first rigid panel feels fine but the second starts showing light scuffing after stacking, that is a warning sign. The issue may be a small change in speed after the operator tries to increase output, or a new stock batch that needs more cure energy. Catching it early means the team can adjust before the whole order is packed.
That kind of check matters just as much for customers in Bellville, Paarl, Pretoria or Gqeberha. Under cure is often a production issue first, and a customer complaint later. The fix is usually simple once the cause is identified, but only if someone is watching the signs.
For repeat work, keep the cure notes with the order record so the next run starts from known settings.