Why Wood Needs More Preparation Than You Might Expect
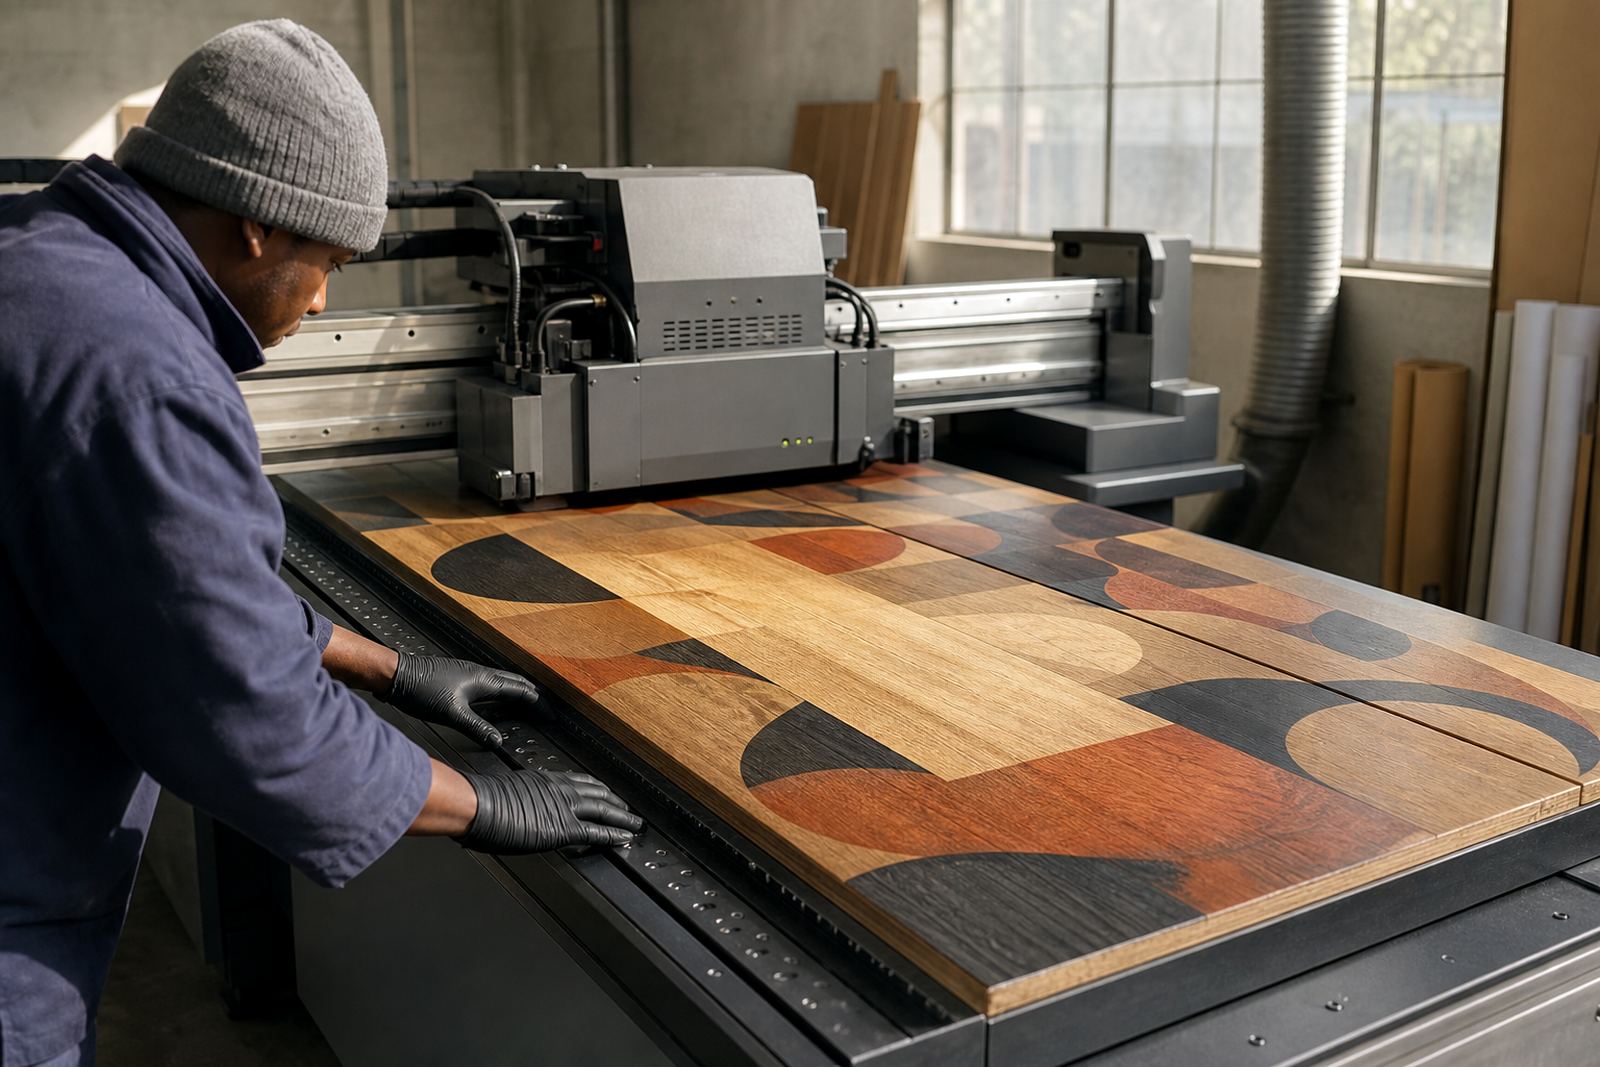
Printing on wood is not only about getting ink onto the surface. The real challenge is getting the ink to sit evenly, cure fully and hold under handling, heat and moisture. Solid timber, plywood, MDF, chipboard and laminated boards all behave differently, so a setup that works on one panel may fail on the next.
UV-curable inks work well on many wood-based substrates because they cure quickly under UV light and can give good detail on signs, panels and decorative pieces. But wood is not naturally uniform. It may have open grain, dust, oils, glue lines or a coating that changes how the ink wets and bonds. That is why a consistent surface matters so much.
If the board is too porous, the print can spread slightly or lose sharpness. If it is too smooth or coated, adhesion may be weak unless the surface is properly cleaned or tested first. Even the humidity in Cape Town or the moisture level in panels stored near the coast can affect the final result.
Choose the Right Board Before You Start Printing
The best print starts before the printer is loaded. For UV work, a board should be flat, dry and consistent in thickness. Warped wood can cause head strikes or uneven ink laydown on flatbed equipment. On roll-to-roll jobs with wood-look media or flexible wood composites, tension and curl need checking before production begins.
For real wood panels, the aim is to reduce variables. A smooth sanded finish, proper dust removal and a clean storage area help a lot. If the surface has a sealer, varnish or laminate, the ink may sit on top rather than key into the board. That can be fine if the coating is suited to UV printing, but it still needs testing.
- Check for dust, resin, oil and fingerprints before printing.
- Keep panels dry and store them flat where possible.
- Test each board type separately, even if it looks similar.
- Watch for grain movement and surface blemishes after sanding.
In a busy shop in Epping or Bellville, it is often the prep time that saves the reprint later. A few extra minutes on the board can prevent a full batch from being rejected.
Adhesion Testing Is the Step That Saves Most Reprints
Adhesion on wood is never something to assume. Different coatings, sealers and timber species can all respond differently to the same ink. A simple test panel is usually the best starting point, especially when changing suppliers, moving to a new board grade or shifting from indoor signage to handled products.
Look for issues such as scratching, flaking or ink lifting at the edges after curing. If the print looks glossy but rubs off, the surface may need better cleaning, more suitable curing settings or a pre-treatment step. If the ink beads up, the board may be contaminated or too sealed for direct printing.
For packaging prototypes, custom décor, menu boards and point-of-sale panels, it helps to print a few sample pieces before running the full job. That is especially true when the end use involves handling, transport or exposure to sunlight near shopfront windows.
- Print a small test area and let it cool fully before handling.
- Rub the area lightly with a clean cloth to check surface hold.
- Inspect edges, corners and fine text under good light.
- Repeat the test if the board batch changes.
Curing Settings Need to Match the Board and the Ink Layer
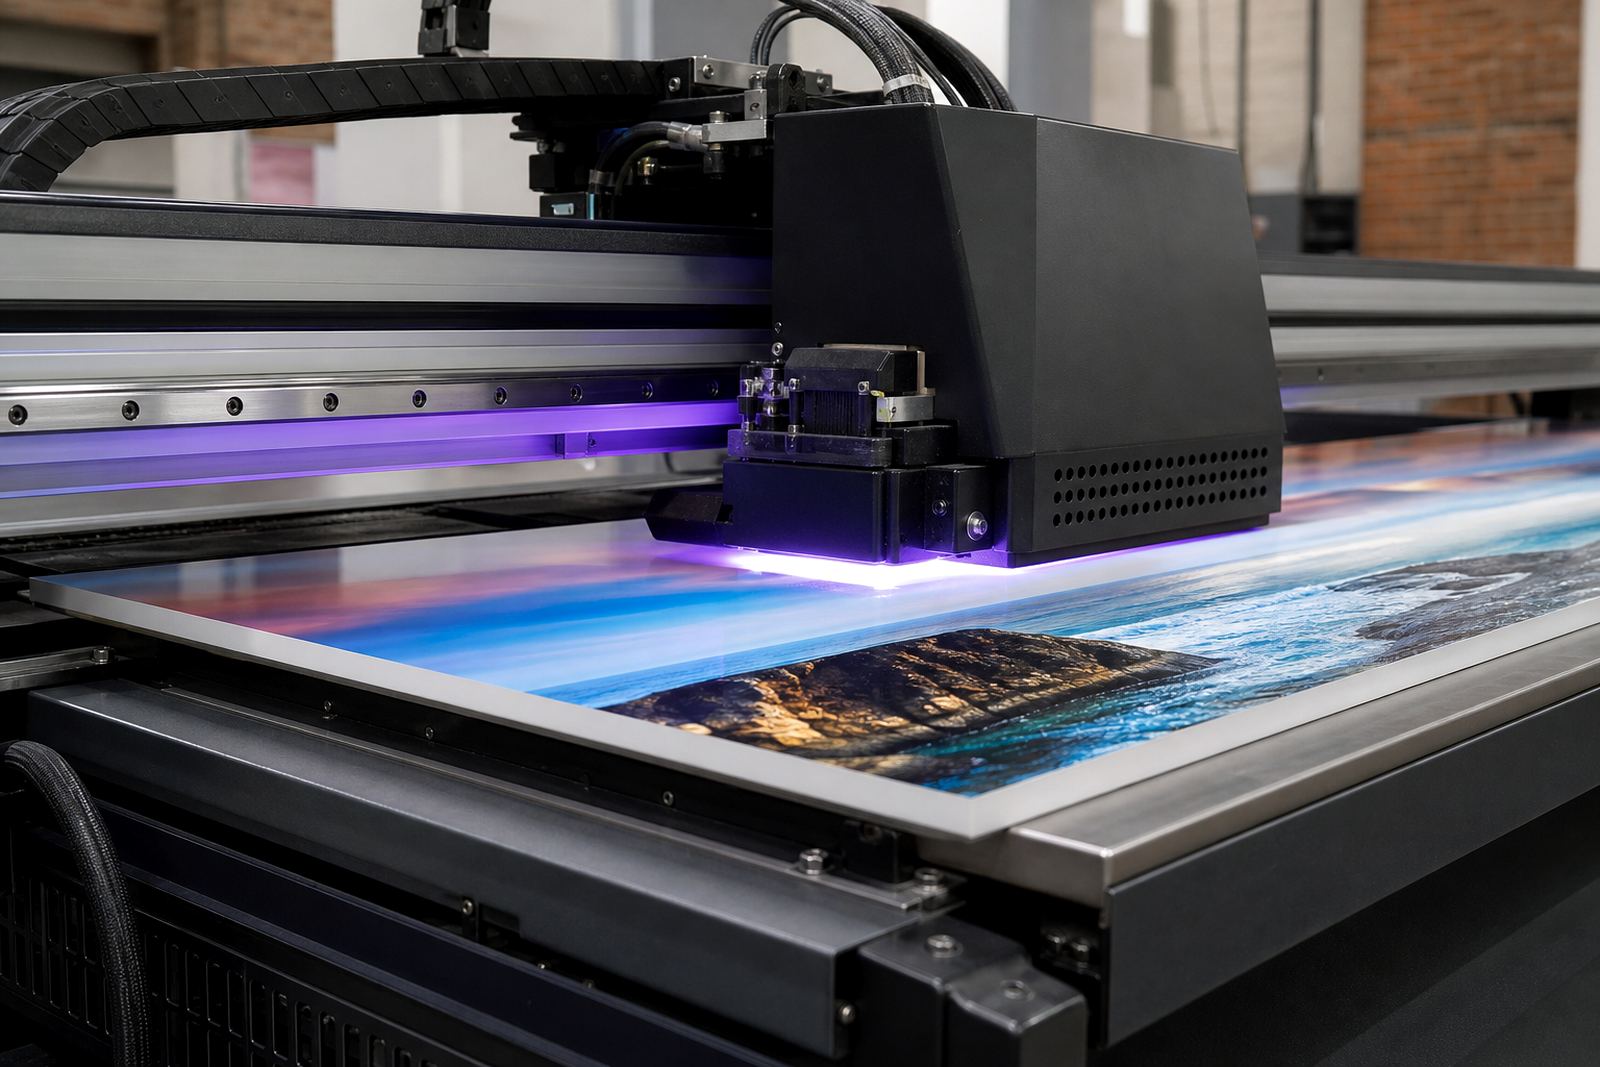
UV curing is what turns liquid ink into a dry, usable print. On wood, the goal is full cure without overheating the panel or under-curing the ink. Too little cure can leave a tacky finish or weak bond. Too much energy can affect some coatings or cause unwanted surface changes.
The thickness of the ink layer matters. A solid white underbase, for example, usually needs more attention than a light four-colour print. Dark wood also changes how colour appears, which means the curing and ink build need to be checked together with the artwork.
Use the printer settings that suit the specific substrate and the particular job, then confirm with a sample. A careful operator will check for odour, tack, gloss variation and fine detail after curing. If the job is going to a coastal client in Gqeberha or a high-traffic retail site in Johannesburg, a stronger quality check is worth the time.
That helps avoid partially completed work sitting too long on the machine or in the tray.
Where Printing On Wood Works Best in South Africa
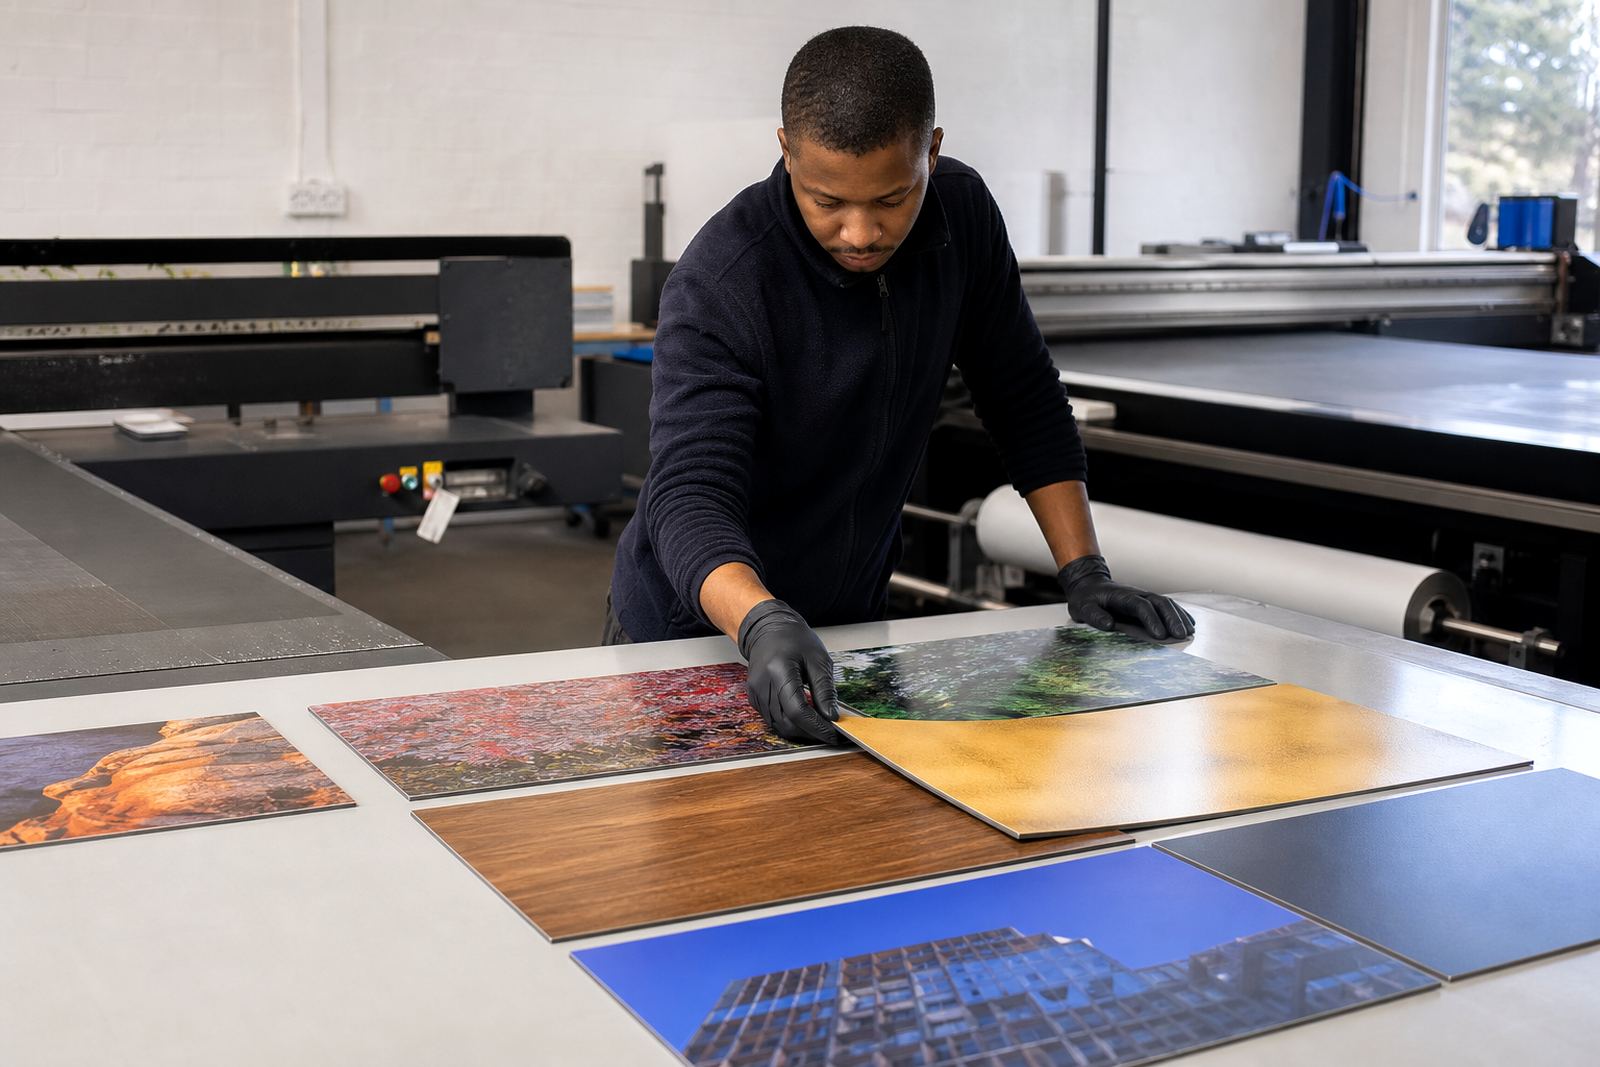
Printed wood is used in many practical settings. Signage shops use it for wall branding, menu panels and directional signs. Joinery businesses use it for branded inserts, display pieces and interior décor. Packaging teams may use printed boards for mock-ups, premium presentation items or limited-run displays.
In Cape Town, a furniture workshop might want clean branding on a timber panel for a reception area. In Durban, humidity and storage conditions may push the team to be stricter about sealing and curing. In Pretoria, a school or office fit-out may need panels that hold up to regular cleaning. The process changes a little by site, but the need for adhesion and consistency stays the same.
For best results, keep the design practical. Fine details can print well, but very dark timber, heavy texture or rough-cut edges can reduce clarity. If the board is part of a product that will be touched often, it may need a protective top layer or a different substrate choice altogether.
- Use printed wood for interior signage and display work.
- Check moisture and storage conditions before production.
- Plan for handling, cleaning and transport after printing.
How We Support Wood Printing Jobs From Epping to the Rest of SA
Wood printing often goes smoother when the ink supplier understands the full process, not just the product. That means helping with ink selection, compatibility checks, adhesion testing and curing guidance before the job becomes a problem. It also means making sure the operator knows how the board, ink and printer need to work together.
From our Epping base, we support customers in Cape Town and courier stock to Johannesburg, Durban, Pretoria and Gqeberha. For repeat jobs, we can help with sample pack prep, colour trial support, production planning and repeat order management so the same board and print result can be reached again and again.
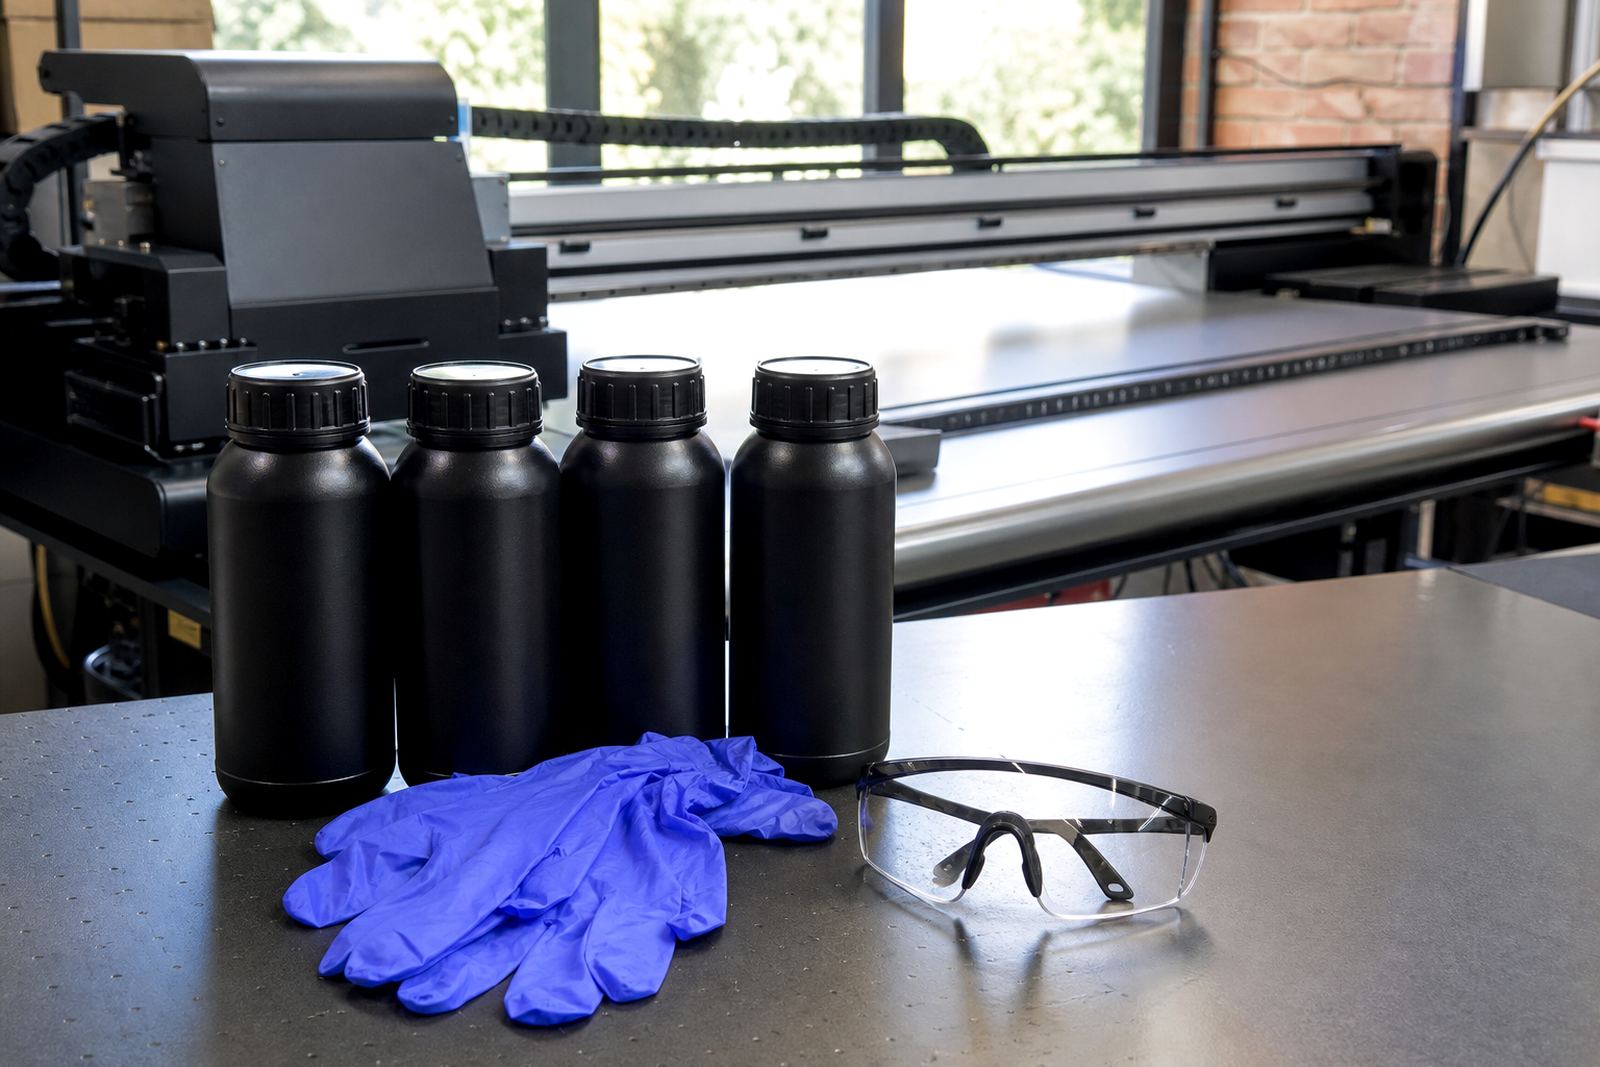
If you are printing on wood for the first time, or changing to a different panel type, it pays to start with a proper test plan. Follow the safety data sheet, wear gloves when handling inks and clean up carefully. That is basic shop discipline, and it protects both the operator and the print result.
For practical advice, write to UV Ink through the contact page form and give as much detail as possible about the board, printer type and end use. A clear brief makes it much easier to match the ink to the job and avoid avoidable waste.
Keep the Process Simple: Test, Cure, Check, Repeat
Printing on wood works best when the process is kept simple and controlled. Start with the board, check the surface, test the adhesion, confirm the cure and inspect the result under good light. Once that sequence is stable, production becomes far more predictable.
Wood is attractive because it gives a natural finish, but that same natural variation is what makes it tricky. A little extra care at the front end usually gives a cleaner print and fewer call backs later. For shops handling signage, décor or packaging, that consistency is often the difference between a smooth run and a production headache.
If you need help setting up a wood print job, a sample check or a repeat order, use the enquiry form and tell us what you are printing and where it will be used. The more precise the job details, the easier it is to match the ink, media and test process.