Start with the job conditions, not just the artwork
Before a banner goes to print, think about where it will hang, how long it must last, and what wind, sun or handling it will face. A shopfront banner in Bellville needs different planning from a road-facing banner in Durban where humidity is higher and rain can arrive fast. If the banner will be folded for delivery or stored for repeat use, the ink film must stay flexible enough to cope with that movement.
UV-curable inks are a good fit for many banner jobs because they cure quickly under the right lamp setup and can offer solid colour on a wide range of printable media. Still, the printer, ink set and media all need to work together. A quick compatibility check helps prevent cracking, poor adhesion or ink sitting too hard on the surface. In other words, the material choice matters just as much as the design.
Practical pre-flight checks help keep production moving:
- Confirm the banner material type and coating before loading the file.
- Check whether the job will be hemmed, eyeletted or welded after print.
- Allow for overlap if the banner will be folded around poles or frames.
- Test a small section when the media is new or from a different batch.
Keep curing balanced so the banner can flex
Curing is where many banner problems start or finish. If the ink is under-cured, it may scuff, mark when rolled, or show weak adhesion after handling. If it is over-cured, the print can become brittle and lose flexibility at the fold lines or around the hems. The aim is a full cure that still leaves enough movement in the printed film for real-world use.
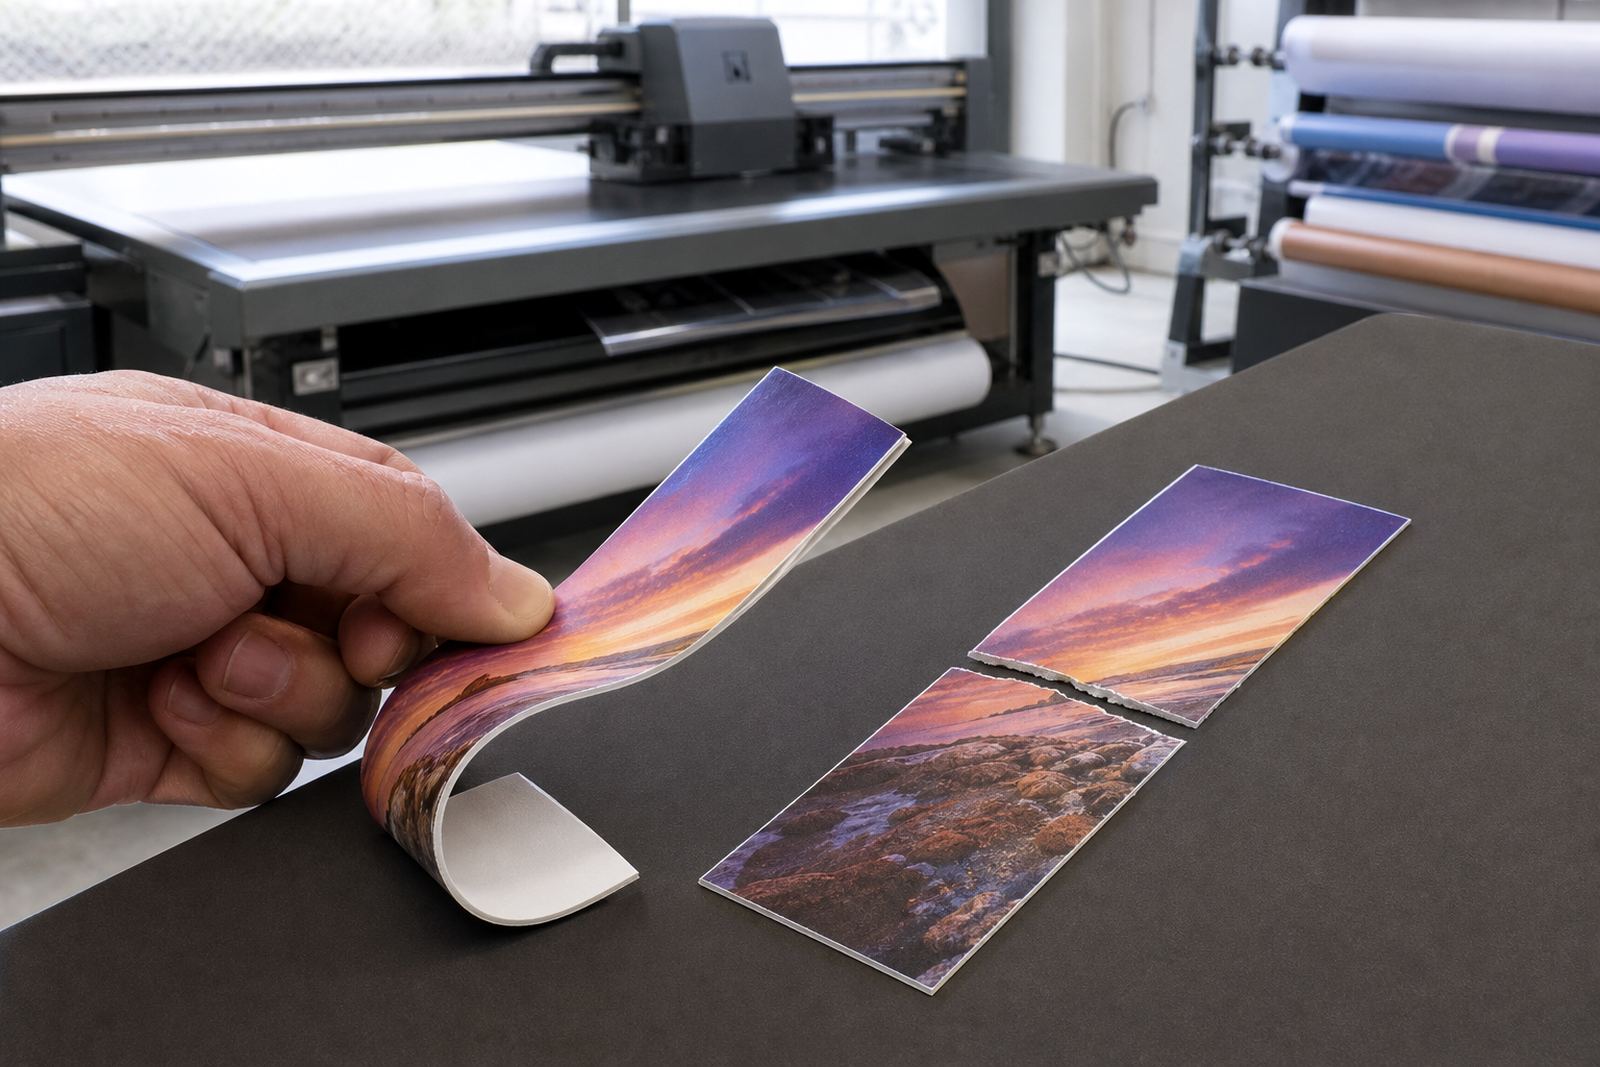
On roll-to-roll jobs, watch the balance between speed, lamp output and media temperature. On a flatbed, check that the board or flexible sheet is not being heat stressed during the run. In both cases, it helps to do a simple finger rub test and a bend check once the sheet has cooled. That saves time later when a banner gets rolled tight for courier delivery to Pretoria or stacked in a vehicle for site install in Cape Town.
Keep these points in mind:
- Use the curing setting recommended for the media and printer combination.
- Let printed banners cool before rolling or finishing them.
- Avoid stacking freshly printed faces directly against each other.
- Check the print at fold points, corners and around punched holes.
Adhesion testing should happen before the full run
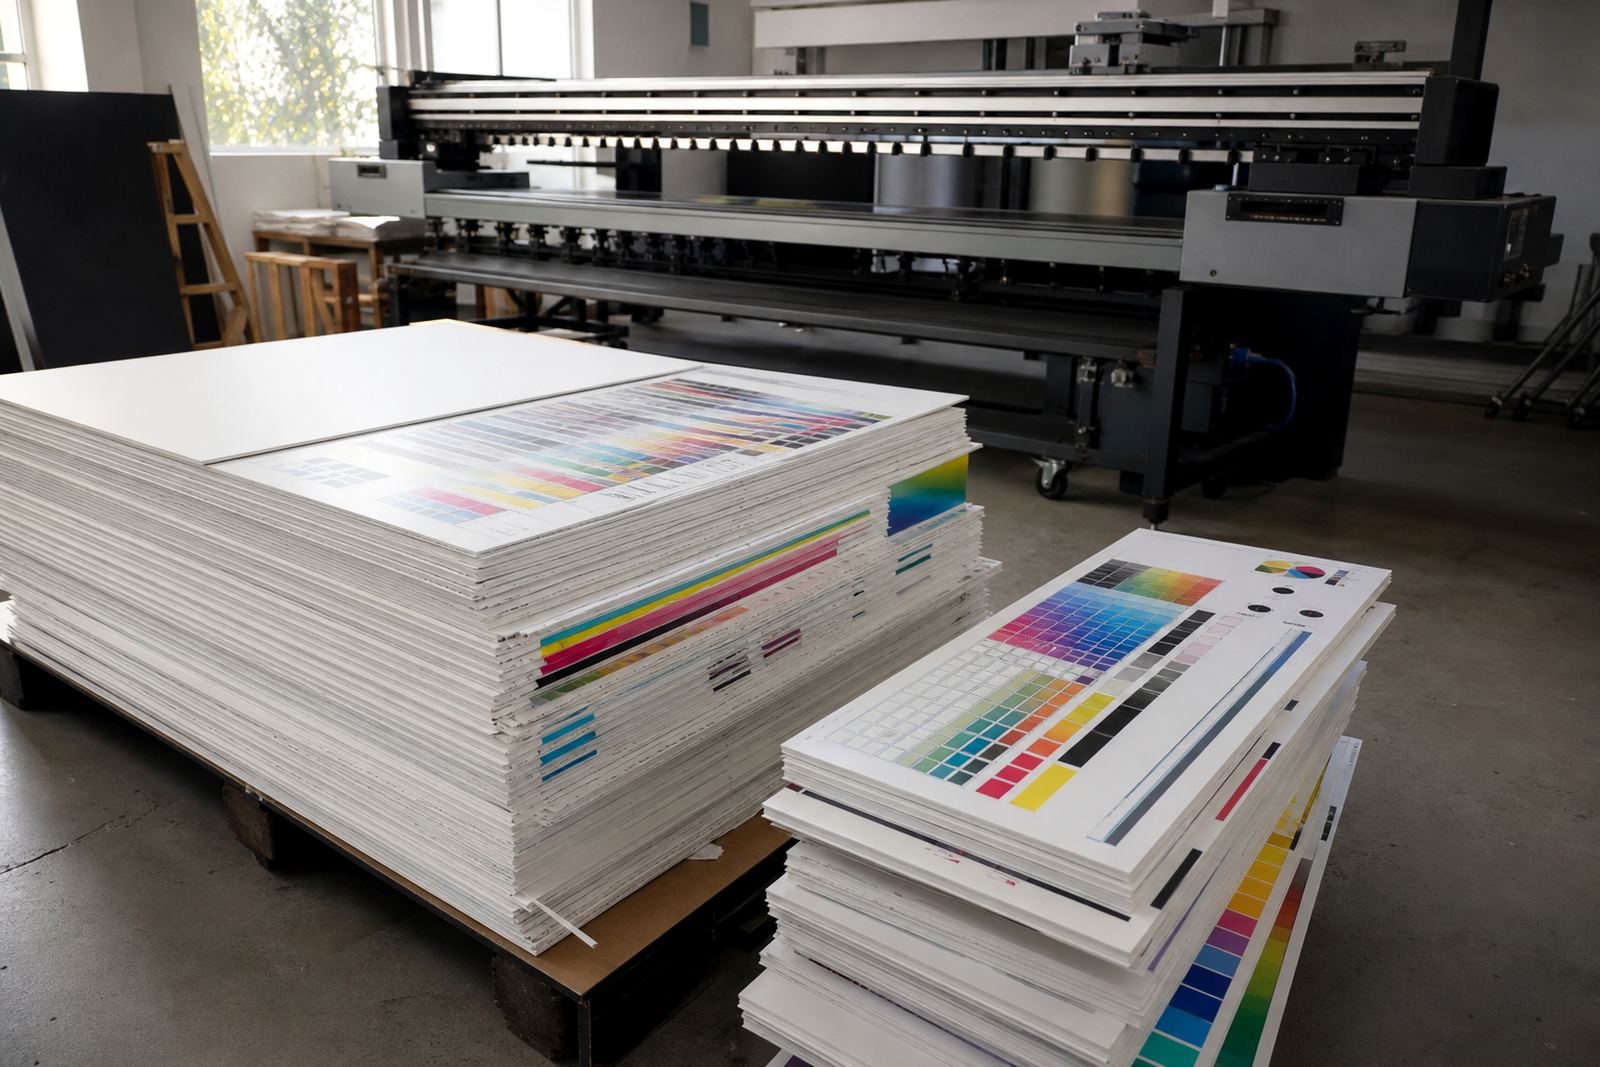
Adhesion is not something to leave for the end. A banner that looks perfect on press can still fail once it is folded, trimmed or exposed to coastal moisture. A small test strip is often enough to show whether the ink grabs properly and whether the surface needs different curing or a different media choice.
For South African production floors, this is especially useful when a job is going to the coast. In Gqeberha or Durban, salt air and humidity can expose weak adhesion faster than inland conditions. A test print also helps operators see whether fine text, solid blocks and fades all hold together at the chosen speed. If the ink is compatible, the finish should stay consistent across the full banner, not just on a sample patch.
Useful test steps include:
- Print a 300 mm to 500 mm sample with solid fills, text and a light gradient.
- Allow the sample to cure fully before rub testing.
- Check the result after folding, trimming and light handling.
- Repeat the test when changing media batches or curing settings.
Finishing choices affect how long the banner lasts
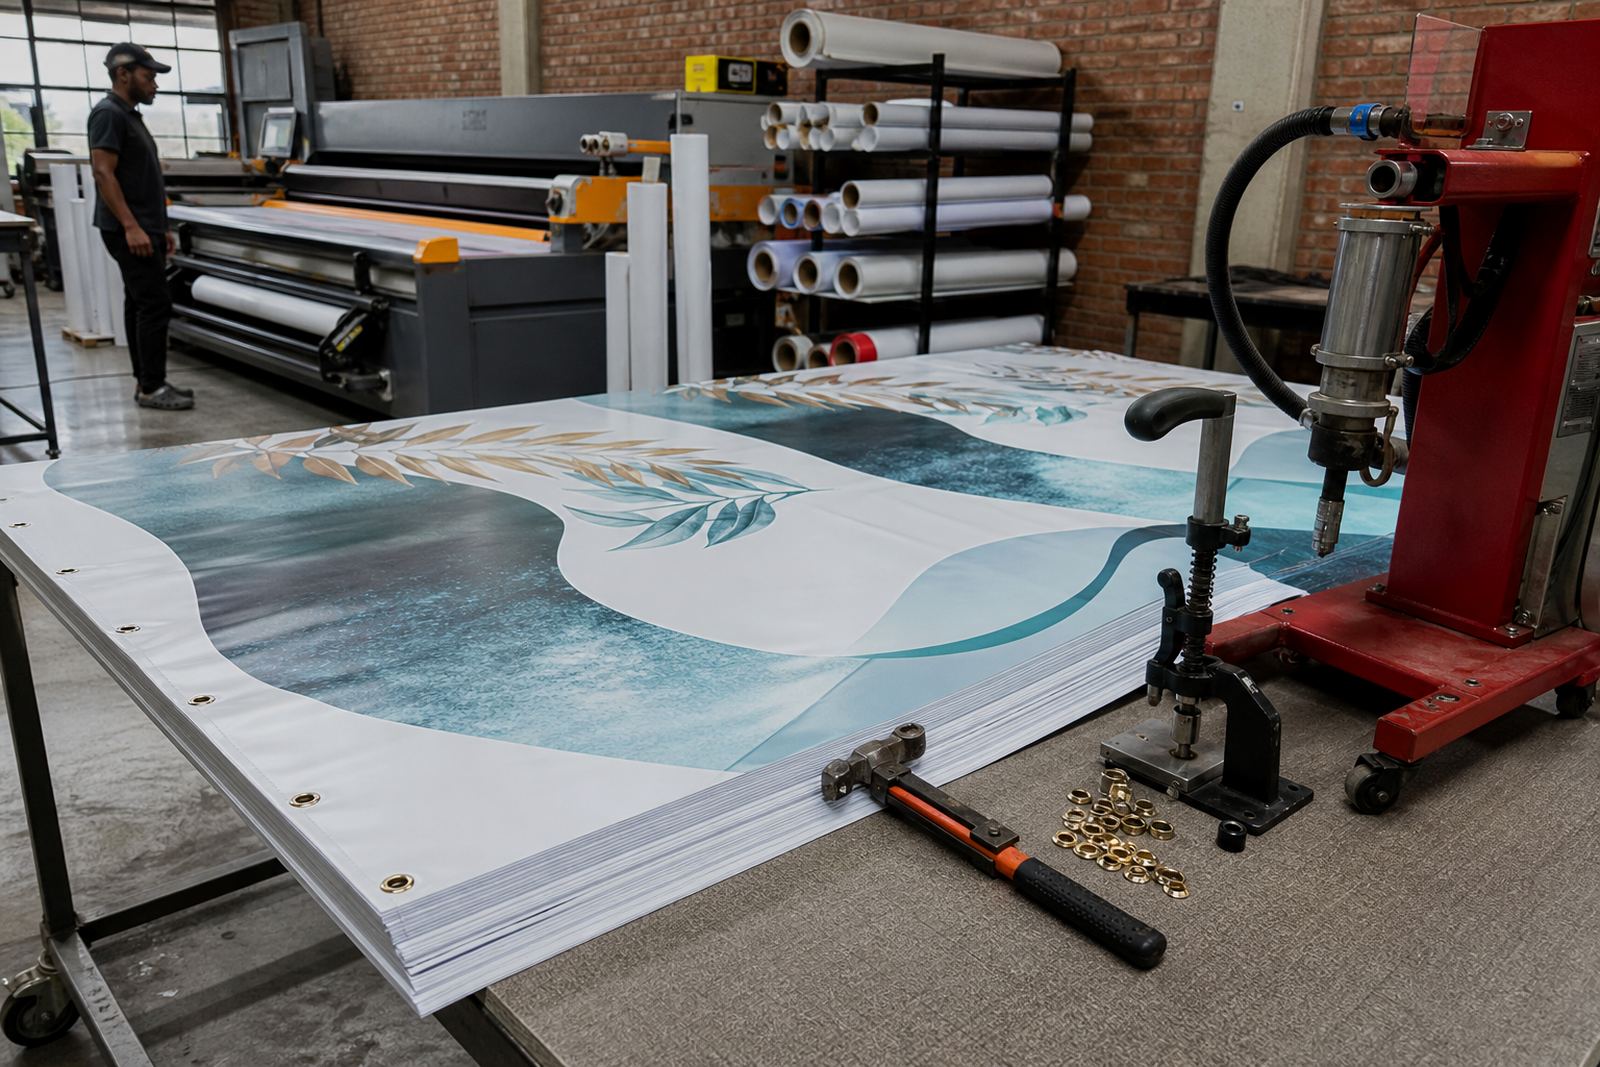
Printing is only one part of a banner job. Eyelets, hems and welded edges do most of the hard work once the banner is installed. If the finishing is rushed, even a good print can tear at the fixing points or curl at the edges. For outdoor banners in windy spots, the edge treatment is just as important as the colour quality.
Hems are useful when the banner needs reinforcement around the edge or a pocket for a pole. Eyelets should be spaced to suit the size of the banner and the expected pull points, not just added wherever there is space. If the banner is going onto a frame or scaffold, plan the finishing before printing so the artwork allows for trim and fixing points.
Common finishing checks:
- Leave enough margin for hems and eyelets in the artwork layout.
- Trim only after the ink has cured and the banner has cooled.
- Match eyelet spacing to the size and wind load of the banner.
- Keep cut edges clean so fraying does not start at the corners.
Local weather and transport can change the result
In South Africa, the banner is often printed in one place and installed somewhere else entirely. That means the print has to travel well as well as look good on the press table.
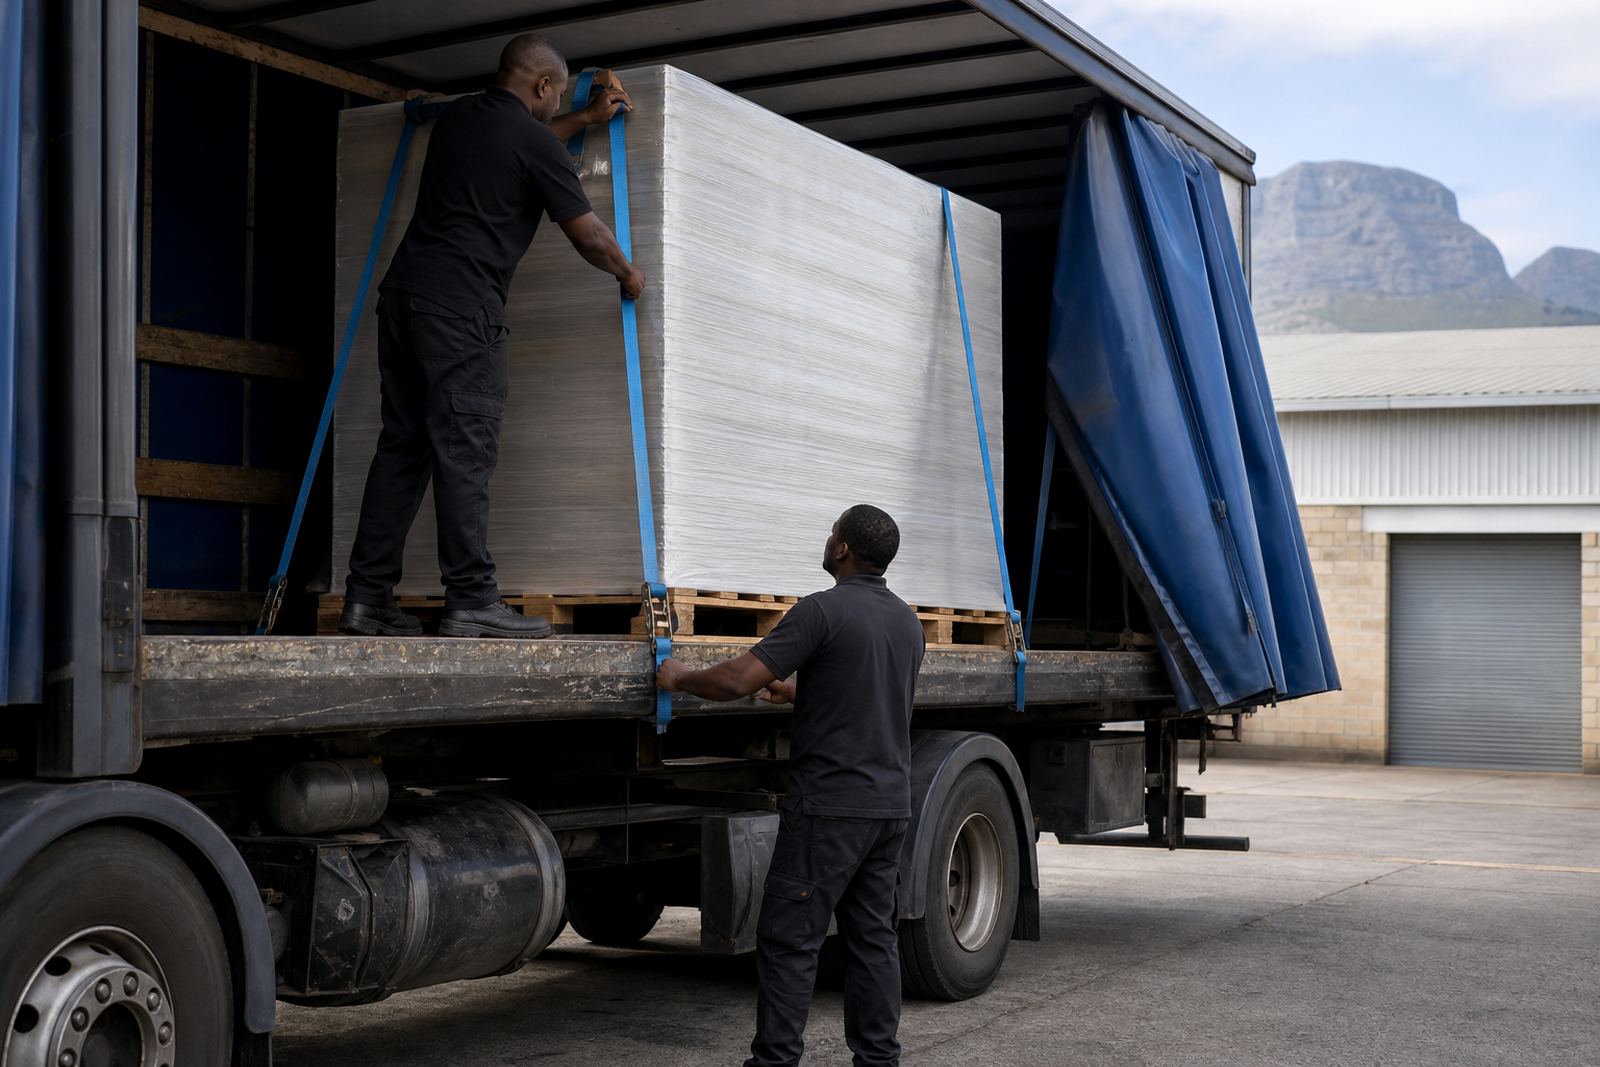
Packaging matters. Roll banners with the print facing out if that suits the ink and media combination, and protect the surface with clean interleaving where needed. Keep the roll diameter sensible so the banner does not crease. When a banner is heading out for a repeat event, note the curing settings and finishing method so the next run can match it. Small production notes save a lot of trouble later.
A practical Cape Town example: a Bellville dealer orders a set of street-facing banners for a weekend promotion. The print is checked for adhesion, left to cool fully, then hemmed and eyeletted before courier collection. Because the team knows the banner will be re-used, they avoid over-curing the ink and keep the roll diameter wide enough for safe transport. That kind of routine cuts down on cracked edges and makes the install quicker.
Train operators to spot trouble early
Good banner production depends on the person running the machine as much as the file being printed. Operators should know what an under-cured area looks like, how adhesion failures show up, and when a media change needs a fresh test. If the team understands the signs, they can stop a bad run before it becomes expensive waste.
Training is most useful when it covers both printing and finishing. A clean print with poor trim lines or the wrong eyelet spacing will still fail on site. The same goes for a banner that looks sharp but was never checked for folding strength. A short checklist at the press and the finishing table helps keep everyone on the same page, especially on busy days when jobs are moving fast.
Good operator habits include:
- Record the media, cure setting and finishing method for repeat jobs.
- Inspect the first sheet before continuing the full run.
- Keep samples for comparison when colour or adhesion changes.
- Wear gloves and follow the safety data sheet for handling and cleanup.
Plan the job around repeat orders and safe handling
Many banner jobs are not one-off prints. Keeping a clear production record makes repeat orders faster and more reliable. It also helps with stock planning so the right ink, spare media and finishing supplies are ready when the next job lands. That is useful whether the delivery is going to Paarl, Pretoria or Gqeberha.
Safe handling should never be skipped because the job is routine. UV-curable inks must be stored and handled correctly, and the work area should stay tidy so containers, wipes and offcuts do not clutter the floor. Gloves help with everyday handling, and the safety data sheet should always guide the team on storage, cleanup and exposure precautions. A clean work habit protects both the print and the people making it.
If your banner work needs a compatibility check, colour trial support or repeat order planning, it helps to speak with a team that understands both print production and the demands of South African delivery schedules.