Why cross-hatch testing matters before a full run
Cross-hatch testing is one of the simplest ways to see whether a cured print is sticking properly to the material underneath. It does not replace full production testing, but it gives a clear early warning when a substrate, pretreatment, curing setting or ink choice is not working as expected.
In a busy Cape Town or Johannesburg print room, that matters because a weak bond can show up later as flaking on corners, edge lift on cut panels, or scuffing during packing and delivery. A quick test on a sample board or short print can save a full batch from going back through the machine.
For UV-curable inks, adhesion depends on more than colour. Surface energy, dust, oils, curing intensity and lamp condition all play a part. On some plastics, a print may look fine at first but fail when tape is applied or when the material is flexed slightly. That is why a cross-hatch check is worth doing on new stock and not only when something goes wrong.
How the test is done on flat panels and printed sheets
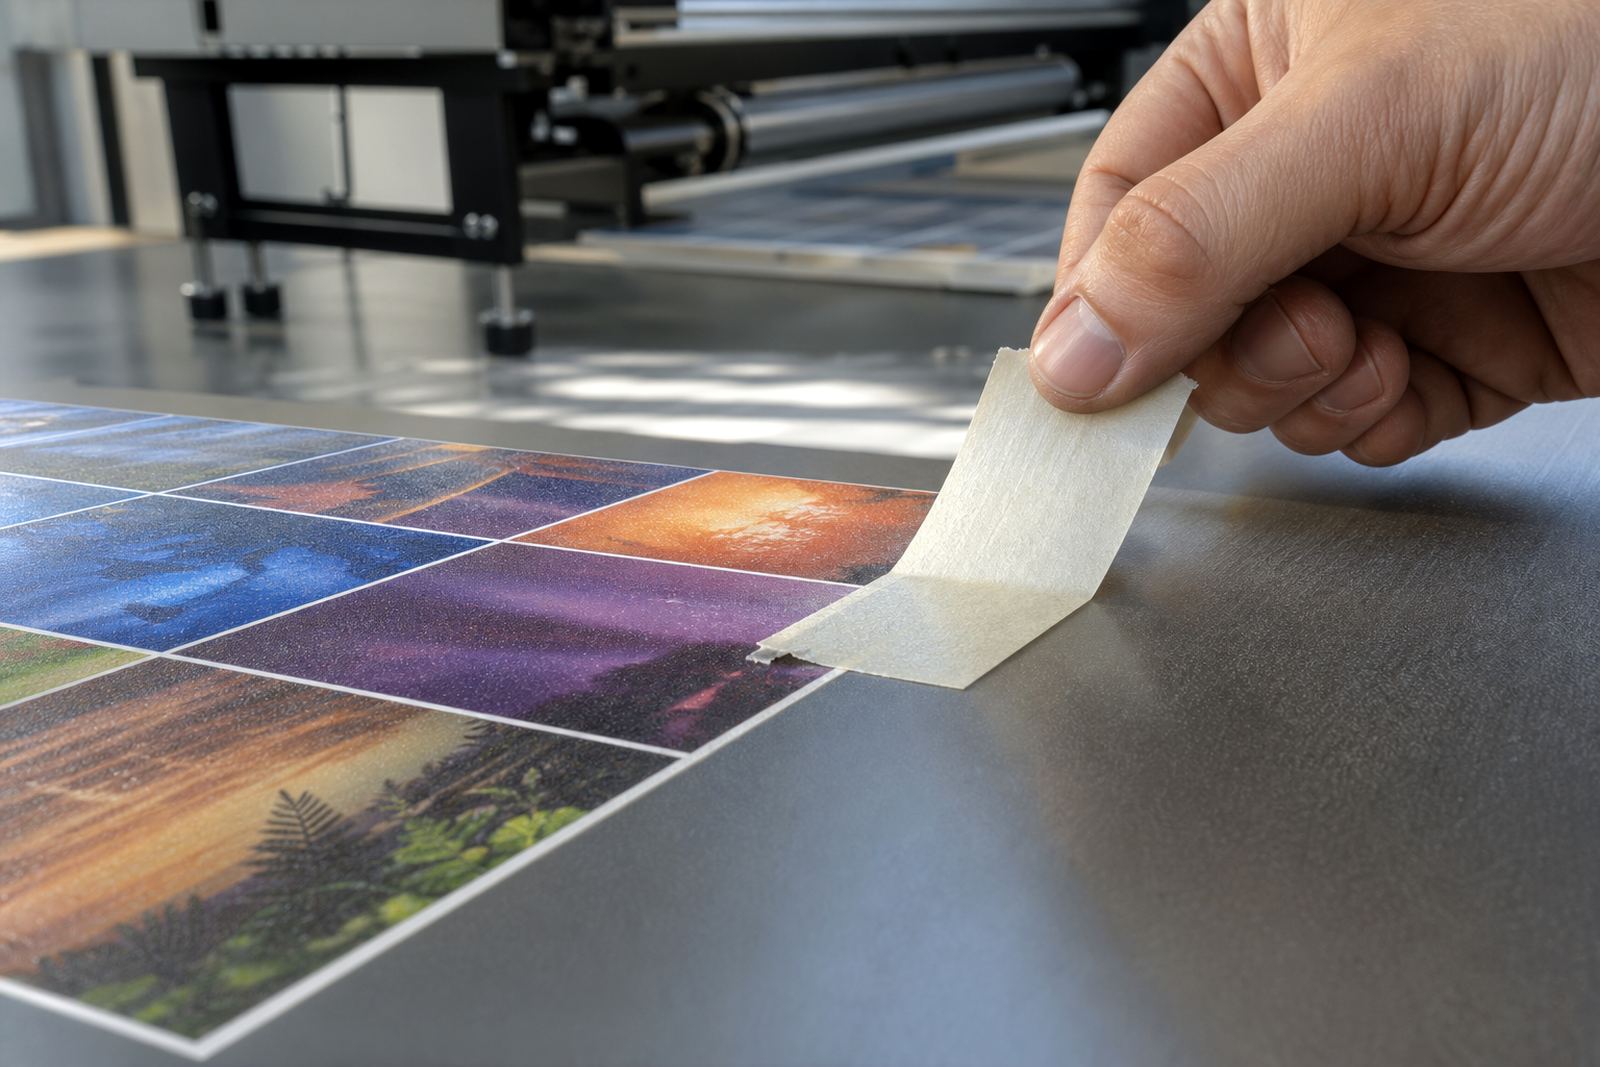
The method is straightforward. Once the print has cured and cooled, a series of small cuts is made in the ink film to form a grid. The cuts should go through the coating or ink layer, but not damage the substrate more than necessary. A tape is then applied firmly over the grid and removed at a steady angle.
If little or no ink lifts, the bond is usually acceptable for that material and setting. If squares or flakes come away, the result points to an adhesion problem that needs attention. The exact cut spacing and tape type can vary by shop practice, but the important part is consistency. Use the same process each time so you can compare results properly.
- Work on a clean, fully cured sample.
- Make the grid in a visible area that reflects the main print zone.
- Press the tape down evenly, then remove it at a steady pace.
- Compare the result against earlier samples from the same media.
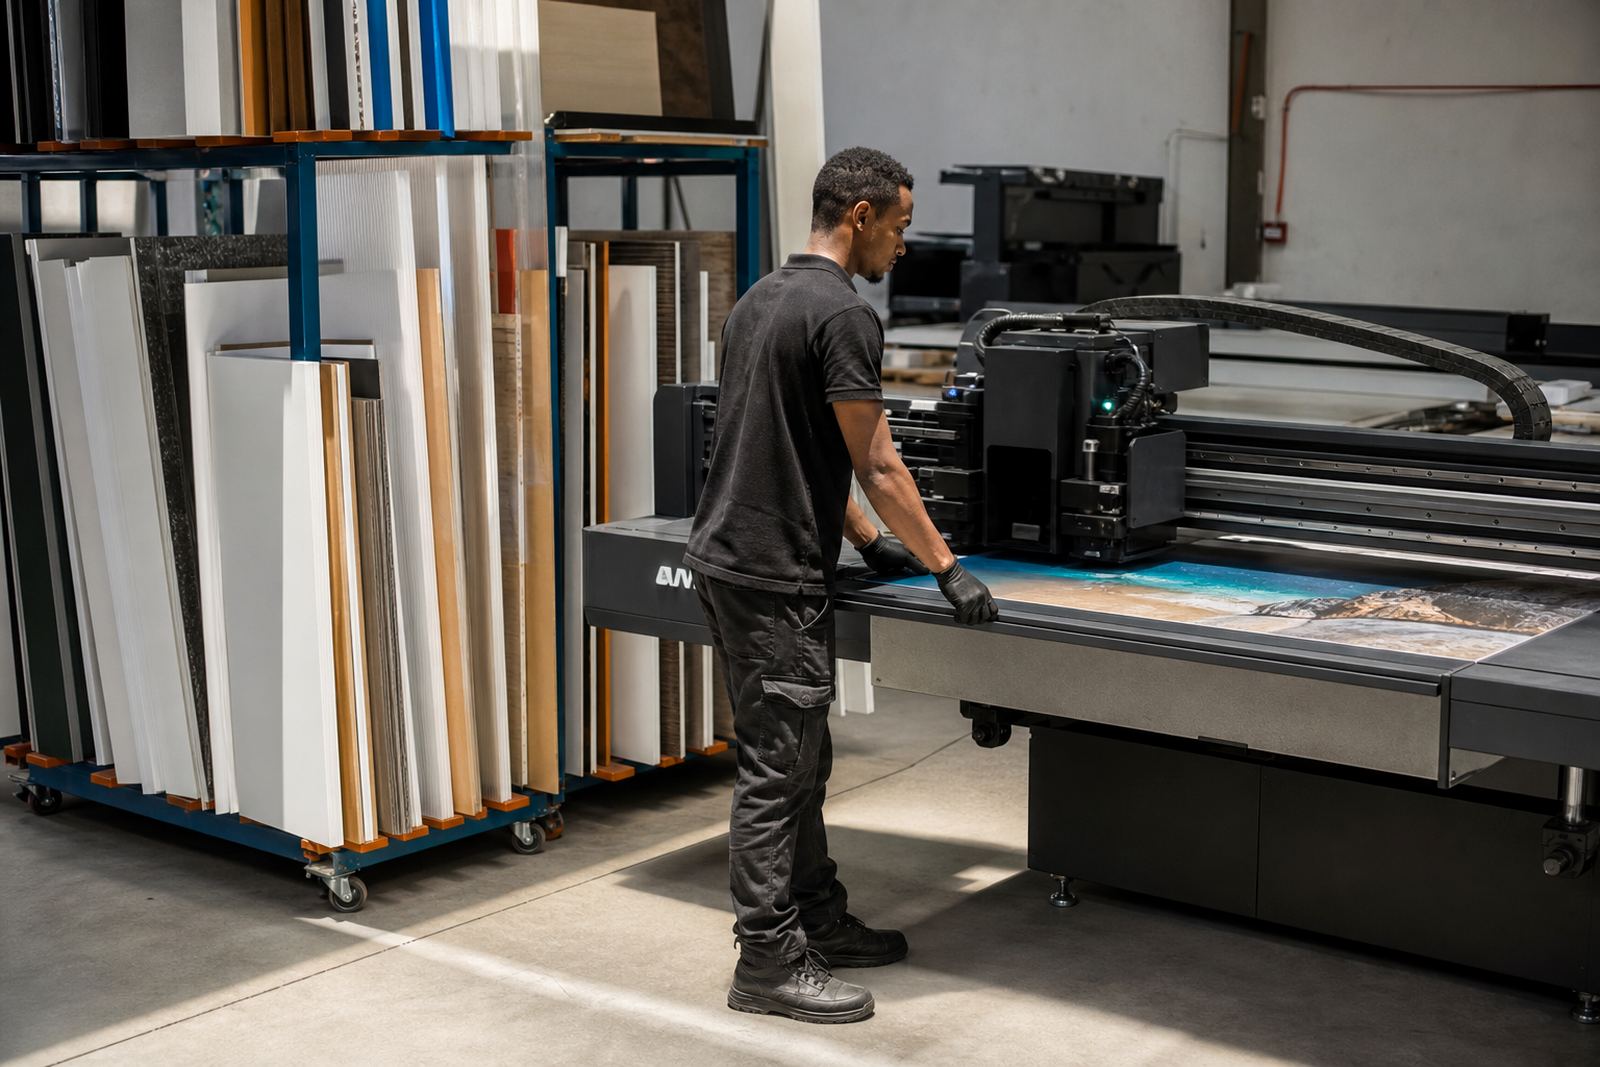
Keep gloves on during handling, and follow the safety data sheet for the ink system in use. Even a small sample can transfer residue to hands, tools or packing material if you are not careful.
What the results tell you about curing and adhesion
A good cross-hatch result does not only show that the ink stayed put. It also gives clues about curing quality. Under-cured ink may feel soft, smear slightly or lift in small patches. Over-curing can also cause trouble on some materials, especially if the film becomes brittle and loses flexibility.
When adhesion is weak, check the basics first: surface cleanliness, drying time, lamp output, carriage speed and the age of the curing system. On certain plastics and coated boards, you may need to reduce dust, wipe the surface correctly, or change the print sequence so the ink lays down more evenly.
A local example: a sign shop in Epping testing white ink on two different rigid boards may find one board passes cleanly while the other shows edge lift after tape removal. The print looks similar on both, but the second board may have a lower surface energy or a coating that resists the ink. That simple result can guide the team to adjust curing and do another trial before the full run starts.
- Check for dust, fingerprints and release agents on the substrate.
- Review curing settings if the grid lifts in flakes or strips.
- Test after the print has fully cooled, not straight off the bed.
- Repeat the test if the material comes from a different batch.
Matching the method to the material in front of you
Not every substrate behaves the same way. Glass, metal, coated board, PVC, acrylic and corrugated plastics all respond differently to UV-curable inks. A setting that gives a good result on one product may fail on another, even when the artwork and ink coverage are identical.
That is why cross-hatch testing is useful during material approval. It helps you compare how the same ink performs across a range of surfaces before a client orders a larger quantity. This is especially practical for signage, display work and packaging samples, where the final finish may be handled, stacked or trimmed soon after printing.
For roll-to-roll work, the same approach helps when checking flexible media that may be wound, slit or folded after printing.
- Rigid sheets: check cut depth and edge lift on corners.
- Flexible media: include a light bend test after tape removal.
- Coated surfaces: confirm the coating is suited to UV ink.
- Outdoor-facing items: test after full curing and cooling, then recheck after handling.
Practical checks before you start the main job
The best cross-hatch results come from a repeatable routine. Before the main run, confirm the printer is ready, the ink is within its usable range and the material is stored properly. In coastal areas like Cape Town and Gqeberha, humidity can affect how cleanly some surfaces print, while inland dust and heat can change how the media behaves on the machine.
Keep the sample small but representative. If the final job will be trimmed, folded or installed outdoors, test a section that includes the same ink coverage and the same type of finish. A neat sample with light coverage may pass, while a heavier solid area could fail. Both need attention if the final piece will see load, friction or weather.
Good production teams also keep notes. Record the media type, curing setting, printer speed and test result so the next order starts with useful information rather than guesswork. That helps when repeat work comes in from Bellville, Paarl or further afield and the same substrate needs to perform the same way again.
Safe handling and support when the test does not pass
If a cross-hatch test shows lifting, do not keep running the job and hope it will improve. Stop, inspect the sample and work back through the process. Check whether the surface was properly cleaned, whether the lamp output has dropped, or whether the ink requires a different print and cure balance for that media.
Wear gloves during sampling and tape removal, and keep the work area clear of overspray, dust and discarded tape. Follow the safety data sheet for cleaning and handling instructions, especially when you are working with fresh prints or doing repeat tests on multiple materials in one shift.
If the result is still unclear, a second sample with a small adjustment is often enough to show the direction to take. That might mean changing cure intensity, slowing the pass slightly, or testing a different substrate batch. A methodical approach saves time and reduces waste, which matters when courier stock is due to move to Johannesburg, Durban, Pretoria or Gqeberha.
Using cross-hatch tests to protect production quality
Cross-hatch testing is not just for problem jobs. It is a practical part of production planning, especially when you are introducing a new material, training a new operator, or checking a repeat order after a machine service. The test gives you a quick read on adhesion before a full sheet or roll goes into production.
For shops handling signage, graphics and packaging work, that small habit can prevent costly reprints. It also helps teams build a record of what works on which surfaces, so future jobs move faster and with fewer surprises. If you are managing work across more than one site, a simple test sheet and clear notes can keep standards aligned.
Used well, cross-hatch testing is not a box-ticking exercise. It is a practical safeguard that helps UV-curable ink perform the way it should, from the first sample to the last delivered piece.