Why UV ink behaves differently on press
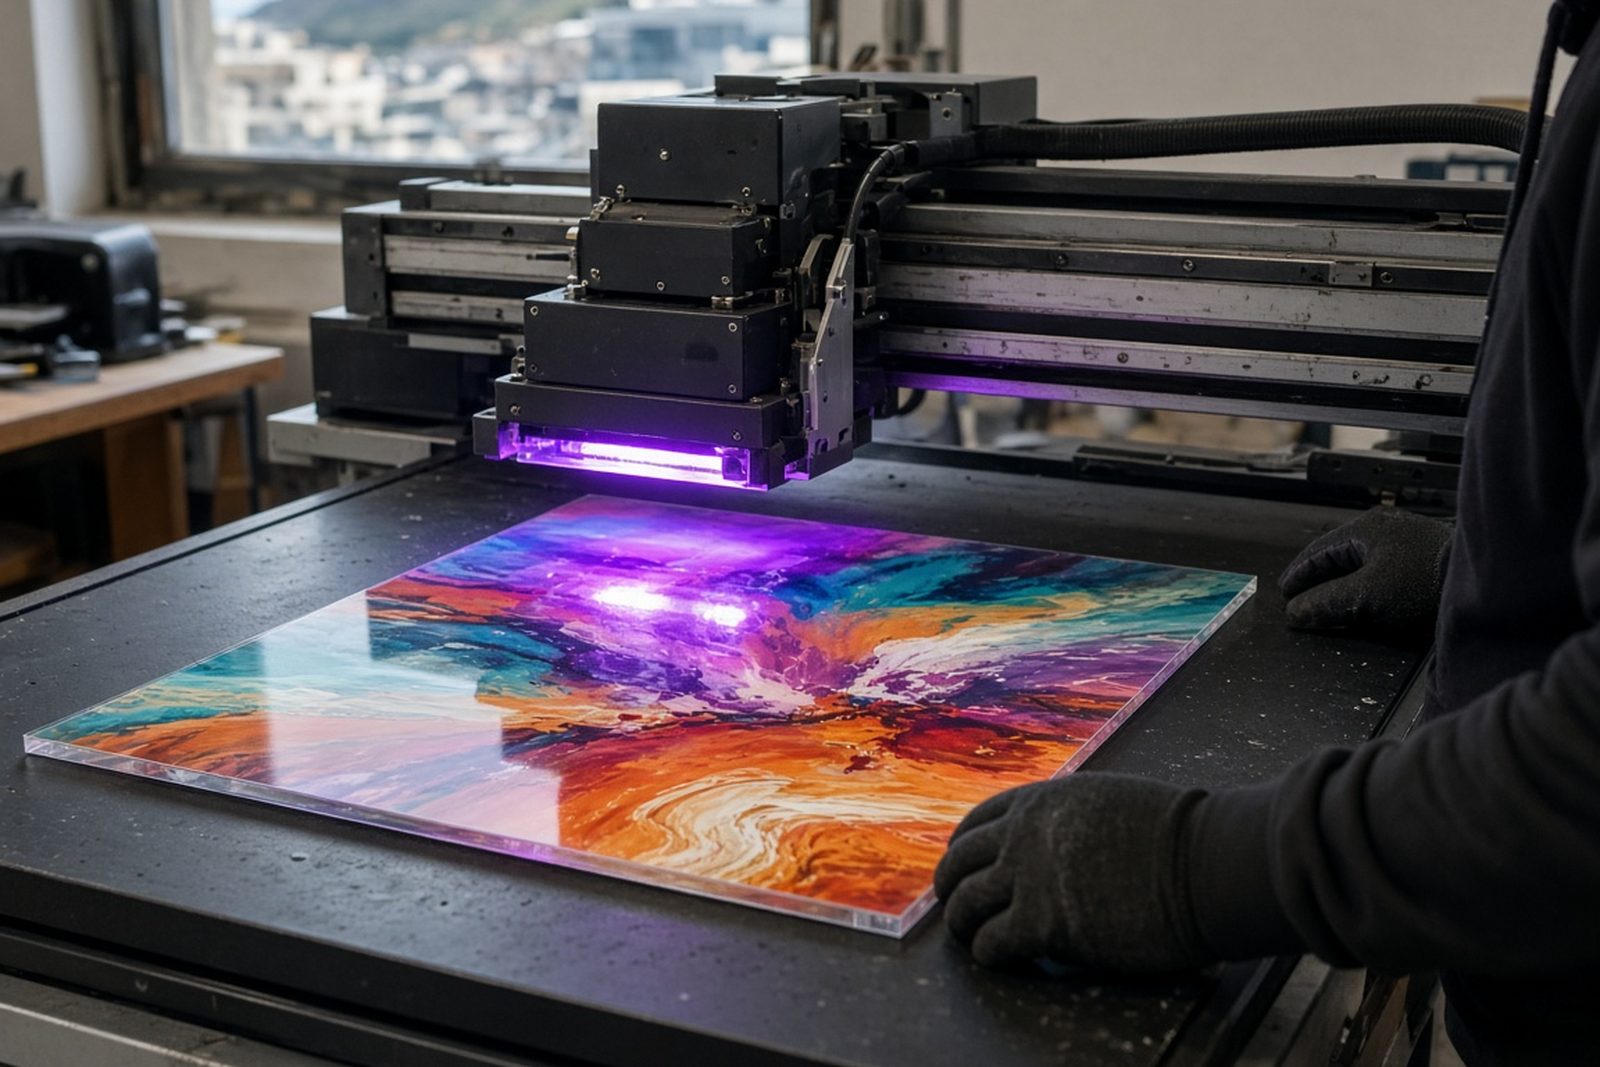
With UV-curable ink, the colour sits on the media first and then hardens when it passes under UV light. That process is called curing. It is not about the liquid disappearing into the air or soaking away into the substrate. Instead, the ink changes from a wet film into a solid layer in a few seconds, which is why operators treat it very differently from drying systems.
This matters in everyday production. If a job needs immediate handling, stacking or finishing, curing gives you a clean advantage because the print is ready far sooner. In an Epping workshop or a busy shopfloor in Johannesburg, that can mean less waiting around between print and cutting. It also means the press, lamps and media all need to be matched properly, because cure performance affects adhesion, gloss, scratch resistance and final appearance.
Drying depends on evaporation, curing depends on light
Traditional drying relies on water, solvent or another carrier leaving the ink film. Airflow, temperature and humidity all play a part. That is one reason conventional prints may need more space, more drying racks and more handling care.
UV curing works differently. The ink contains components that react when exposed to the correct wavelength and intensity of UV light. Once cured, the surface is fixed and the print can usually be moved on immediately. This makes the process more predictable, but only if the machine, lamps and ink are compatible. A printer set for the wrong curing energy can leave the surface undercured or brittle, and that creates issues later on the route to finishing.
- Drying removes liquid through air or heat
- Curing hardens the ink through UV exposure
- Drying can be slowed by humidity and poor ventilation
- Curing is tied to lamp output, speed and ink formulation
What good curing changes in real production
A proper cure can improve adhesion on a wide range of rigid and flexible media, from boards and films to packaging samples and display graphics. It can also help reduce set-off, where stacked prints mark one another before they are fully ready. For teams running flatbed or roll-to-roll work, that usually means fewer delays between print, trimming and dispatch.
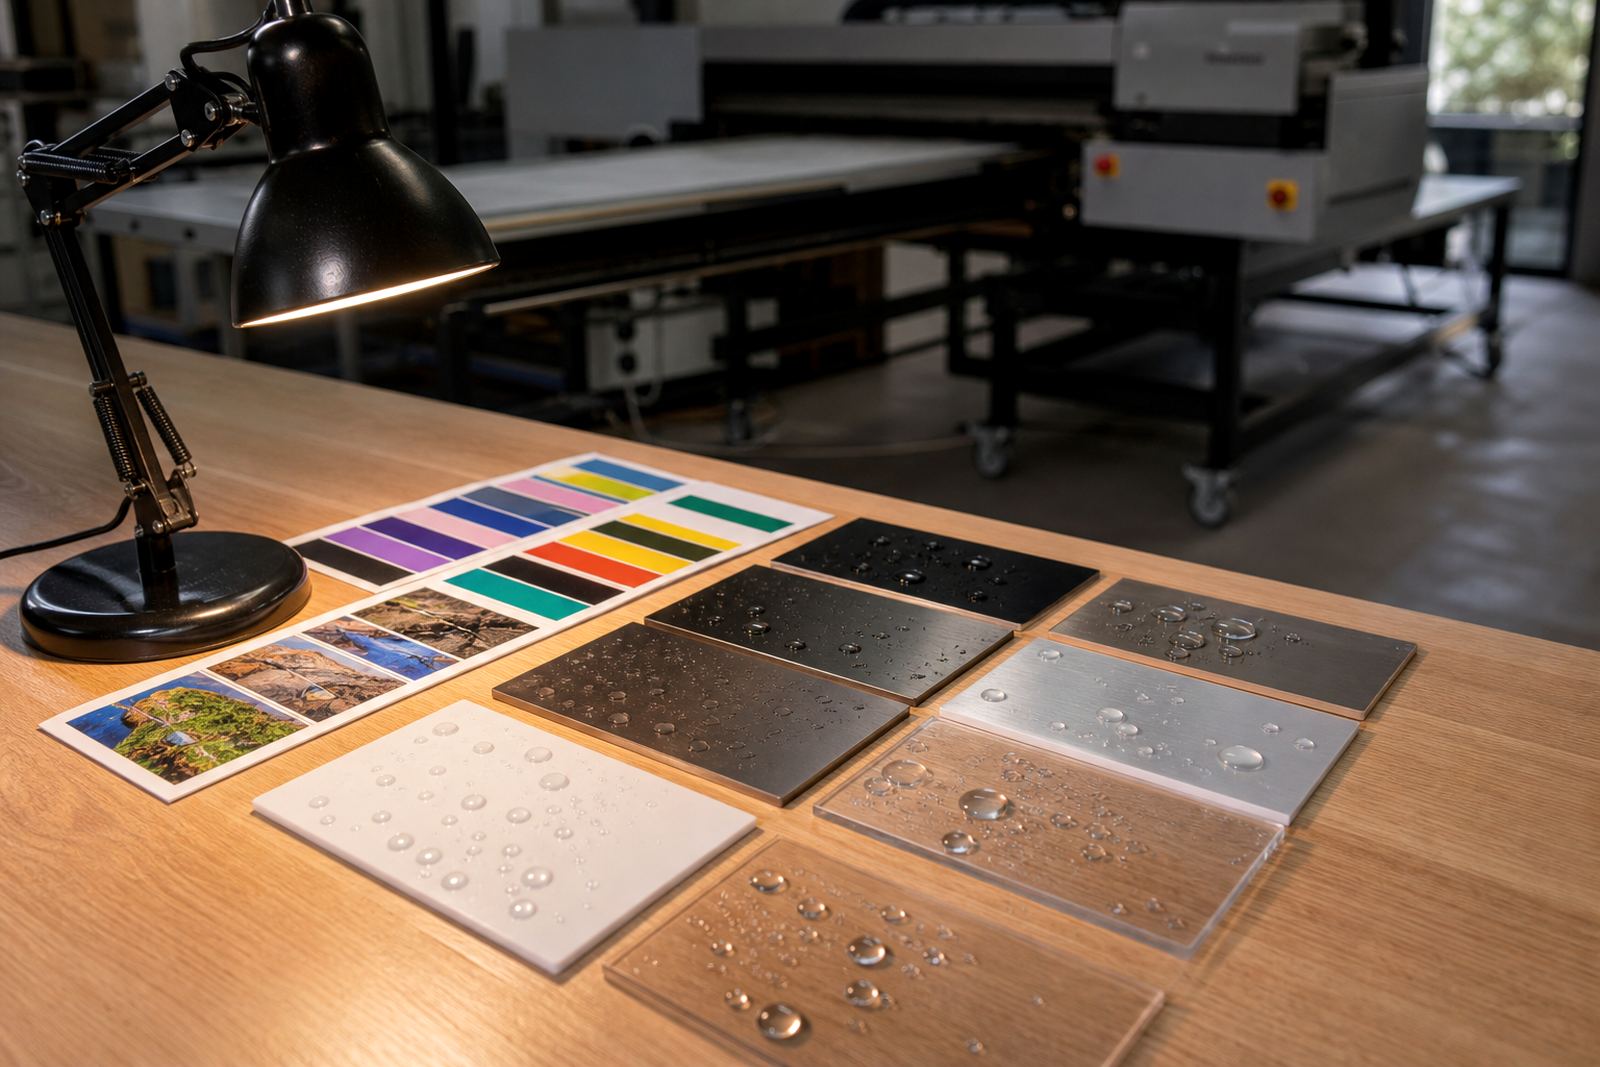
It is still important to check that the chosen ink suits the substrate and the printer. Some materials need surface preparation or adhesion testing, especially if they are smooth, coated or used outdoors. A cured print may feel dry to the touch, but that alone does not prove the bond is right. Our technical team often advises customers to run a small test first, then check flex, rub and cure consistency before committing to a full run.
- Check media compatibility before the full job
- Test adhesion after curing, not only the touch dry feel
- Allow for finishing steps like cutting, laminating or folding
- Watch for colour shift if the cure is too strong or too light
Speed is useful, but only if the cure is correct
One of the biggest advantages of UV ink is speed, yet speed on its own can cause trouble if settings are rushed. A printer running too fast may leave ink partially cured, which can lead to poor scratch resistance or ink transfer when sheets are stacked. Too much energy, on the other hand, can make the print look dull, cause heat build-up or affect some sensitive materials.
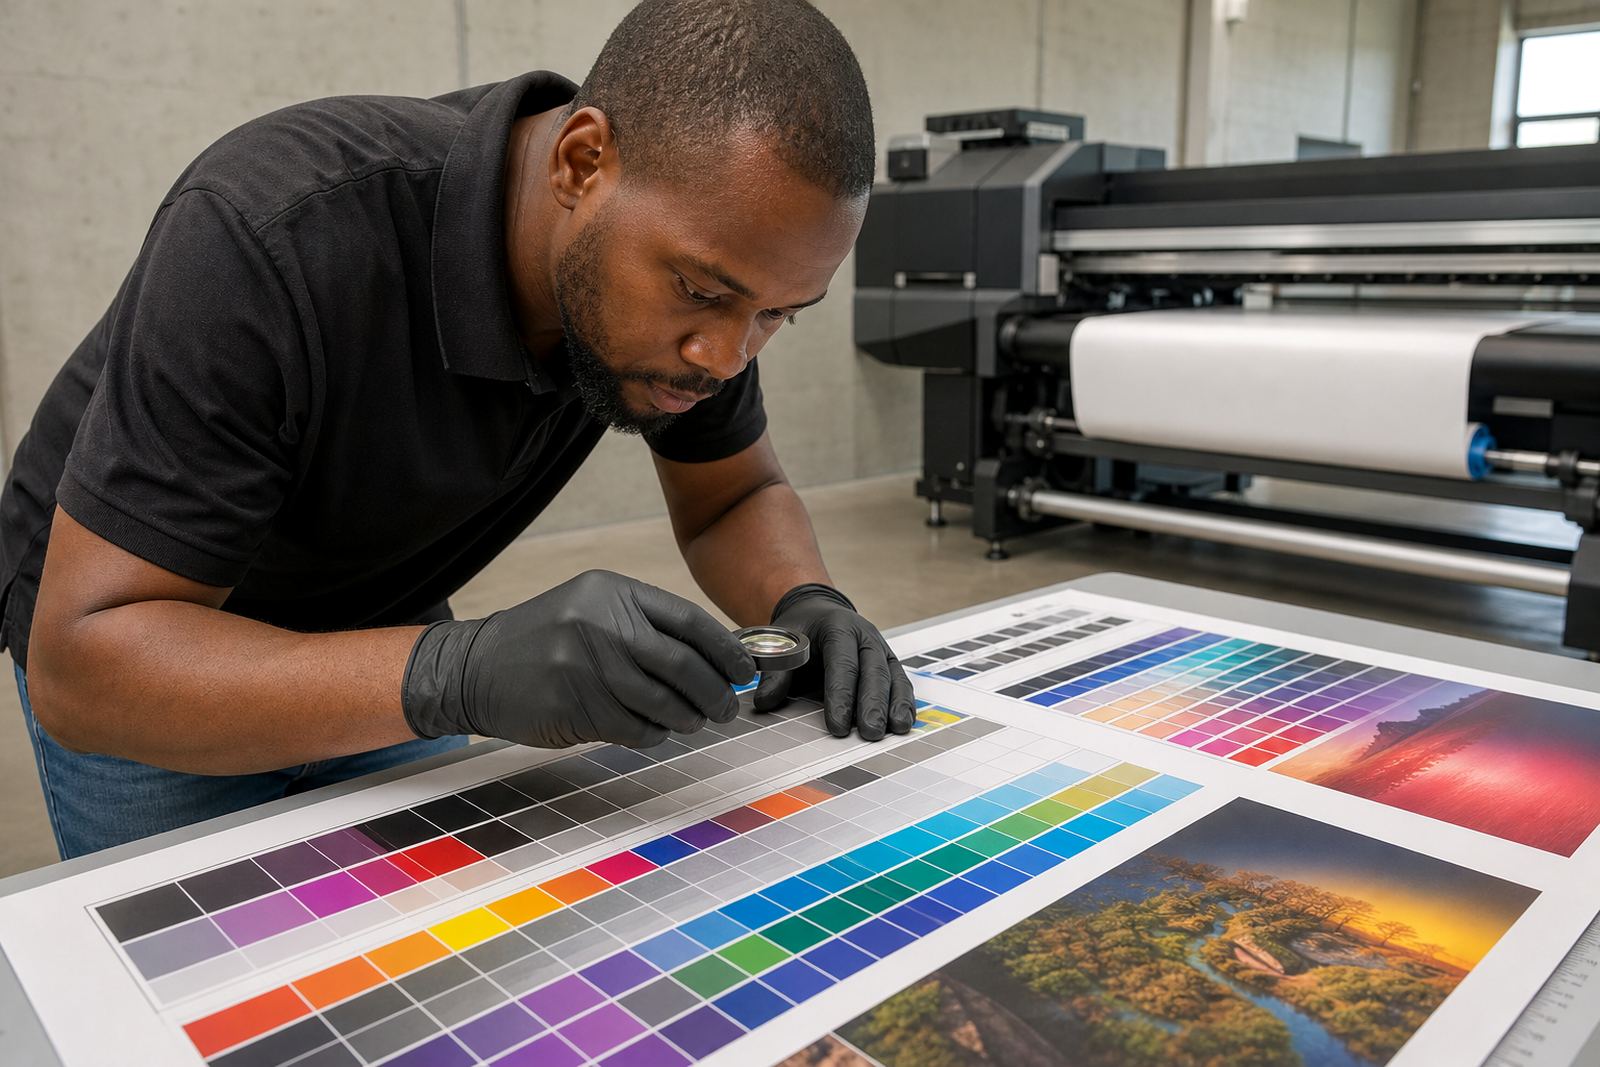
That balance is why operator training matters. The right cure is not guessed, it is set. You look at lamp condition, ink layer thickness, media type and press speed together. On a Gqeberha sign job that must go out the same day, a short test print can save a lot of rework later. It is better to spend ten minutes checking the settings than to lose a full batch because the cure was not right. Also, keep the print room tidy, because dust can sit on uncured surfaces and show up in the finish.
Handling, safety and storage still matter
Even though UV inks are made for fast curing, the liquid ink still needs careful handling. Always follow the safety data sheet for the specific product in use. Wear gloves when decanting, cleaning up or loading ink, and avoid skin contact where possible. Good ventilation, clean rags and proper spill control should be part of the normal routine in the print room.
Storage also affects performance. Keep containers sealed, upright and away from direct sun and heat. In coastal areas where humidity is high, stock control helps prevent contamination and keeps your ink in working condition for longer. If you are running repeat orders out of Bellville or Paarl, it pays to keep a note of which batch was used, which printer it ran on and what cure setting gave the best result.
- Read the safety data sheet before use
- Wear gloves for handling and cleanup
- Store ink sealed, cool and out of sunlight
- Keep batch notes for repeat work and troubleshooting
From the ink lab: A busy print shop
Take a packaging or signage run leaving our Epping base for delivery to Pretoria. The files are approved, the boards are cut and the client wants product in hand fast. With UV curing, the prints can be handled shortly after output instead of waiting overnight for evaporation. That helps with courier timing, finishing and final packing, especially when the job has multiple panels or mixed sizes.
If the same job were printed with a drying system, the shop would need more space, more time and more handling care before dispatch. With UV ink, the key is not to rush the press but to cure it properly and check adhesion before the parcel leaves. That is the practical difference: curing helps production move sooner, while drying often asks for patience. For teams working across Cape Town, Durban and Johannesburg, that can be the difference between a smooth delivery and a late one.
At UV Ink, we help customers choose the right ink, check compatibility, guide curing and support remote troubleshooting when needed. The aim is simple: get the print cured correctly the first time, so the job holds up in use and leaves the workshop ready for the next run.