Why mockup work starts with the right ink
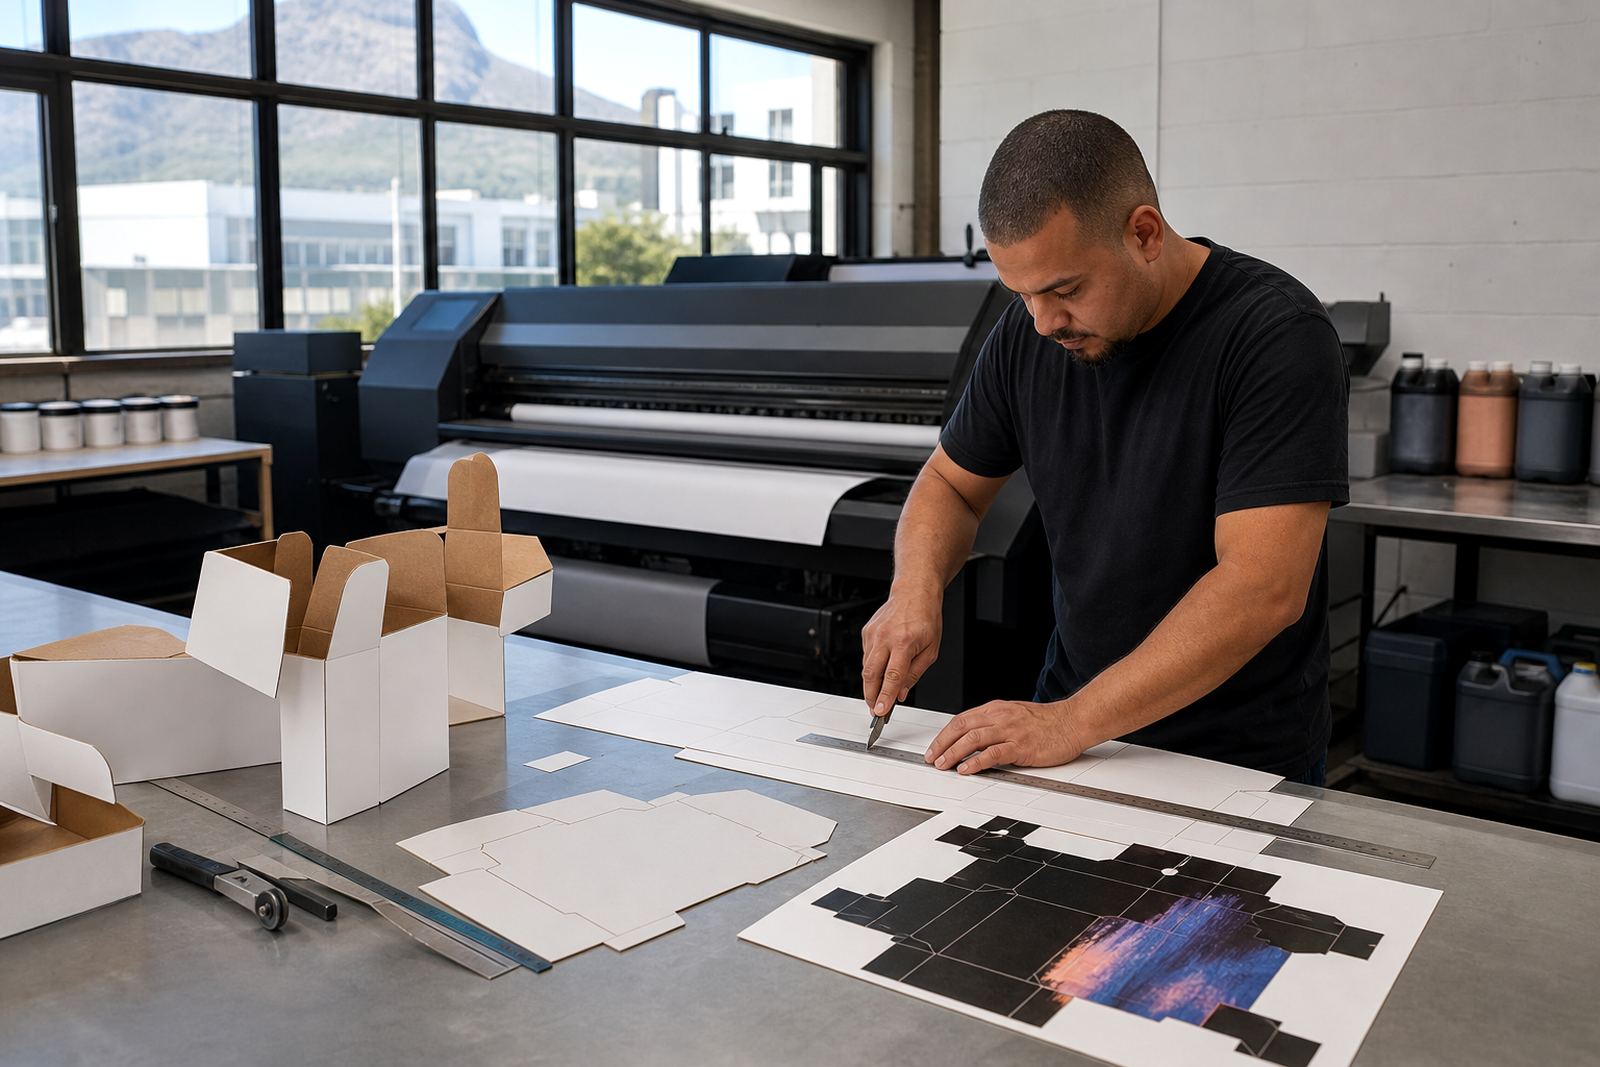
Packaging mockups are not just about appearance, they are about proof. A carton sleeve, label or folded pack sample has to show how the final piece will read after trimming, gluing and assembly. UV-curable inks are useful here because they cure quickly, stay put on many packaging substrates and allow short turnaround when a client wants a revised proof the next morning.
For mockup work, the ink choice affects more than colour. It influences whether small type stays crisp, whether solids dry hard enough for cutting, and whether the sample survives finger marks, stacking and courier handling. If the point is to sell the concept before production, the sample must feel believable as a finished item.
Build the workflow before the first print
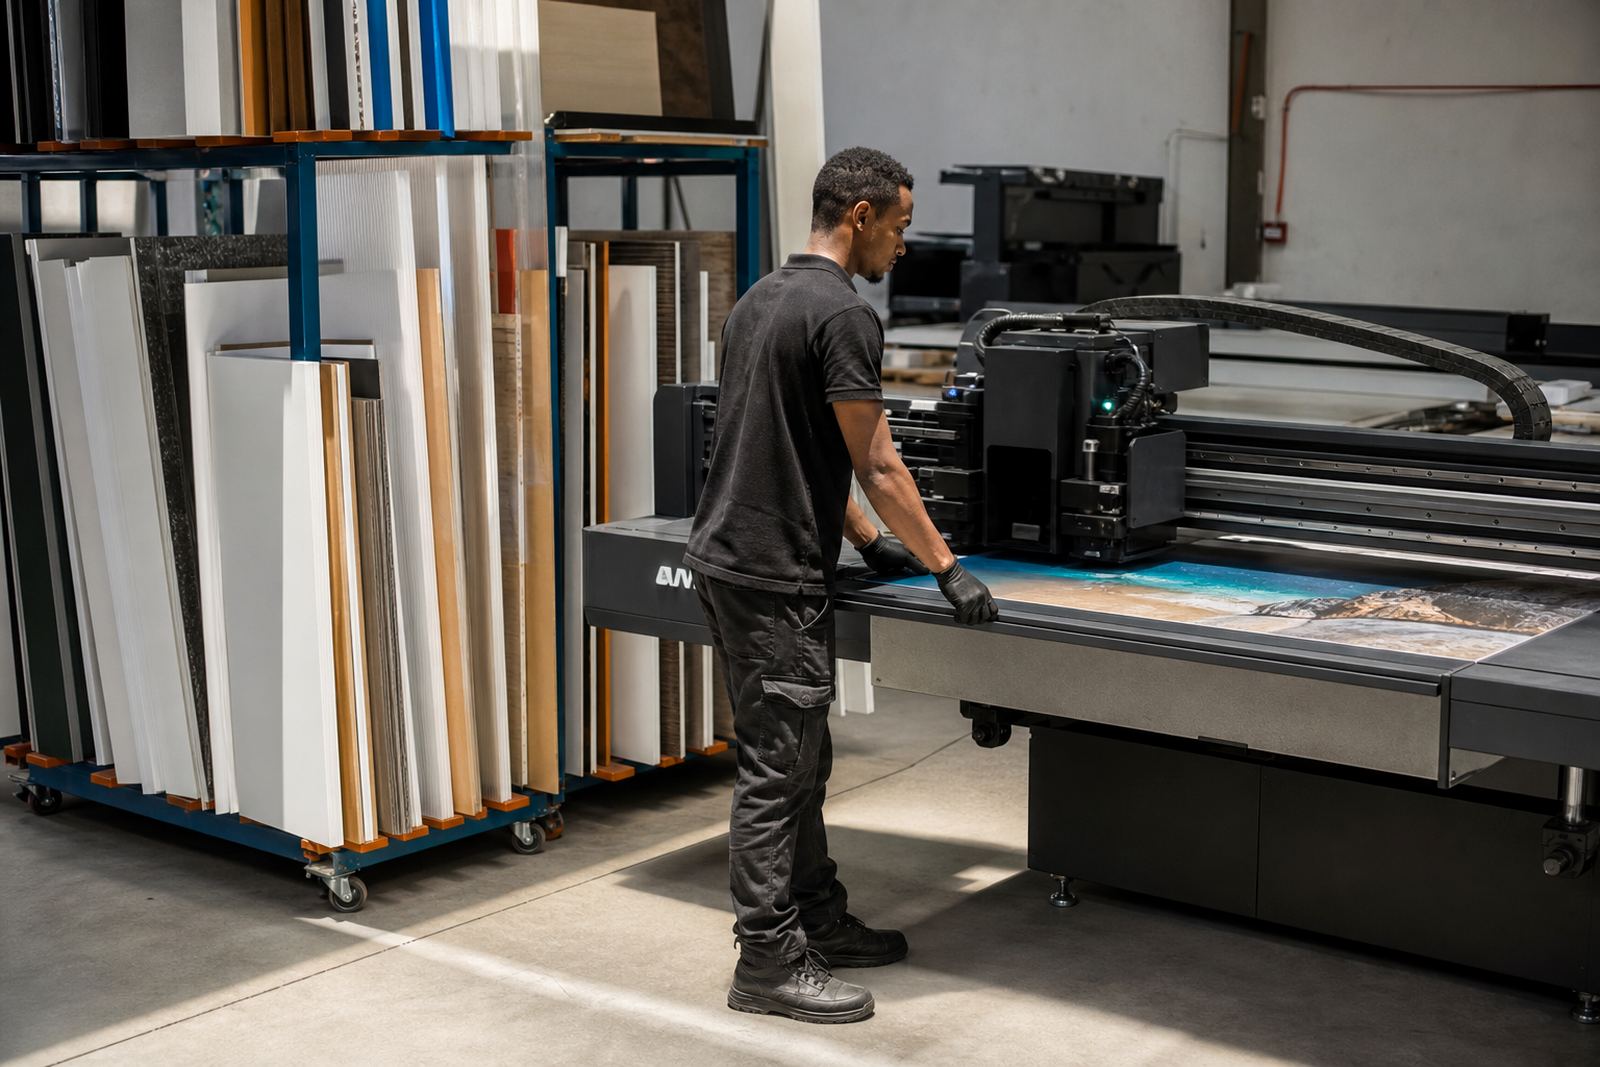
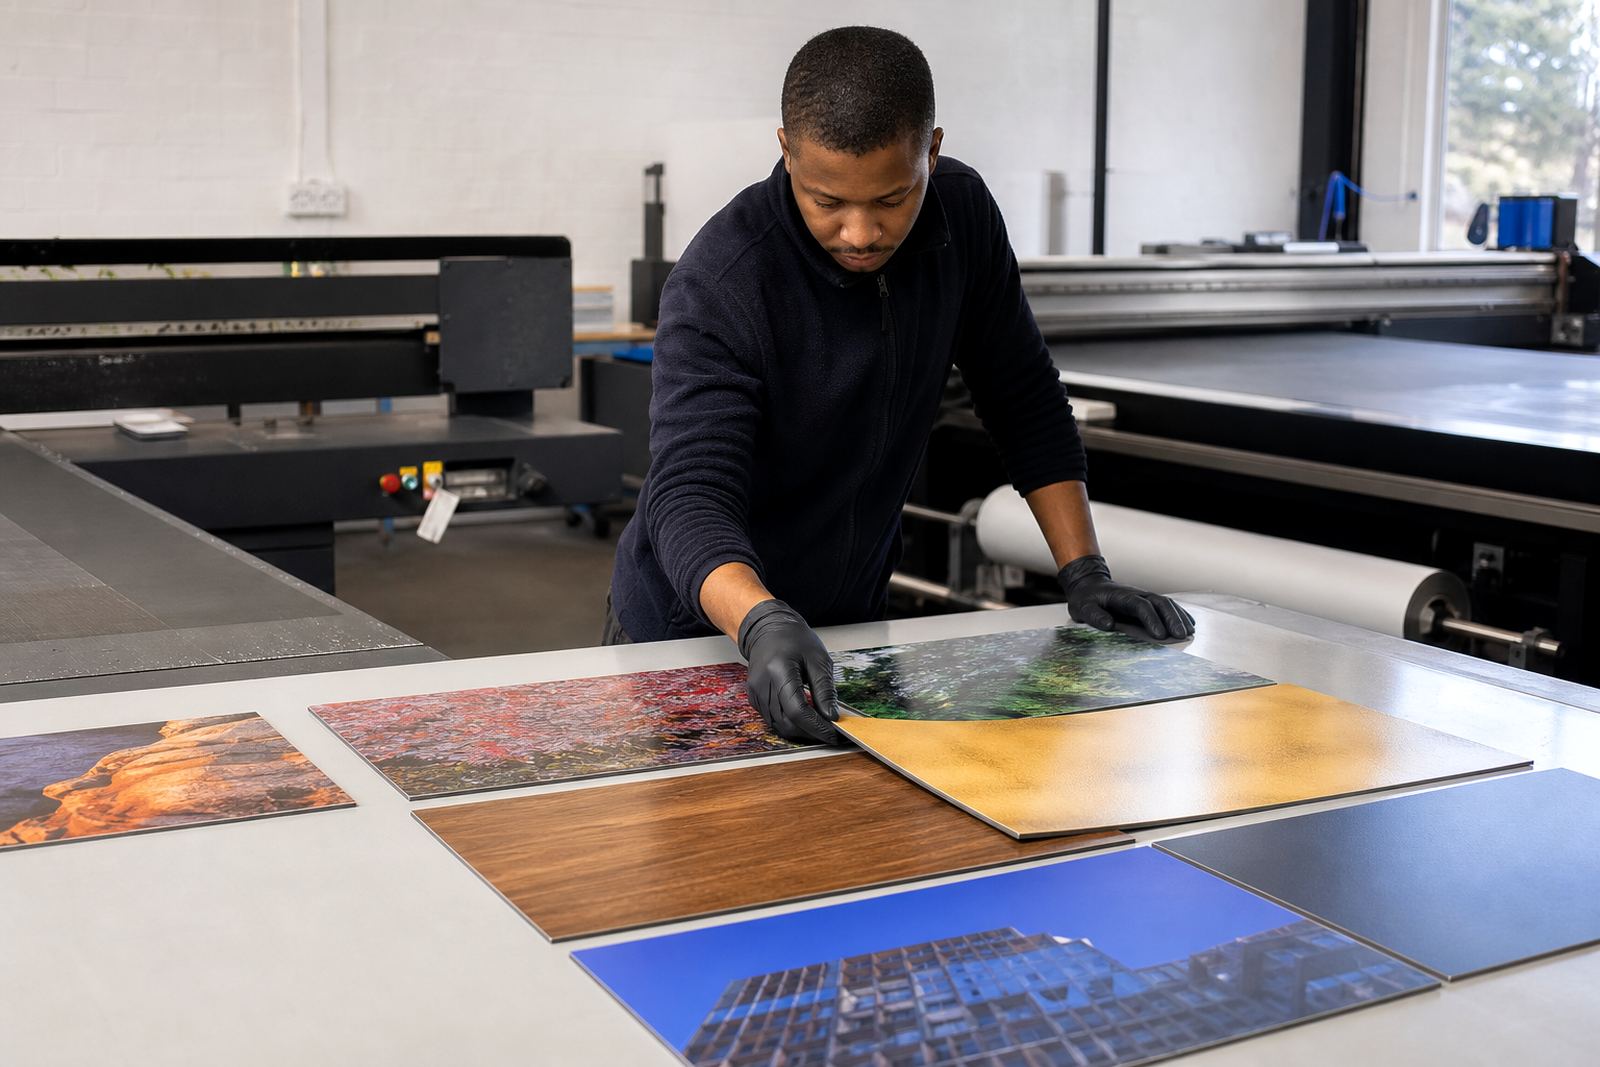
A reliable mockup workflow starts with the substrate, not the artwork. Board, coated paper, self-adhesive stock and certain plastics all behave differently under UV-curable inks. Some surfaces need a primer or adhesion check, others may need a slower print pass or an adjusted curing setting. It is better to test a small strip first than waste time on a full sheet that flakes at the trim line.
- Confirm the substrate thickness and finish before artwork is locked.
- Check whether the sample will be folded, creased, glued or die-cut.
- Test ink adhesion on the actual material, not a similar one.
- Allow for white underlays where colour needs to stand out on dark stock.
- Keep a record of the settings used for each successful sample.
When teams in Cape Town or Johannesburg need repeat samples, a simple log of material, pass count and curing settings saves time and avoids guesswork later.
Curing, handling and assembly should be planned together
UV-curable inks cure when exposed to the correct light energy, which helps keep production moving. For packaging mockups, that speed is useful, but only if the curing is matched to the material and ink layer. Under-curing can leave the surface tacky, while over-curing may affect flexibility on folds or reduce adhesion on some stock.
The best workflow treats curing as part of the assembly plan. If a mockup needs gluing after printing, allow the cured print to cool, then test the glue line. If the sample will be cut on a table, wait until the sheet is fully stable so the edges do not mark or lift. In a humid coastal area like Gqeberha, even a small change in air conditions can alter how a printed sheet behaves during finishing.
- Use gloves when handling freshly printed samples.
- Follow the safety data sheet for the specific ink in use.
- Ventilate the area properly during curing and clean-up.
- Keep printed sheets flat before folding or die-cutting.
- Do a rub test before sending the sample out for approval.
Colour trials that help clients make faster decisions
Packaging approvals often slow down because colour looks different on a monitor than it does on the sample in hand. UV-curable inks make colour trial support useful because the printed piece can be compared under real lighting conditions, on a real substrate. A mockup that shows the final tint, contrast and text legibility helps the client sign off with confidence instead of asking for another round.
For food sleeves, cosmetics cartons or promotional cartons, the goal is not only accurate colour but also presentation. A neat sample with clean edges and stable print often answers questions that would otherwise come up later in production. That is why sample pack prep and colour trial support are part of a proper packaging workflow, not an extra step.
Local example: a Bellville promo carton that had to be courier-ready
A Bellville packaging team needing launch samples for a small beverage carton might start with a board test, then print two versions with different branding placements. One sample is folded and glued, the other is left flat for art review. Because the print must travel by courier to Pretoria and Durban buyers, the surface has to resist scuffing and the edges need to stay clean after handling.
In that kind of job, the technical sequence matters: ink selection, adhesion testing, curing guidance and production planning all sit together. If the first sample rubs through during packing, the team can adjust the settings before the next run. That saves material and prevents delays when a launch date is already fixed.
Keeping mockups consistent from one order to the next
Once a packaging mockup is approved, consistency becomes the next priority. The same artwork may need a second sample for a retailer meeting, a revised proof after a text change, or a couriered pack for a plant in another province. Repeat order management only works well when the original settings are easy to trace and the operator knows which substrate and curing profile produced the accepted result.
For teams working across Cape Town, Johannesburg, Durban, Pretoria and Gqeberha, that consistency matters because each site may handle samples differently. Clear notes on adhesion, print order and finishing steps reduce surprises.
Packaging mockups are there to remove doubt. When the workflow is right, the sample looks convincing enough for approval, yet practical enough to survive the next step into assembly and production.