Why acrylic behaves differently from other rigid sheets
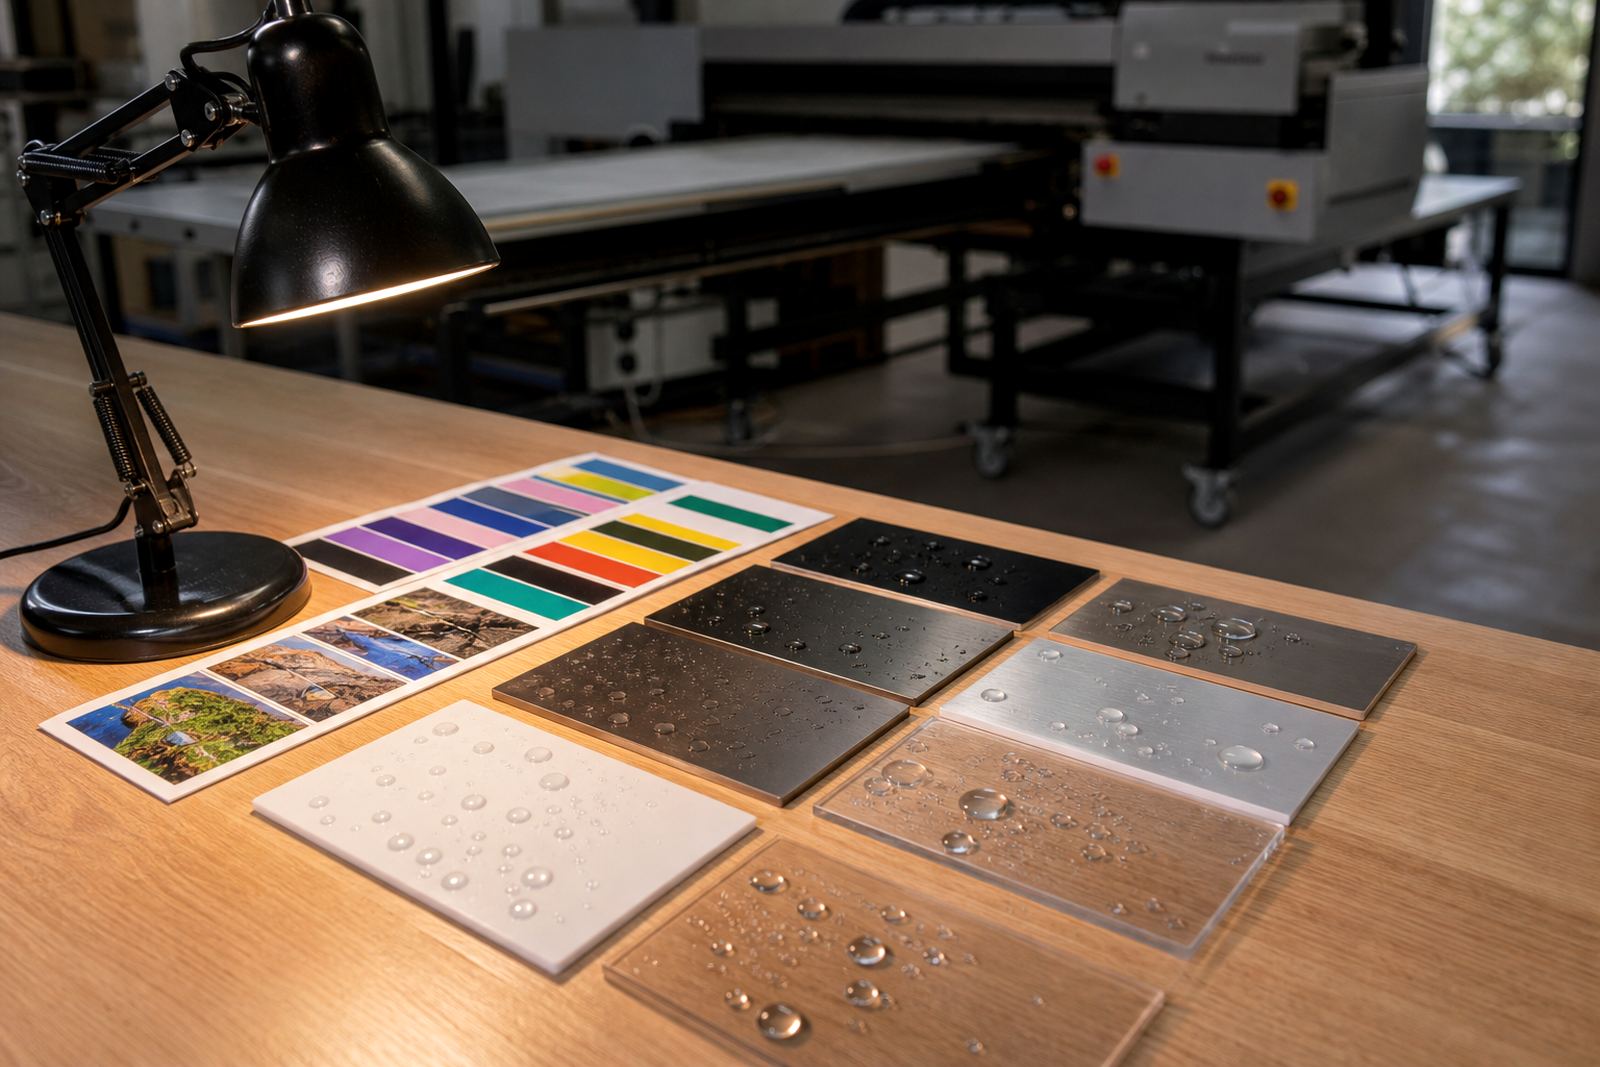
Acrylic is popular for signage, display panels, nameplates and decorative items because it presents colour well and gives a neat, polished look. It is also more sensitive than some other rigid substrates. Dust, grease, fine scratches and static can all affect the final print, so the prep stage matters just as much as the press settings.
On a clean sheet, UV-curable inks can sit crisply on the surface and cure quickly under the lamps. If the sheet carries mould-release residue, fingerprints or airborne dust from a workshop, adhesion can become uneven. That shows up as patchy gloss, weak bond or lifting at the edges after handling. In a place like Epping, where fabrication workshops often deal with sawdust, packing wrap and constant traffic, a simple wipe-down routine saves a lot of rework.
Acrylic also expands and contracts a little with heat. That means your curing setup should be balanced. Too much heat or too aggressive a pass can stress the sheet, especially on larger panels. A practical production plan should account for the thickness of the sheet, the type of print, and whether the panel will be mounted indoors or in a brighter, warmer area near a window.
Surface prep that gives the ink a fair chance
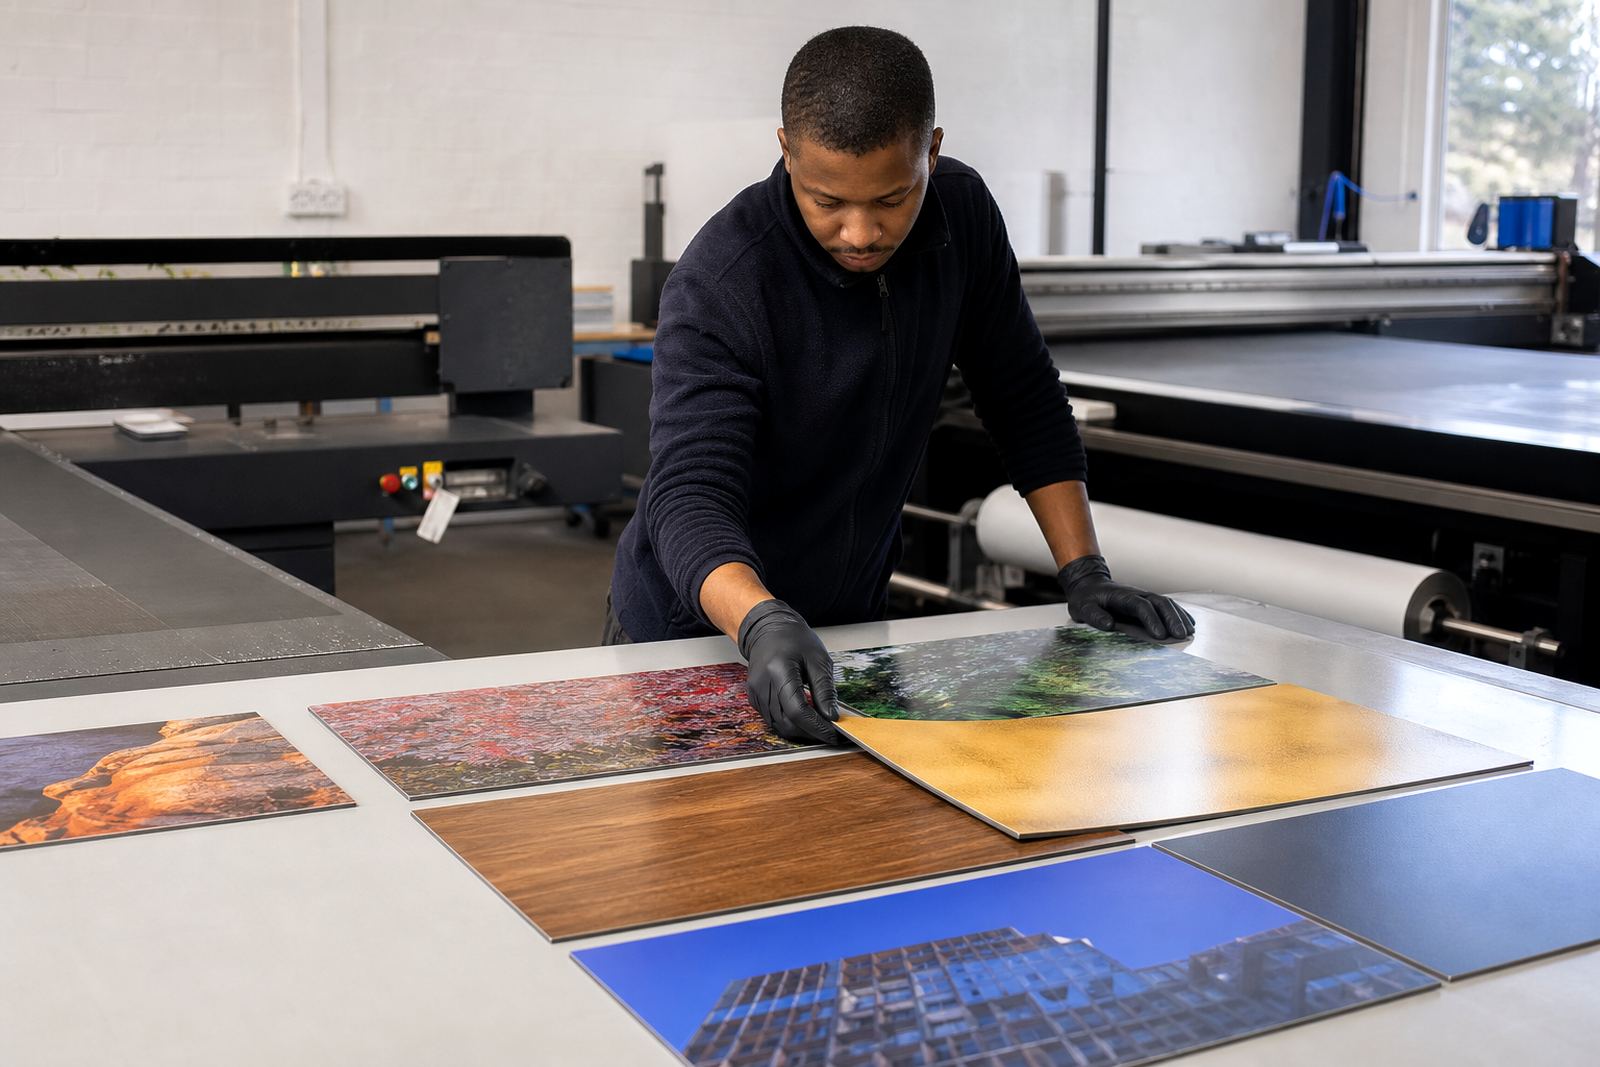
Before printing, the surface should be handled with clean gloves and kept away from dusty tables and offcuts. Even a small fingerprint can create a weak spot. Wipe the sheet with a suitable cleaner approved for the material, then allow it to dry fully before it goes onto the printer bed. Always follow the safety data sheet for the ink and cleaning products, and wear gloves when handling ink and coated panels.
For many acrylic jobs, the best results come from a simple routine that the whole team follows the same way every time. Keep cutting debris away from the print area, use lint-free cloths, and avoid touching the print face after cleaning. If the sheet has protective film, remove it only when the substrate is ready to print. That helps reduce dust attraction and saves you from having to clean the surface twice.
- Inspect the sheet under bright light before loading
- Remove dust with a lint-free cloth, not a rough rag
- Keep gloves on once the surface is cleaned
- Check for static build-up on dry days and after transport
- Do a small test area first if the sheet is new to your workflow
Choosing the right UV ink for flatbed and roll work
Not every acrylic job behaves the same, and printer compatibility matters. A rigid flatbed setup is usually the first choice for direct printing onto acrylic panels, while roll-to-roll devices are often used for printed films that are later applied to acrylic. The ink system should suit the printer, the substrate, and the end use. If the ink cures too hard for the application, it may chip on edges or stress the sheet. If it is too soft, it may mark too easily during handling.
When planning a job, think about the final environment. Indoor retail graphics in Cape Town may need strong colour and a smooth gloss finish, while a reception panel in Pretoria may need better scratch resistance because it gets cleaned often.
- Confirm printer compatibility before loading a production batch
- Match the ink set to the intended use, indoor or general handling
- Check whether the job needs clear layers, white ink or underprint support
- Allow enough time for cooling before packing or stacking
Curing settings and layering without causing trouble
UV printing on acrylic is usually about balance. The ink must cure enough to bond properly, but not so aggressively that the sheet warps or the surface loses its finish. A measured pass often gives better results than chasing speed. If the print is layered, such as colour plus white, each layer should be cured in a controlled way so the next layer can sit cleanly on top.
Layering is especially useful when the design needs opacity, depth or a backing layer for reverse printing. For clear acrylic, the order of layers matters. A reverse print viewed through the sheet should be planned differently from a face print that will be read directly. It helps to run a sample first, then check colour, edge sharpness and curing before the production job starts. That is safer than discovering an issue after ten panels are already printed.
Stable conditions produce more reliable adhesion and less waste.
Where acrylic printing pays off in the real world
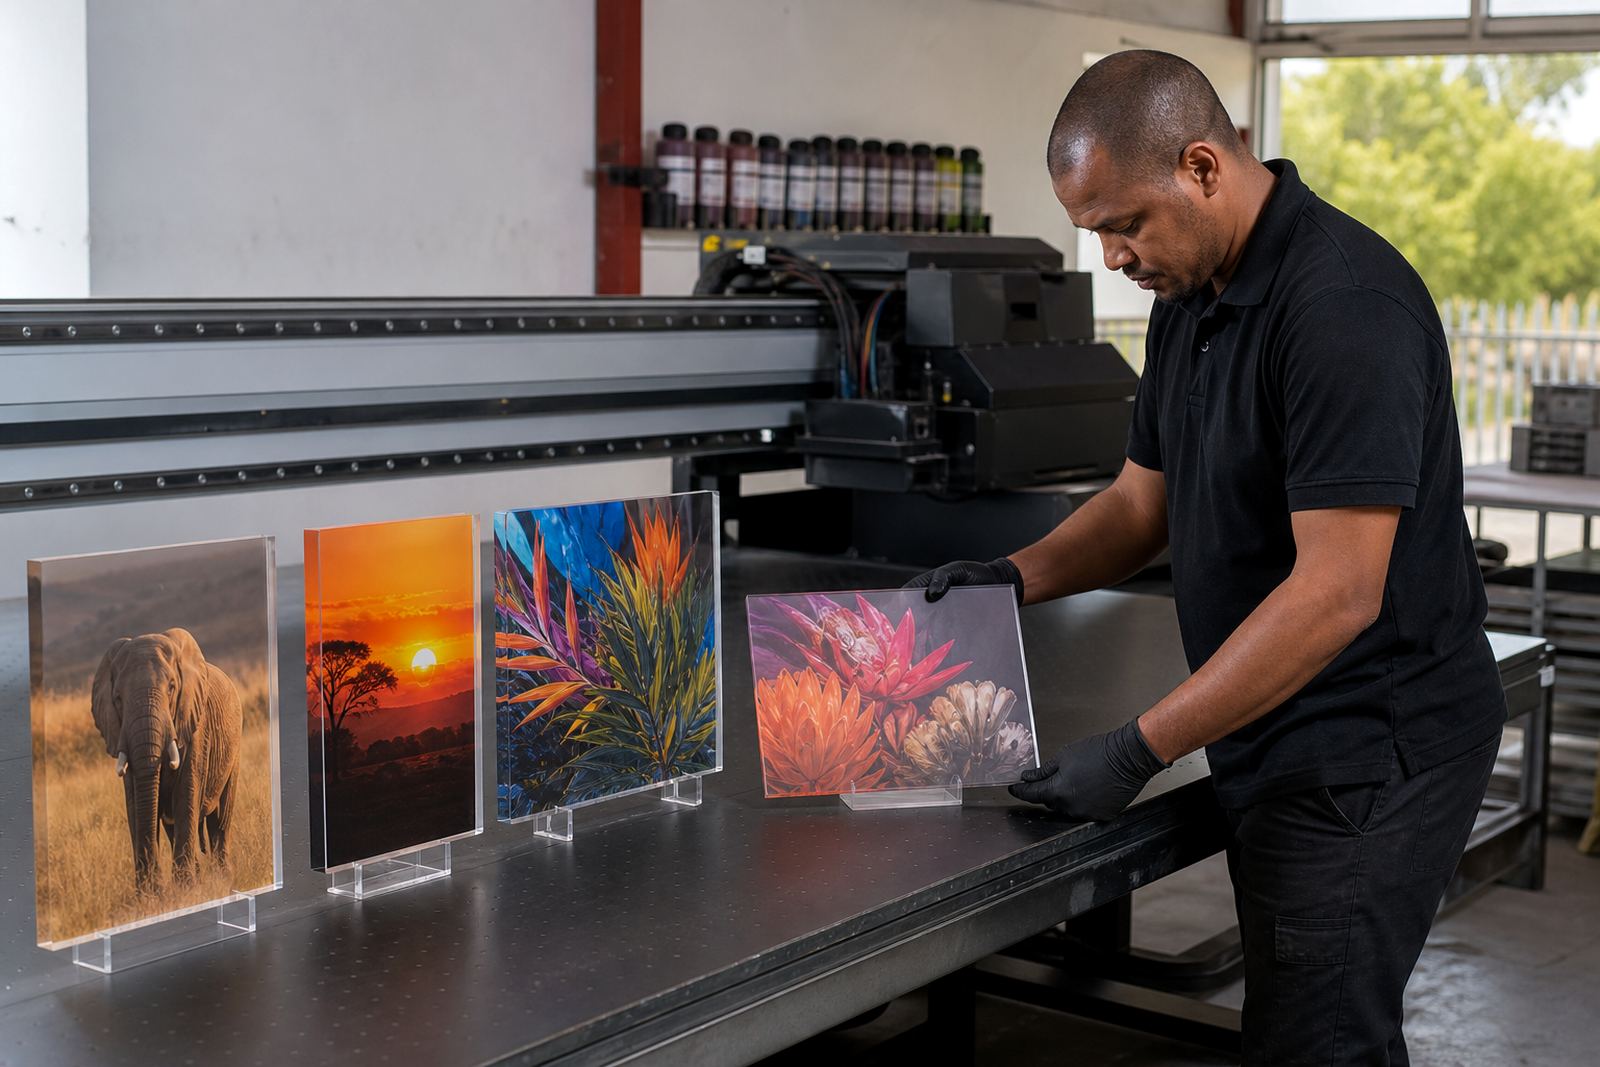
Acrylic is used across signage, interior branding and packaging displays because it gives a neat presentation and can be shaped, cut and mounted in many ways. A well-printed acrylic panel can work in a shopfront, boardroom, exhibition stand or product display. It also suits smaller jobs such as labels, directional signs and decorative inserts where colour accuracy and a clean finish matter.
Local example: a printer in Bellville preparing a set of acrylic directional signs for a busy office block might need each panel to match the same shade across multiple sizes. If one sheet has more dust or static than the others, the set can look uneven once installed. That is why sample approval, repeatable cleaning and consistent curing are so important. The same applies to delivery schedules. If a job is heading to Johannesburg or Gqeberha by courier, the panels should be fully cooled and packed flat so the edges do not pick up marks on the trip.
A good production plan also includes operator training and handling notes, especially for new staff. Acrylic is easy to damage if it is moved roughly or packed before it has settled.
Keeping acrylic jobs consistent from sample to repeat order
Once a successful acrylic job has been approved, it is worth documenting the key steps. Record the substrate type, cleaning method, print order, curing approach and any notes from adhesion testing. That makes repeat order management much easier, especially when different operators handle the same job over time.
For teams working from Epping and supplying across South Africa, the repeat process should be simple: confirm the artwork, check the printer setup, verify the ink choice and make sure the packing method suits the route. A job going to Durban may need extra care against humidity, while a batch going to Pretoria may need a firmer wrap to handle transport vibration. These are small details, but they protect the finish and reduce complaints later.
If a customer is unsure about a new acrylic application, sample pack prep and colour trial support can save time. A small test sheet can reveal whether the surface needs a different curing approach or whether the design should use a stronger white layer. When the basics are right, acrylic can produce a very clean, dependable result.