Why a small test beats a full reprint
When you are printing on board, acrylic, vinyl or coated packaging stock, the first sample tells you far more than a spec sheet can. Surface energy, dust, humidity and operator settings all affect how UV-curable ink sits on the material, and how well it bonds after curing. A test panel lets you see the real result before production starts.
In Cape Town, for example, coastal air can change how a substrate behaves from one week to the next. On a humid morning in Epping, a sheet that looked perfect the day before may need a slightly different cure or a slower pass. If you test first, you can adjust early instead of finding out after 50 boards have already gone through the machine.
That is also useful for work going to Johannesburg, Durban, Pretoria or Gqeberha. Courier delays, storage conditions and handling all play a part, so it helps to prove the print system on the exact stock you will use. A short test is not wasted time, it is insurance against bad adhesion, colour drift and uneven curing.
What to check before you commit to production
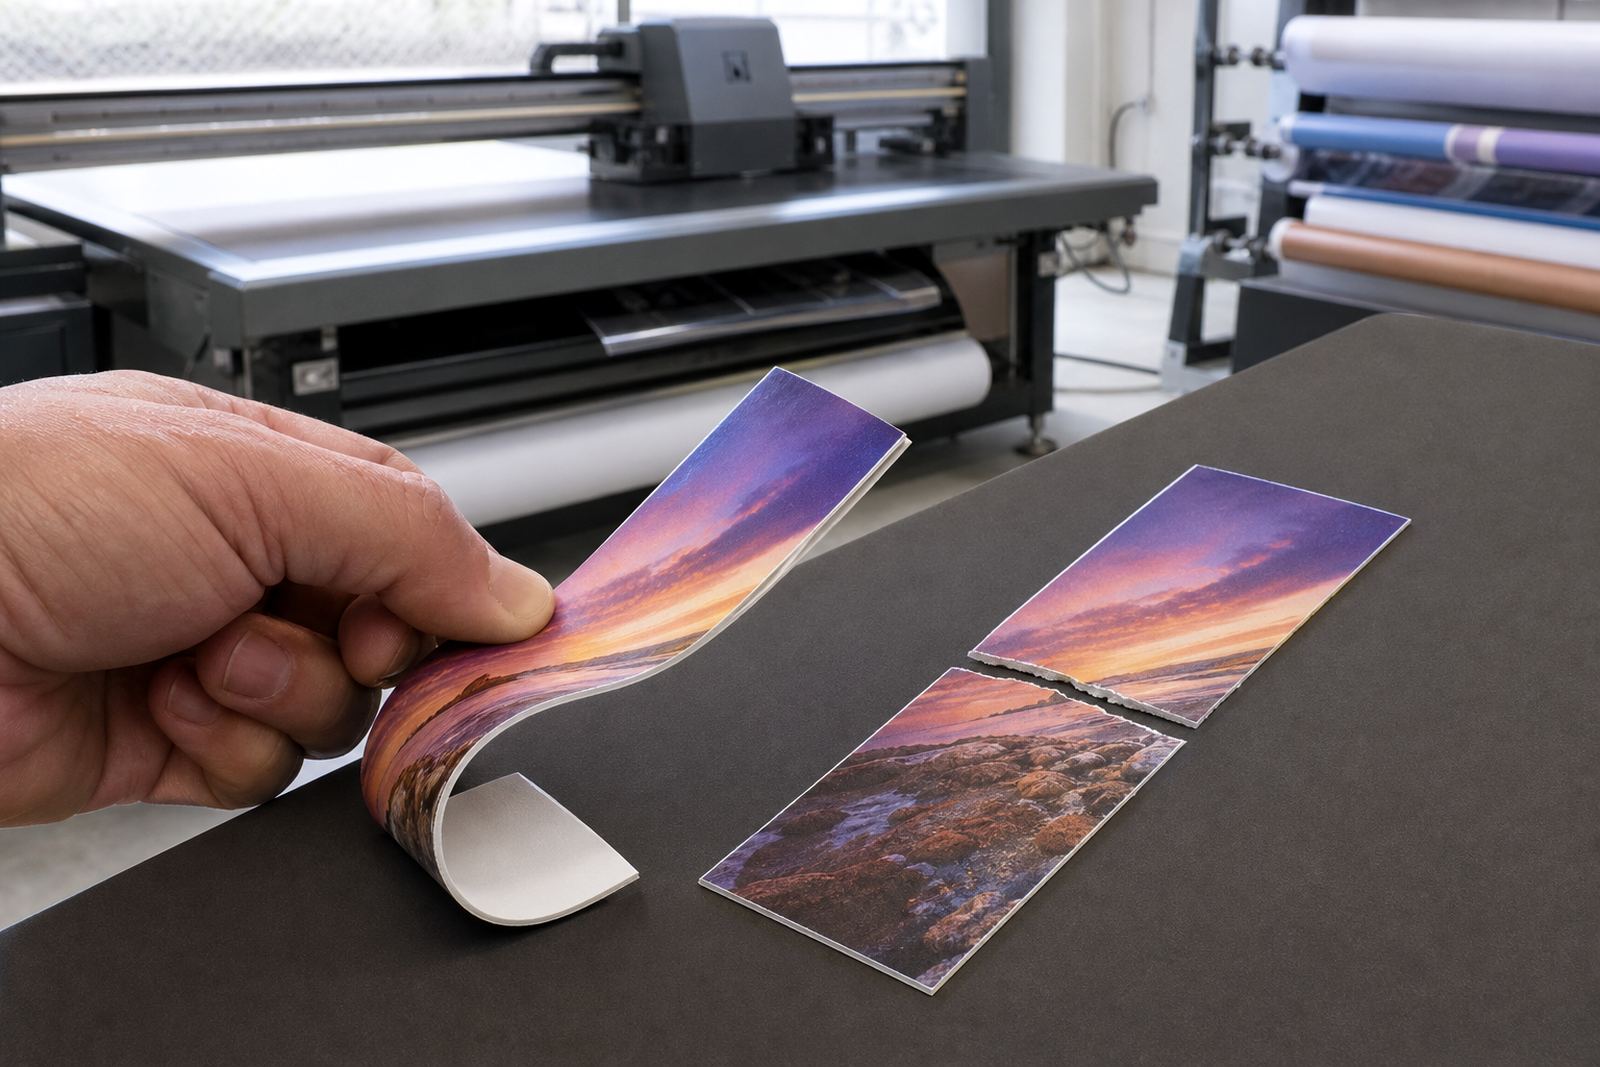
A proper pre-production check should do more than confirm that the image looks sharp. It should tell you whether the ink is compatible with the substrate, whether the lamp or curing system is doing its job, and whether the finish can survive handling, stacking or outdoor use. If you skip this step, you may get decent colour but poor adhesion, or a hard cure that still scratches too easily.
- Adhesion: Rub the print lightly after curing and check for flaking, lift or smudging.
- Colour: Compare the proof against the approved artwork under good light.
- Curing: Check for tackiness, odour and surface hardness after the full pass.
- Flexibility: On roll-to-roll media, bend or fold a sample where relevant.
- Surface finish: Look for pinholes, banding, orange peel or uneven gloss.
If a test fails one of these checks, the fix is usually practical. You may need to slow the carriage, increase cure intensity, clean the printhead area, or rework the primer approach. The point is to catch that early, not after the client has already signed off a full pallet.
Use the right sample, not just any offcut
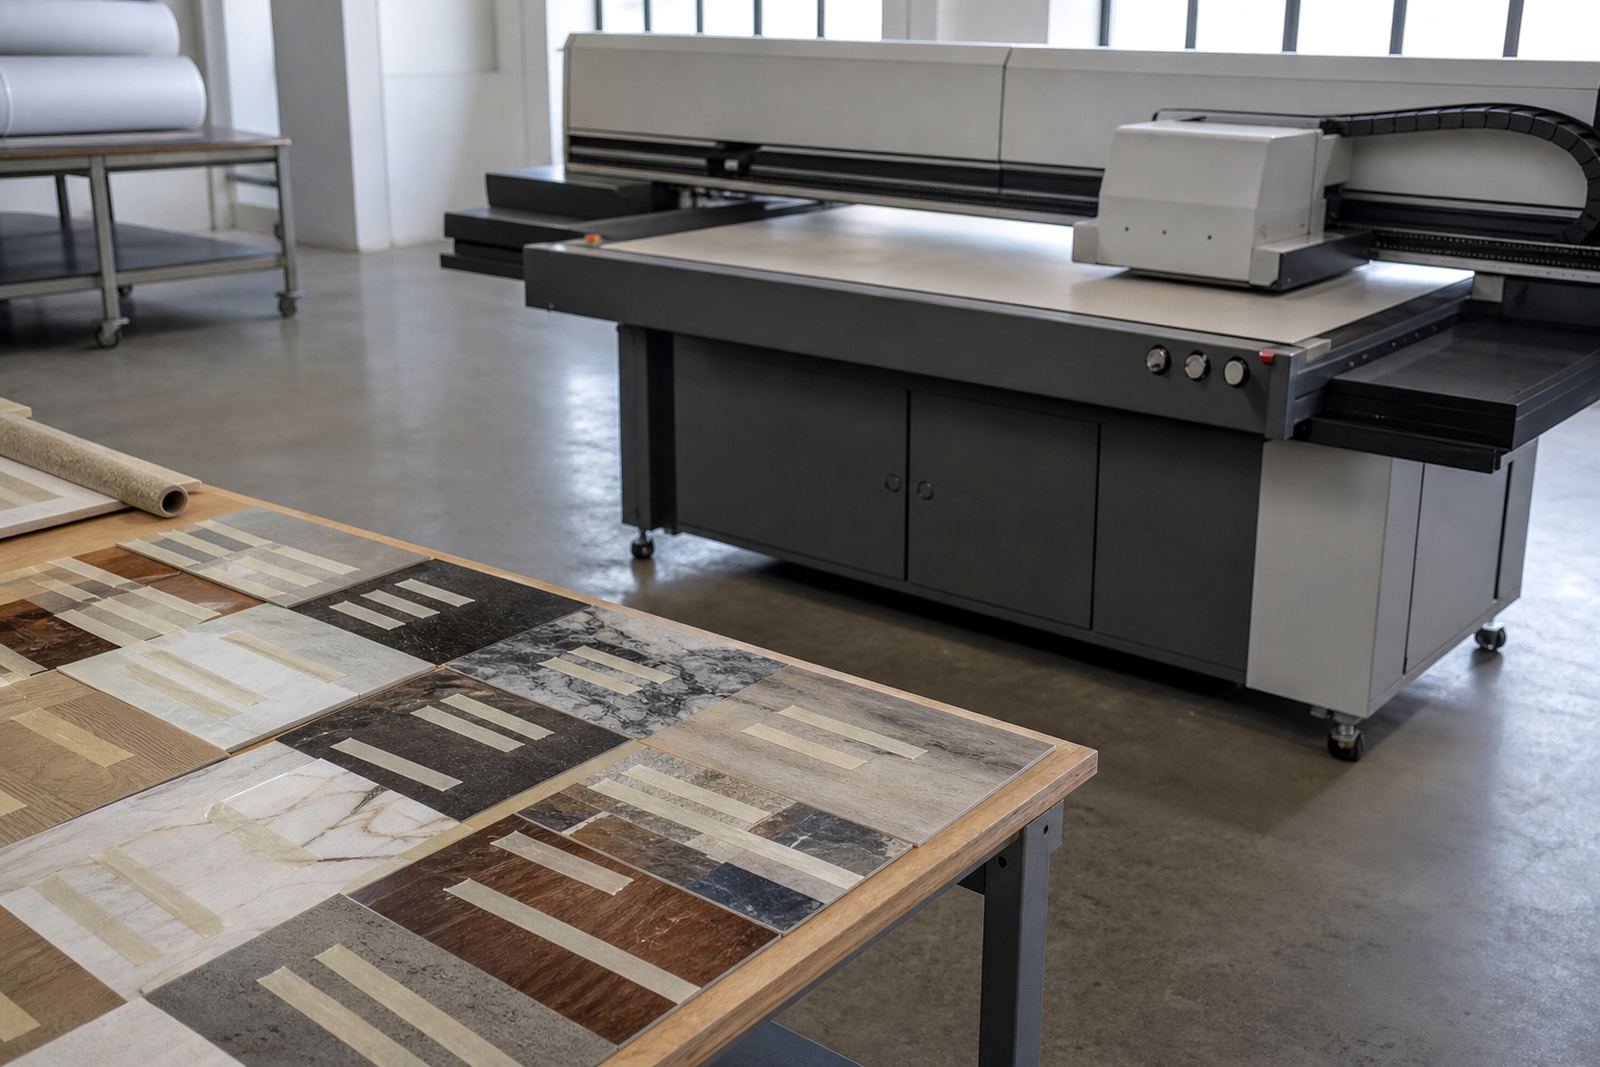
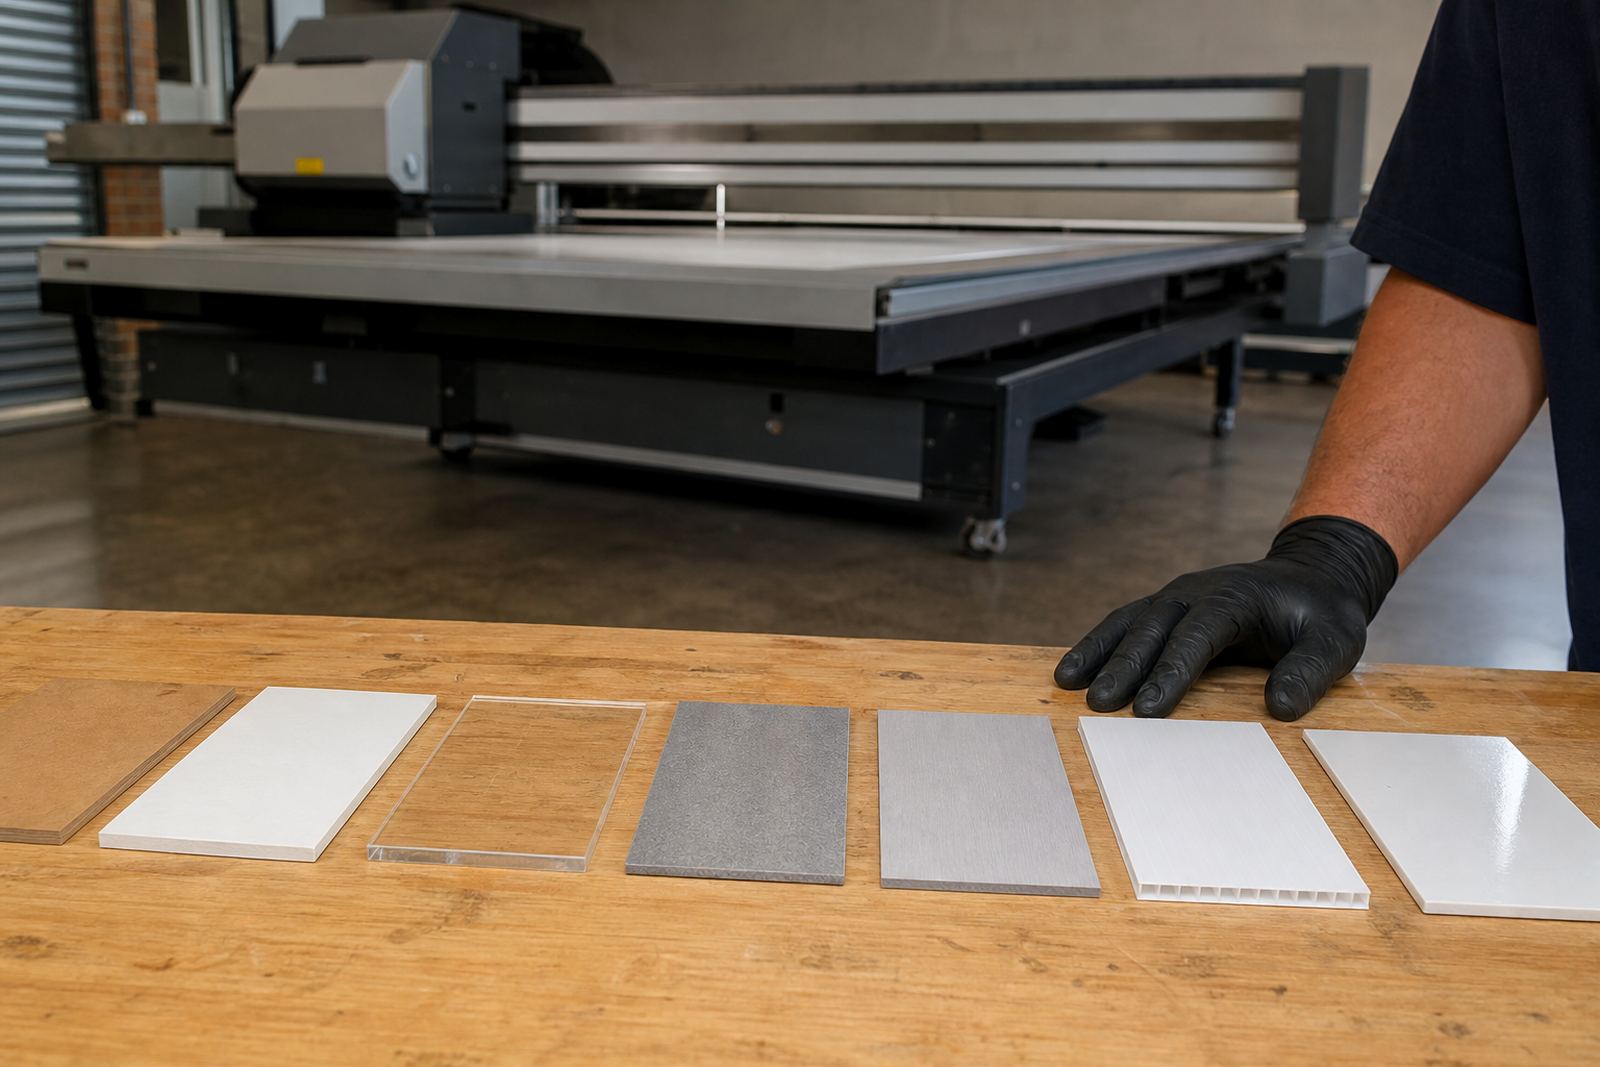
Many print problems only show up on the exact material you plan to use, so testing on a similar sheet is not enough. A coated board can behave differently from an uncoated one, and a roll stock with a release liner may react differently to the same ink layer. Even the cut edge matters, especially where a job will be trimmed, folded or laminated later.
For best results, send or prepare a sample that matches the job in thickness, finish and batch where possible. If the job is going to a packaging line in Bellville or Paarl, test the same board the production team will feed later. If it is a sign panel for a shopfront in Durban, test the exact substrate that will hang in the sun and coastal air. That makes the results far more meaningful.
- Test on the same substrate batch if you can.
- Use the same print mode, pass count and curing setting planned for production.
- Allow the sample to rest before checking adhesion, especially on heavier ink lays.
- Mark the sample clearly so it is not confused with a different setting later.
A careful sample test also helps with repeat orders. Once you know what worked on one batch, you can store those settings as a starting point for the next run, saving setup time and reducing guesswork.
Curing settings need to match the job, not just the machine
UV-curable inks need enough energy to cure fully, but too much cure can also cause problems. If the setting is too light, the surface may stay soft or undercured. If it is too aggressive, you can get brittleness, heat stress on sensitive media or unwanted change in colour. This is why a trial run matters before a full production shift.
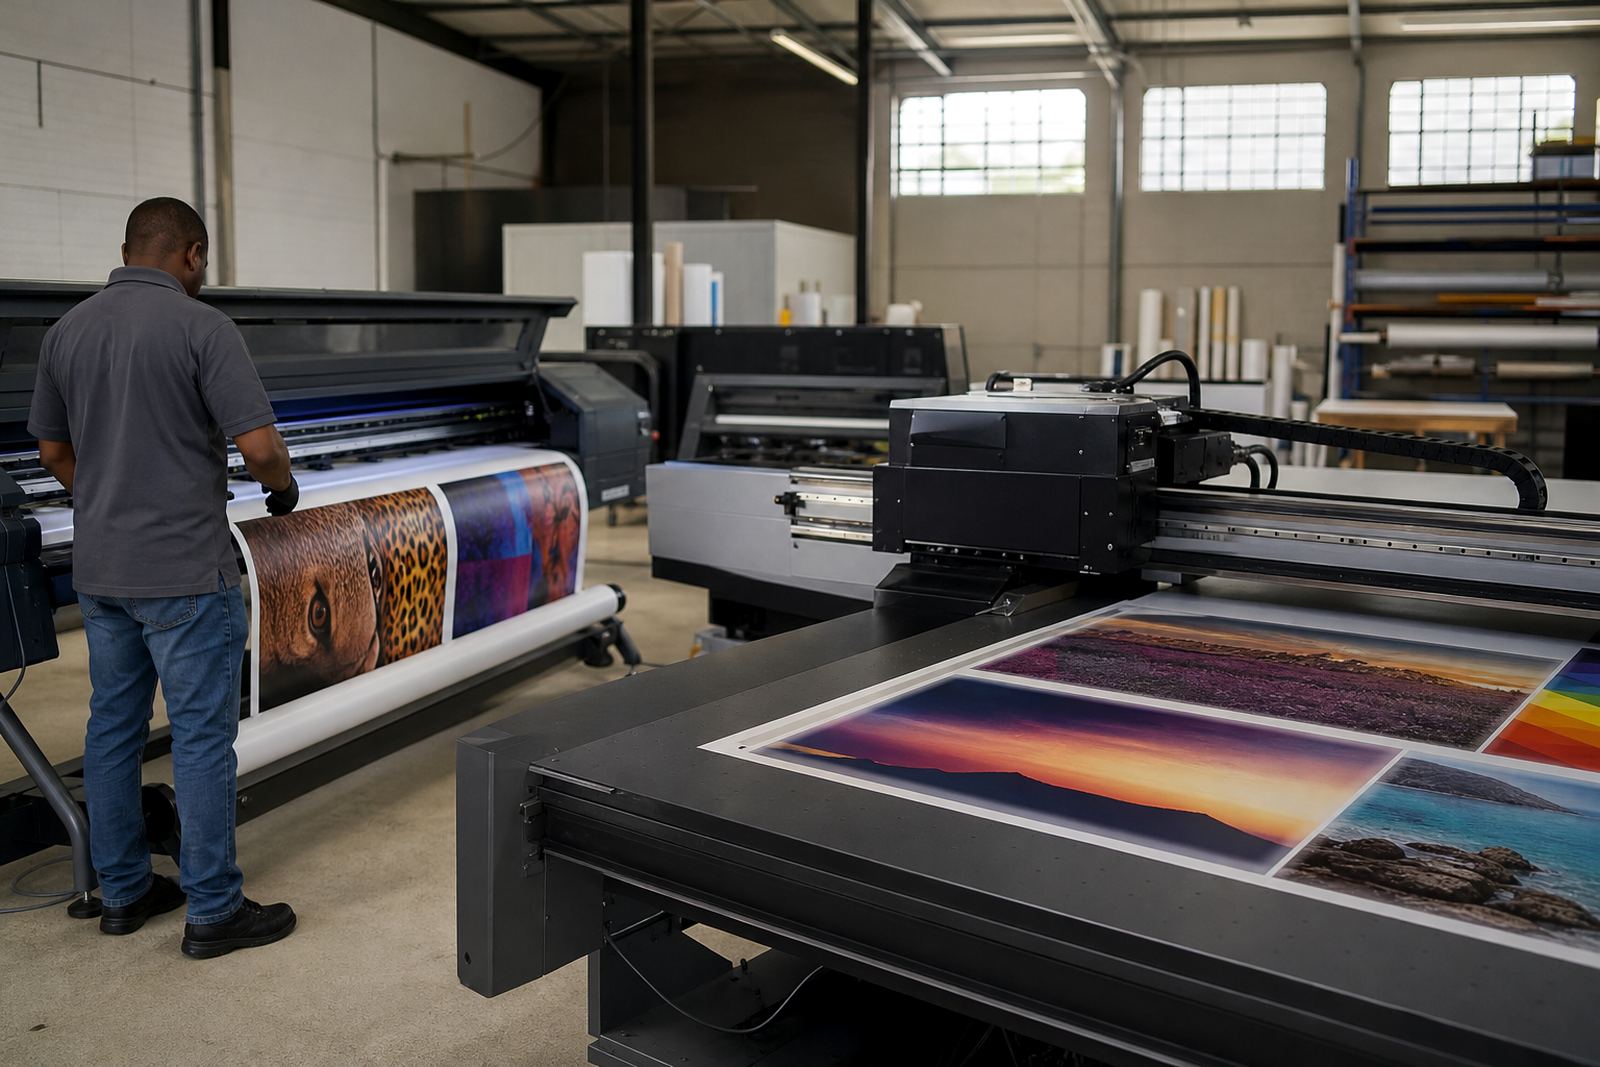
Every printer family and media type has its own sweet spot. Flatbed work may need a different approach from roll-to-roll work, and the correct setting can also vary depending on ink laydown and speed.
When checking curing, look for more than surface dryness. Ask whether the print can be stacked, wiped, wrapped or cut without damage. If it is for packaging, check whether the ink layer holds after creasing. If it is for signage, check whether the surface still looks clean after a light rub. These are simple checks, but they tell you a lot.
Printer compatibility is part of the test
Not every ink behaves the same way in every machine. Even when a UV-curable ink is designed for a wide range of flatbed and roll-to-roll printers, the setup still needs to be checked against the heads, curing system, substrate feed and print mode in use. Compatibility is not only about whether the ink comes through the machine. It is also about how it performs once it lands on the material.
That is why operators should test before production after any change in stock, artwork type or maintenance work. A new substrate can alter dot gain, the wrong profile can shift colour, and a small change in head height can affect both sharpness and adhesion. In a busy shop, a quick test sheet can prevent half a day of rework.
It helps to keep a simple record of what worked:
- Printer model and pass setting
- Substrate type and thickness
- Ink load and cure setting
- Observed drying, adhesion and colour result
- Any adjustments made before the final run
With that record, your team can repeat a successful setup more reliably, even if a different operator takes over the machine later. That is practical support, not guesswork.
A Cape Town example from trial to final run
A packaging client in the Epping area may bring in a coated board for a new short run, hoping to move fast. Before print production starts, the team runs a few sample panels through the flatbed printer, then checks the cure and adhesion after a short rest period. The first test looks good visually, but a light rub shows the surface is too soft on one pass setting.
The operator adjusts the cure and repeats the sample. The second result holds better, the colour remains on spec and the board passes a fold test without cracking. Only then does the team release the production run. That kind of method saves material, keeps the job on schedule and gives the customer a cleaner result.
For South African suppliers and printers, this is everyday practical work. Whether the delivery is going to Cape Town, Bellville, Durban or Gqeberha, the aim is the same: get the job right before the full commitment. A small test, a clear check and a simple record can prevent a lot of trouble later.
Handle test samples safely and keep the process repeatable
Any testing process should be handled with care. UV inks and freshly printed samples should be treated according to the safety data sheet, and gloves should be worn when handling wet or newly cured prints where appropriate. Keep the work area tidy, avoid skin contact and store samples away from dust and direct heat while you assess them.
It also helps to brief the operator team before the run starts. A short safe handling note, plus a clear plan for adhesion testing, curing guidance and colour trial support, makes the whole process easier to repeat. If a sample shows an issue, note the result and move methodically through the possible causes rather than changing five settings at once.
Good pre-production testing is not complicated. It is simply disciplined. Check the substrate, test the cure, confirm the adhesion and keep a record. That habit protects material, shortens problem solving and gives the final print a better chance of performing as expected.