Why adhesion matters before the first sheet runs
Adhesion is not just about whether ink looks dry on the surface. With UV-curable inks, the print has to bond properly to the substrate so it can handle cutting, folding, transport and daily use without scuffing or lifting. If the bond is weak, the job may look fine on the printer then fail once it leaves the workshop.
That is why good production starts with a simple question: what is the surface made of, and how has it been prepared? A smooth plastic sheet, coated board, glass panel or powder-coated sign blank will all behave differently. Even two sheets from the same supplier can perform differently if one carries dust, release agents or moisture. In Cape Town, coastal humidity can add another variable, while inland sites in Johannesburg may see more dust on stock and around intake areas.
Surface condition is often the real problem
Many adhesion issues are blamed on the ink too quickly, but the substrate is usually the first place to check. UV inks can bond well to many materials, yet they still need a clean and suitable surface. Finger marks, silicone, oil, loose powder and static can all reduce wetting and cause pinholing or patchy pickup.
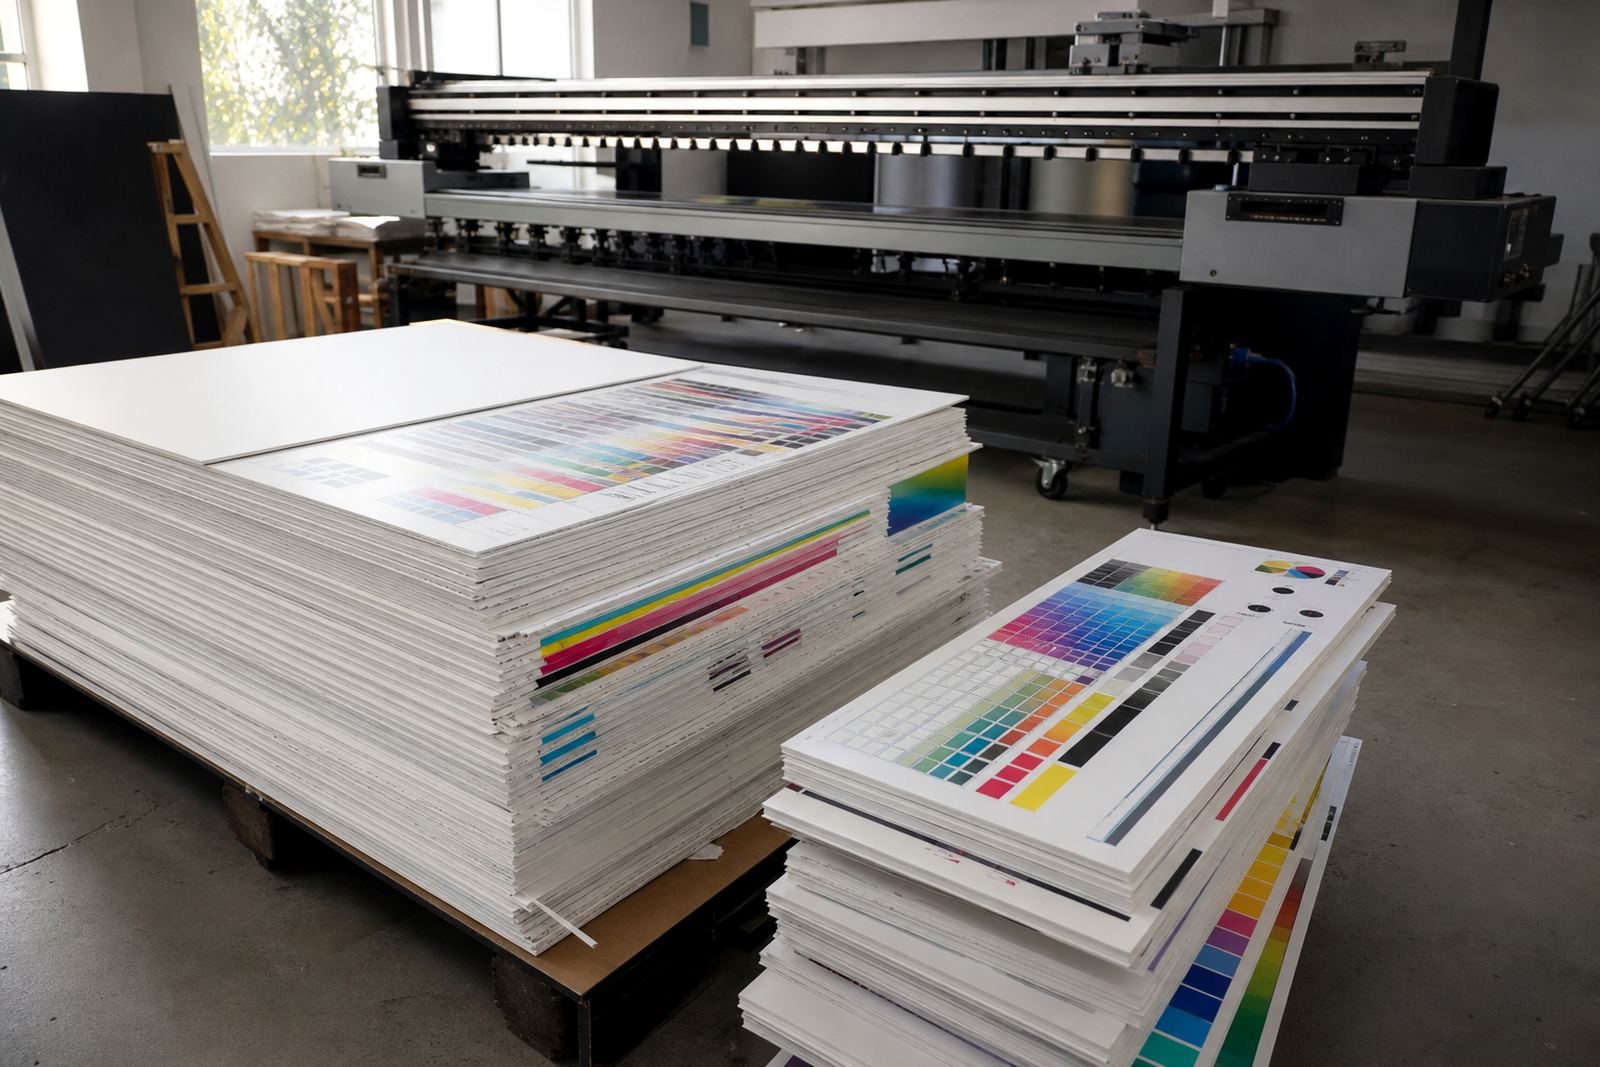
Before a live run, clean the material in a controlled way and keep handling to a minimum. Use the right lint-free cloth, avoid harsh residues and let the surface dry fully. On some plastics, a quick wipe is not enough. A trial panel should be printed and inspected after curing, then checked again after a short rest period. That second look matters because some failures only show once the job has cooled down or been flexed.
- Store sheets flat and away from dust
- Wear gloves when handling prepared substrates
- Do not print over wet cleaner or damp edges
- Test the same material batch that will go into production
Curing settings must match the job, not just the printer
UV-curable ink hardens when exposed to the correct light energy. If curing is too light, the surface can remain tacky or under-cured. If it is too heavy, some materials may warp, crack or show unwanted heat stress. The aim is not simply to make the ink dry, but to cure it well enough to hold adhesion without damaging the substrate.
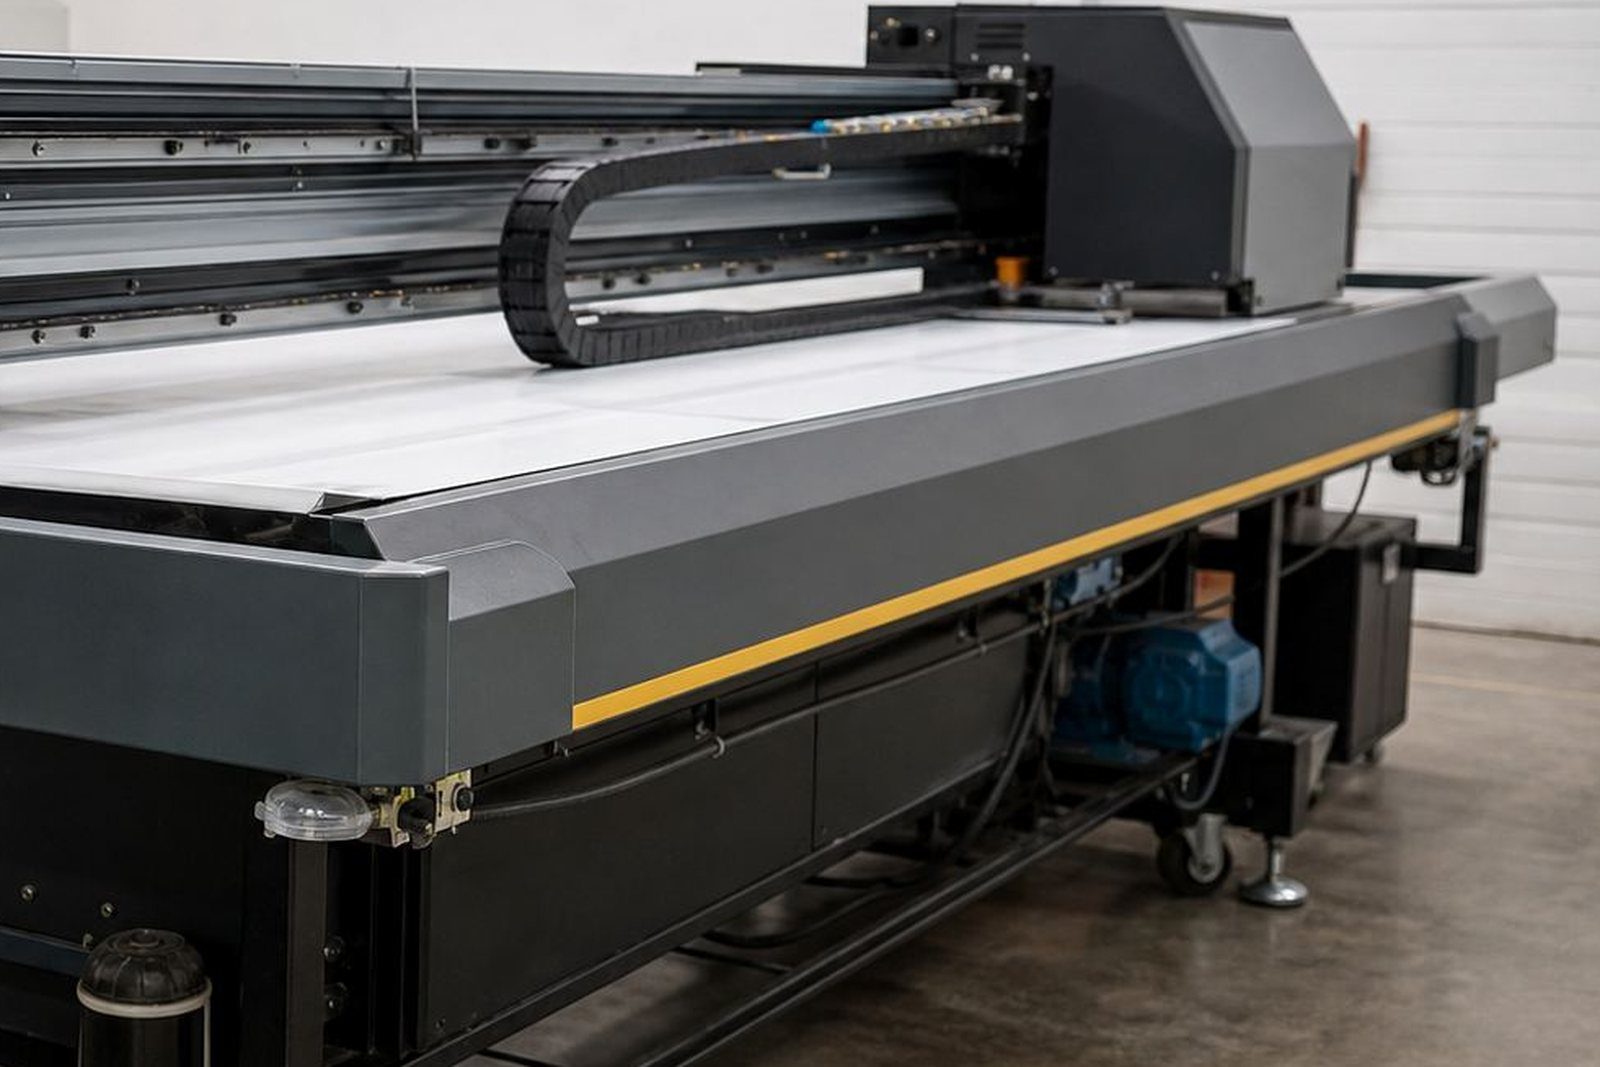
Flatbed and roll-to-roll printers often behave differently, so the same ink may need different settings on each machine. Lamp output, carriage speed, layer thickness and media gap all affect the final result. A job for a rigid sign board may need one approach, while a flexible graphic or label stock may need another. Test prints should be checked for scratch resistance, tape pull results and edge lift. If the print still smells strongly after curing or feels soft, that is a warning sign and needs more attention.
- Check curing after each major setting change
- Test ink build-up on solid fills and fine detail
- Watch for heat effects on thinner plastic sheets
- Allow printed samples to rest before final approval
Printer compatibility affects adhesion as much as chemistry
Not every UV-curable ink behaves the same in every printer. Compatibility depends on ink flow, drop formation, head tolerance, and how the system handles white, varnish or colour layers. A product that looks excellent in one machine may not travel well in another if the circulation, temperature control or curing layout is different. This is why compatibility checks are part of sensible production planning.
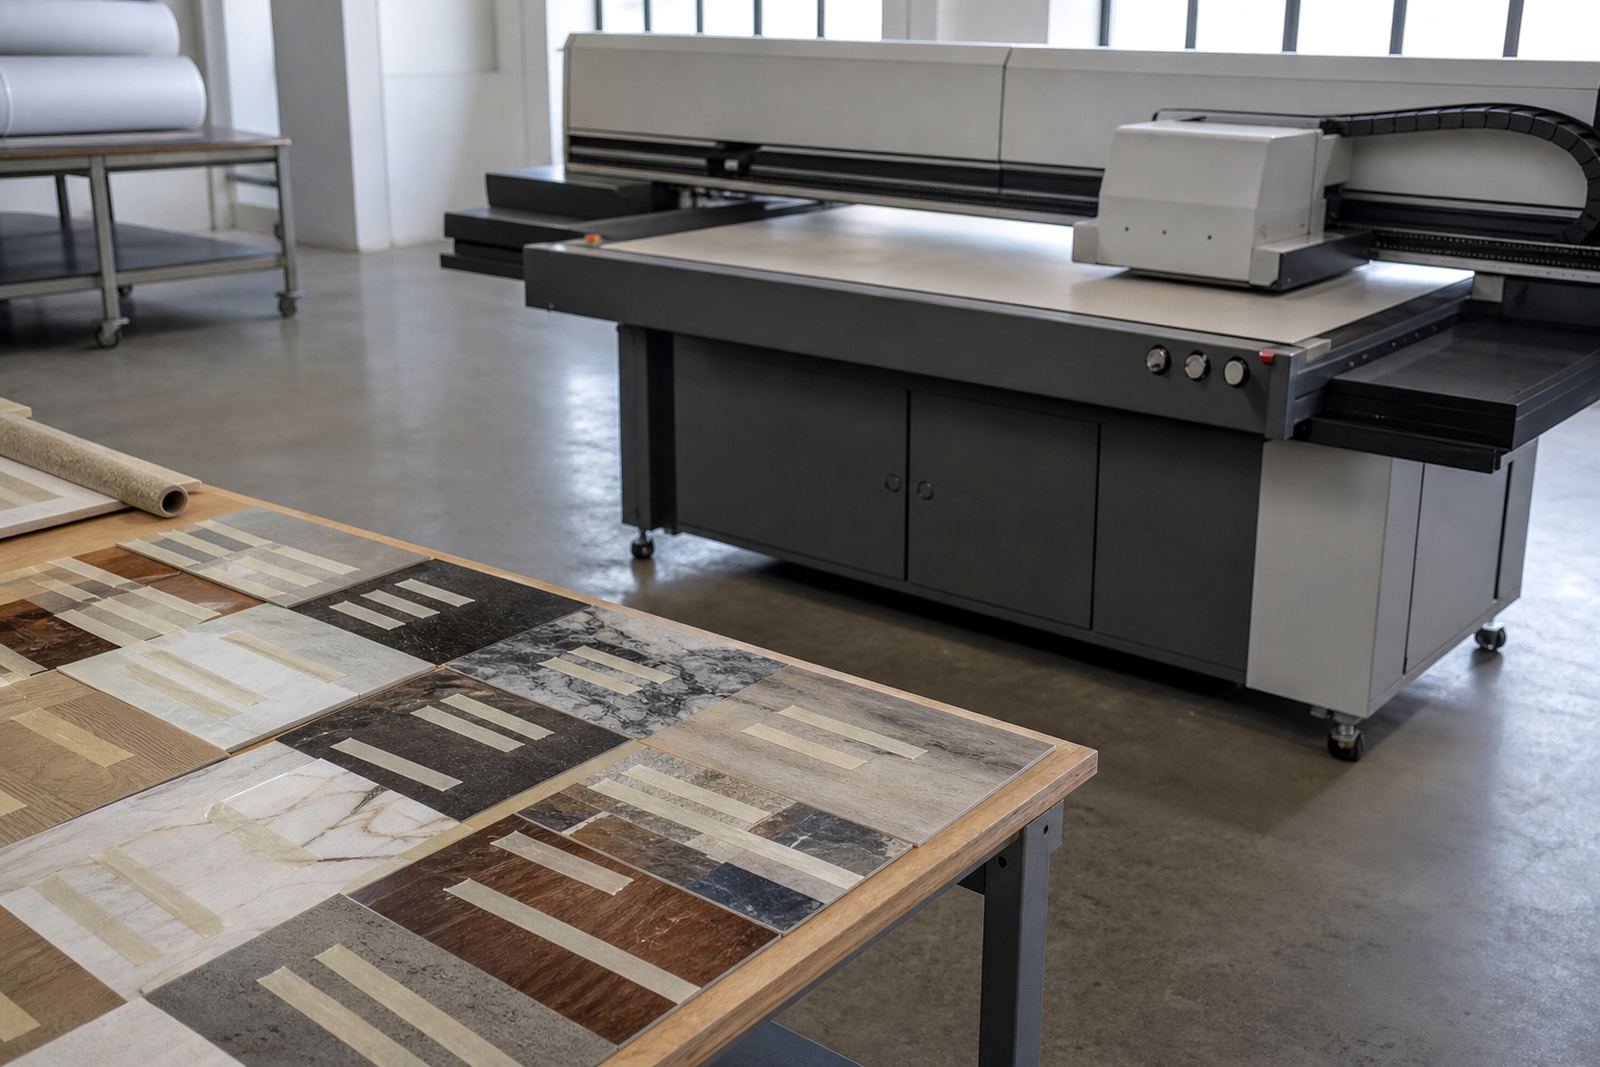
For shops that run both flatbed and roll-to-roll work, the practical step is to keep a clear record of what works on each setup. Note the substrate, cleaning method, curing level, operator setting and finish result. Over time, this makes repeat work much easier and helps avoid waste. Small differences at the machine can show up later as poor adhesion on the finished job.
From the ink lab: Cape Town production floors
Picture a sign workshop in Epping handling a mix of shopfront panels, display boards and packaging samples for clients around Cape Town and Paarl. The board supplier sends a clean-looking batch, but after printing one section lifts on the tape test. The ink is not the only issue. A quick check shows fine dust on the storage rack, light surface contamination and a curing setting that is fine for one side of the job but not the full coverage area.
After the team cleans the panels properly, runs a small sample and adjusts the curing guidance, the same substrate performs far better. That is the real value of testing before live production. It costs less to reject a sample than to redo a full run. The same logic applies when couriers are moving stock to Durban, Pretoria, Gqeberha or Johannesburg. Once a parcel leaves the site, there is little room for fixing avoidable adhesion problems.
Practical testing also helps operators build confidence. A quick colour trial, a short drying check and a simple tape pull can tell you more than guesswork ever will. In busy production, that small habit saves time and keeps repeat orders moving cleanly.
Safe handling, testing and repeat order control
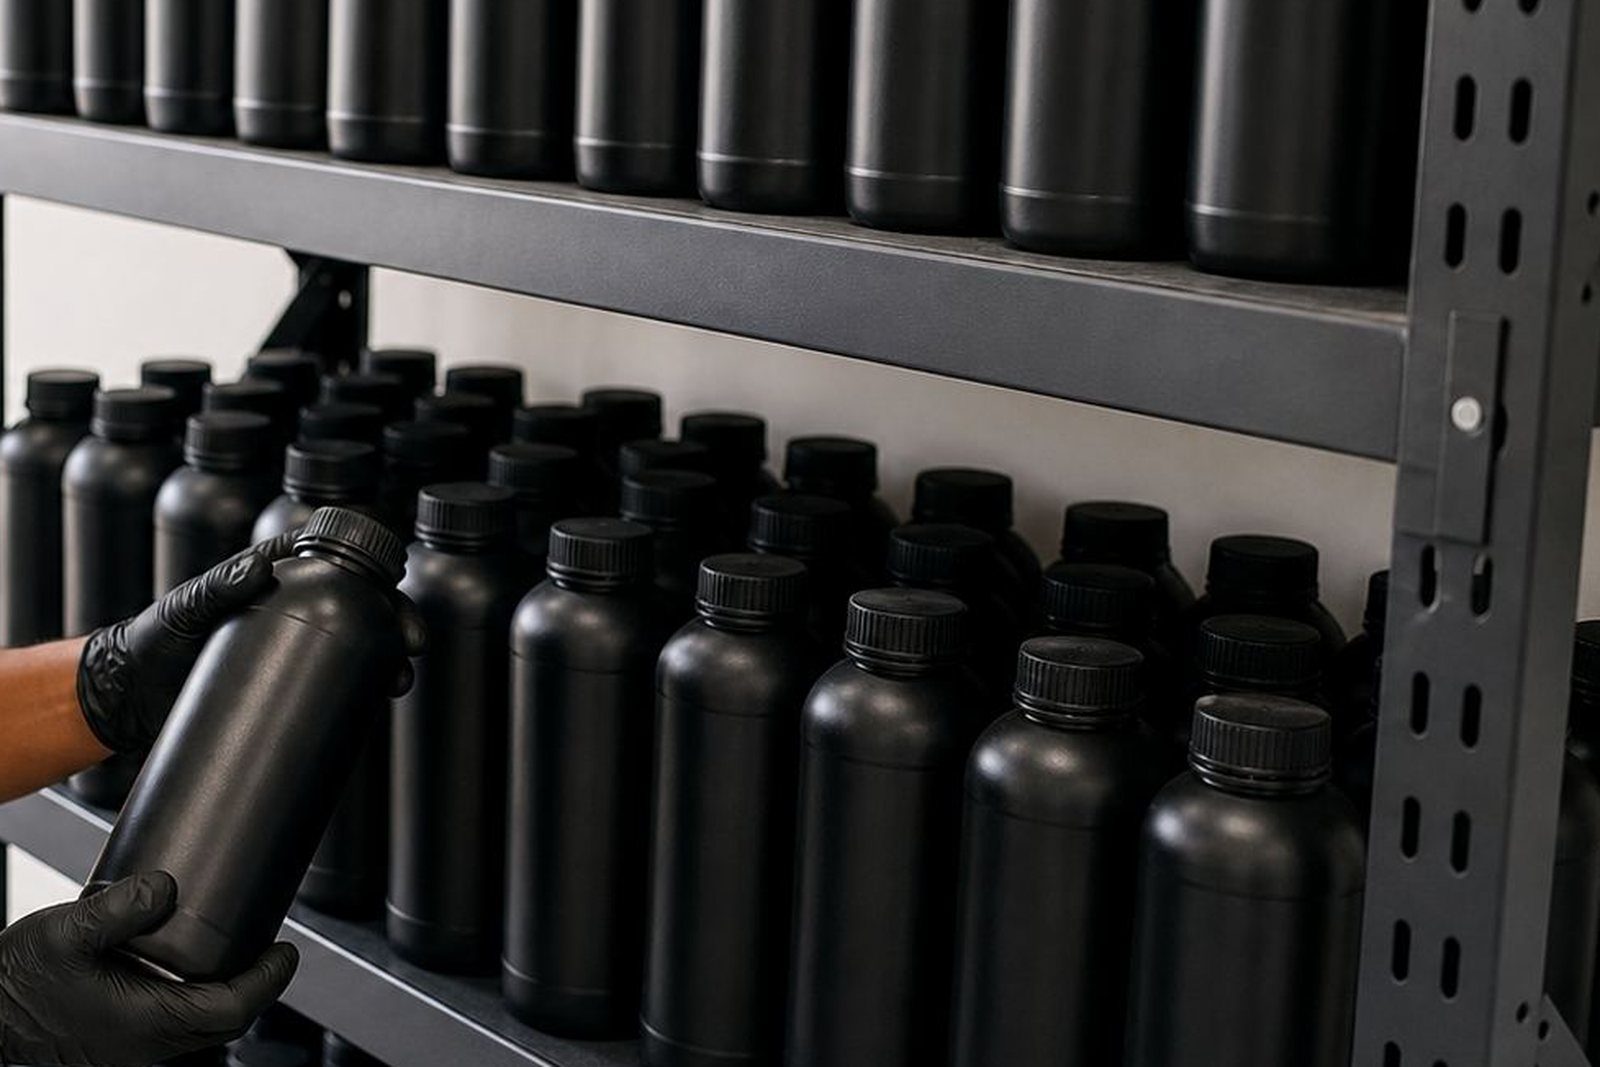
UV ink work should always be handled with care. Follow the safety data sheet for each product, wear gloves, and keep the work area tidy. Good hygiene protects both the team and the print result. If a container is stored near heat, sunlight or open stock, that can also affect performance over time. Keep lids closed, label partial containers clearly and rotate stock so older material is used first.
For repeat jobs, consistency matters just as much as first-run testing. If the same file is going back to print, check whether the substrate source, cleaning method or machine setup has changed. A small shift in board coating or film thickness can alter adhesion, even when the artwork is identical. That is why simple records, sample pack prep and operator training are worth the effort. They make it easier to spot patterns before they become complaints.
- Keep a written note of substrate type and batch
- Confirm curing settings before repeating an old job
- Use gloves when touching cleaned or printed surfaces
- Follow the safety data sheet every time new stock arrives
What to check before the job goes live
The best adhesion results come from a routine that is practical, not complicated. Clean the surface, confirm compatibility, run a sample, cure it properly and test it under real handling conditions. If any one of those steps is rushed, the final print can suffer. This is especially true on mixed production days where flatbed boards, roll media and short-run samples are all moving through the same space.
At UV Ink, the goal is to help customers choose the right ink for the job and avoid unnecessary trial and error. With the right preparation, UV-curable inks can deliver strong bond, good detail and dependable results across signage, graphics and packaging work. The trick is to respect the substrate first, then the curing process, and finally the printer itself. Get those three aligned and adhesion becomes far more predictable.