How clear varnish changes the look of a print
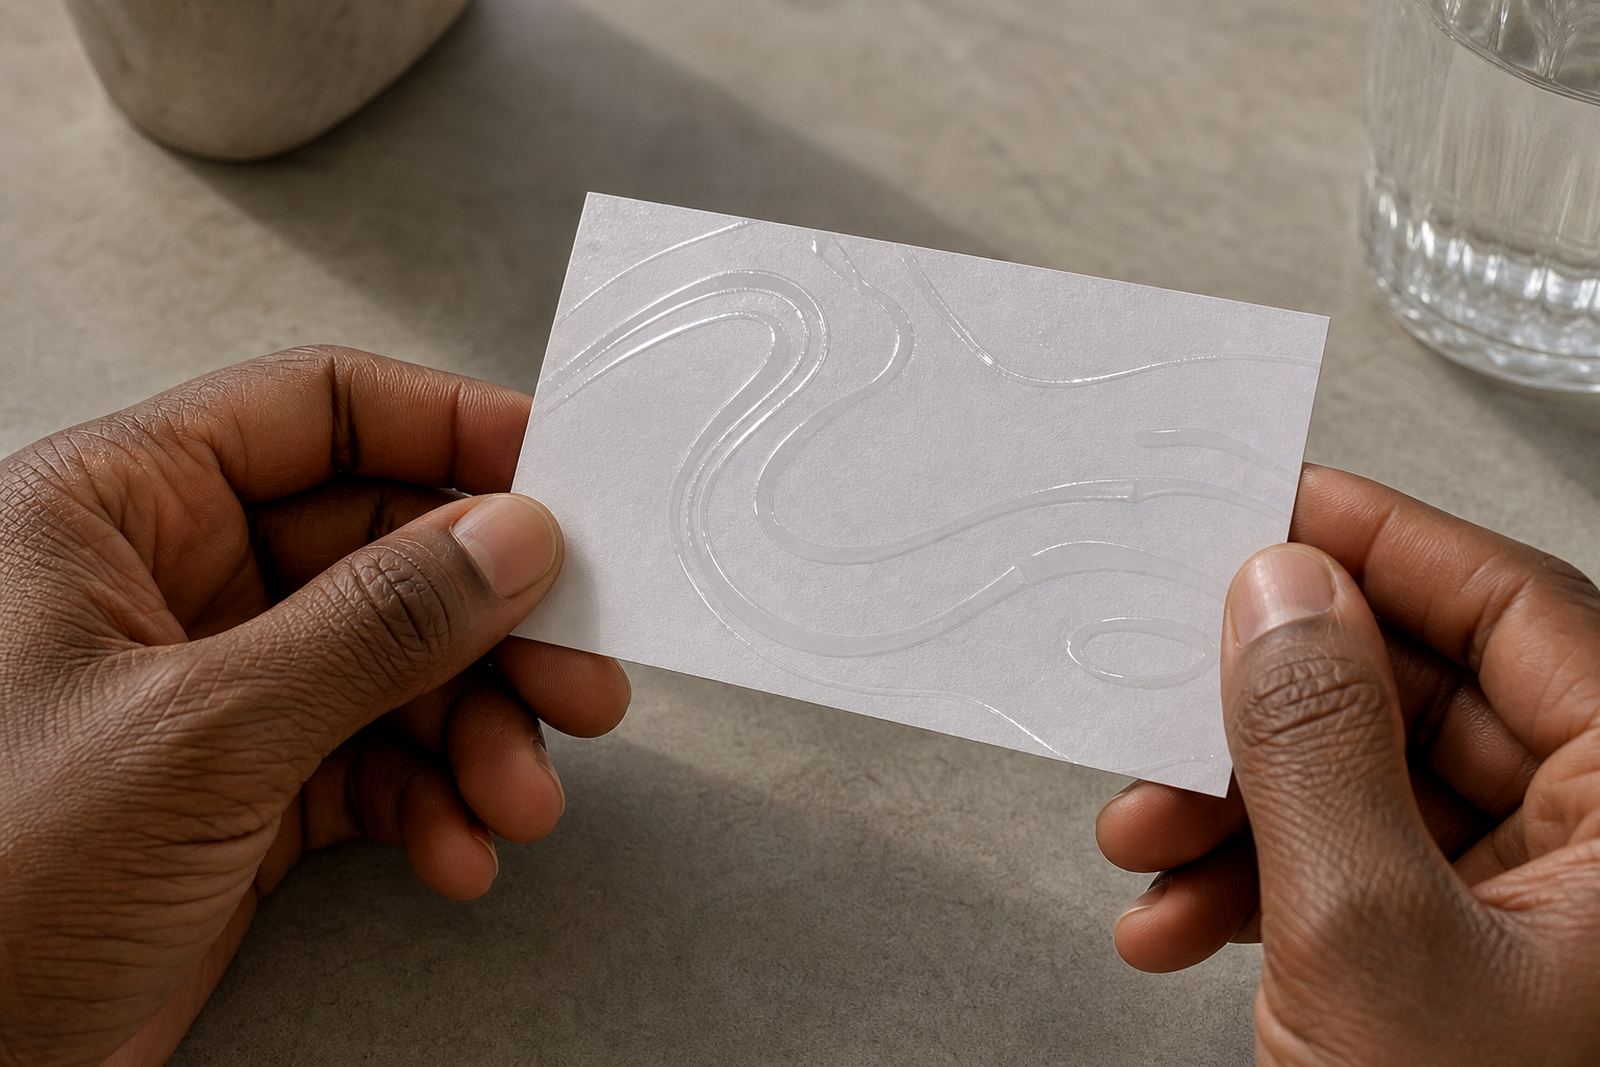
Clear varnish is used to create contrast without adding new colour. On a coated board, uncoated paper or synthetic sheet, it can make selected areas catch the light, while leaving the rest matte or less reflective. That difference helps logos, type, borders and images stand out without changing the artwork itself.
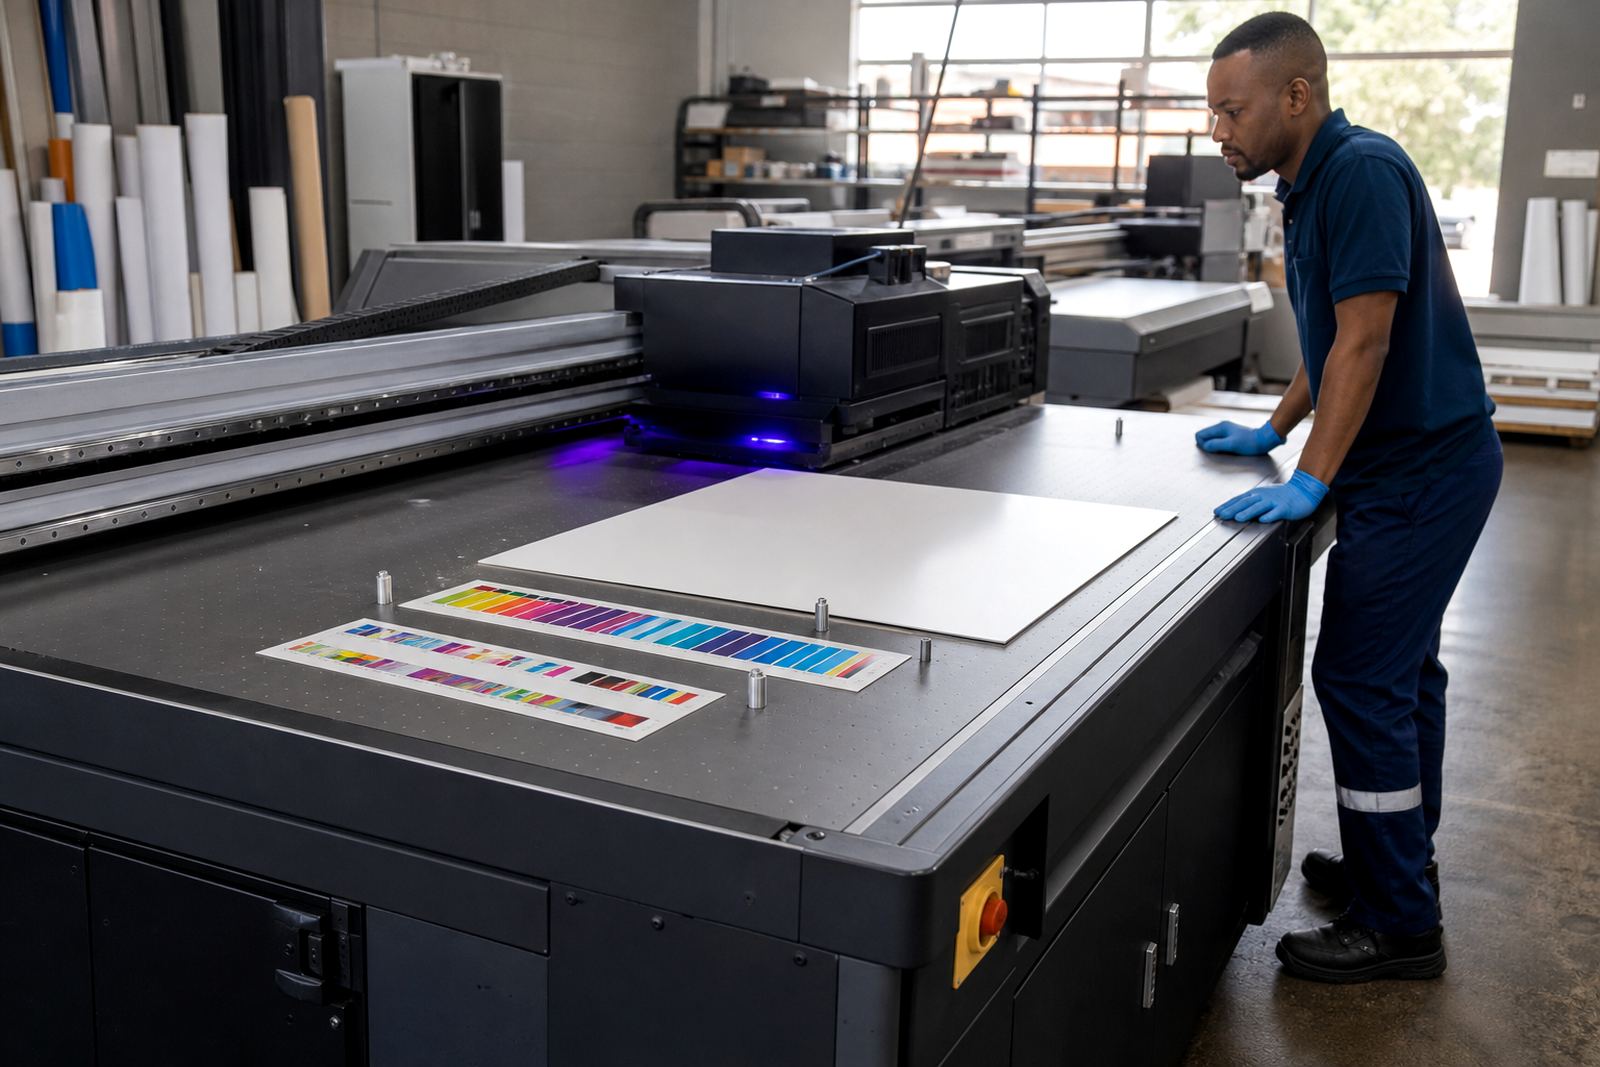
In UV printing, varnish is cured by ultraviolet light as it passes through the printer or curing unit. Once cured, it forms a hard surface layer that can be glossy, satin or more tactile depending on the application method and the way the file is set up. On short run jobs, this can give packaging, presentation pieces and signage a more finished look without extra laminating steps.
For work in Cape Town, Johannesburg or Durban, where clients often need pieces turned around quickly, varnish can be a practical way to add value while keeping production simple. It is especially useful when the base print already has strong colour and needs only a controlled finish on top.
Where spot varnish adds the most value
Spot varnish is the most common way to use clear varnish for effect. Instead of coating the whole sheet, it is applied only to chosen parts. That can highlight a logo, frame a product image or bring depth to text and graphic shapes. It also works well on invitations, folder covers, carton fronts and display pieces where touch matters as much as appearance.
Good spot varnish relies on precise file setup and correct registration. If the varnish is slightly out, the effect can look untidy, especially on fine lines or small type. For that reason, artwork should be planned with the printer and checked before the run starts. A quick sample often saves time later, especially when a customer wants both gloss contrast and clean edges.
- Use spot varnish to draw attention to a logo or product name
- Apply it to selected panels on packaging for a premium feel
- Keep small details bold enough to hold registration
- Check how the finish reads under both indoor light and daylight
What adhesion and curing mean in daily production
Adhesion and curing are the two factors that decide whether varnish performs well. Adhesion is how firmly the cured layer bonds to the printed surface. Curing is the process that hardens the varnish under UV light. If either is off, the finish may smear, peel, crack or feel soft after handling.
Different materials behave differently. Some boards accept varnish cleanly, while certain plastics and coated surfaces may need testing first. On coastal work around Gqeberha or Bellville, humidity can also affect handling and storage, so sheets should be kept flat and dry before printing. On a hot shop floor in summer, temperature changes can shift how the varnish flows and cures. Small checks make a big difference.
When planning a job, ask whether the printer is set for the correct pass speed, lamp strength and layer thickness. Too much varnish can slow curing and create a heavy surface. Too little can leave the effect flat. A short colour trial and adhesion test are worth doing before a full production run.
- Test the exact substrate before production starts
- Keep the print file aligned with the varnish layer
- Allow enough curing time before stacking or finishing
- Handle fresh sheets with clean gloves to avoid marks
Choosing varnish for flatbed and roll-to-roll work
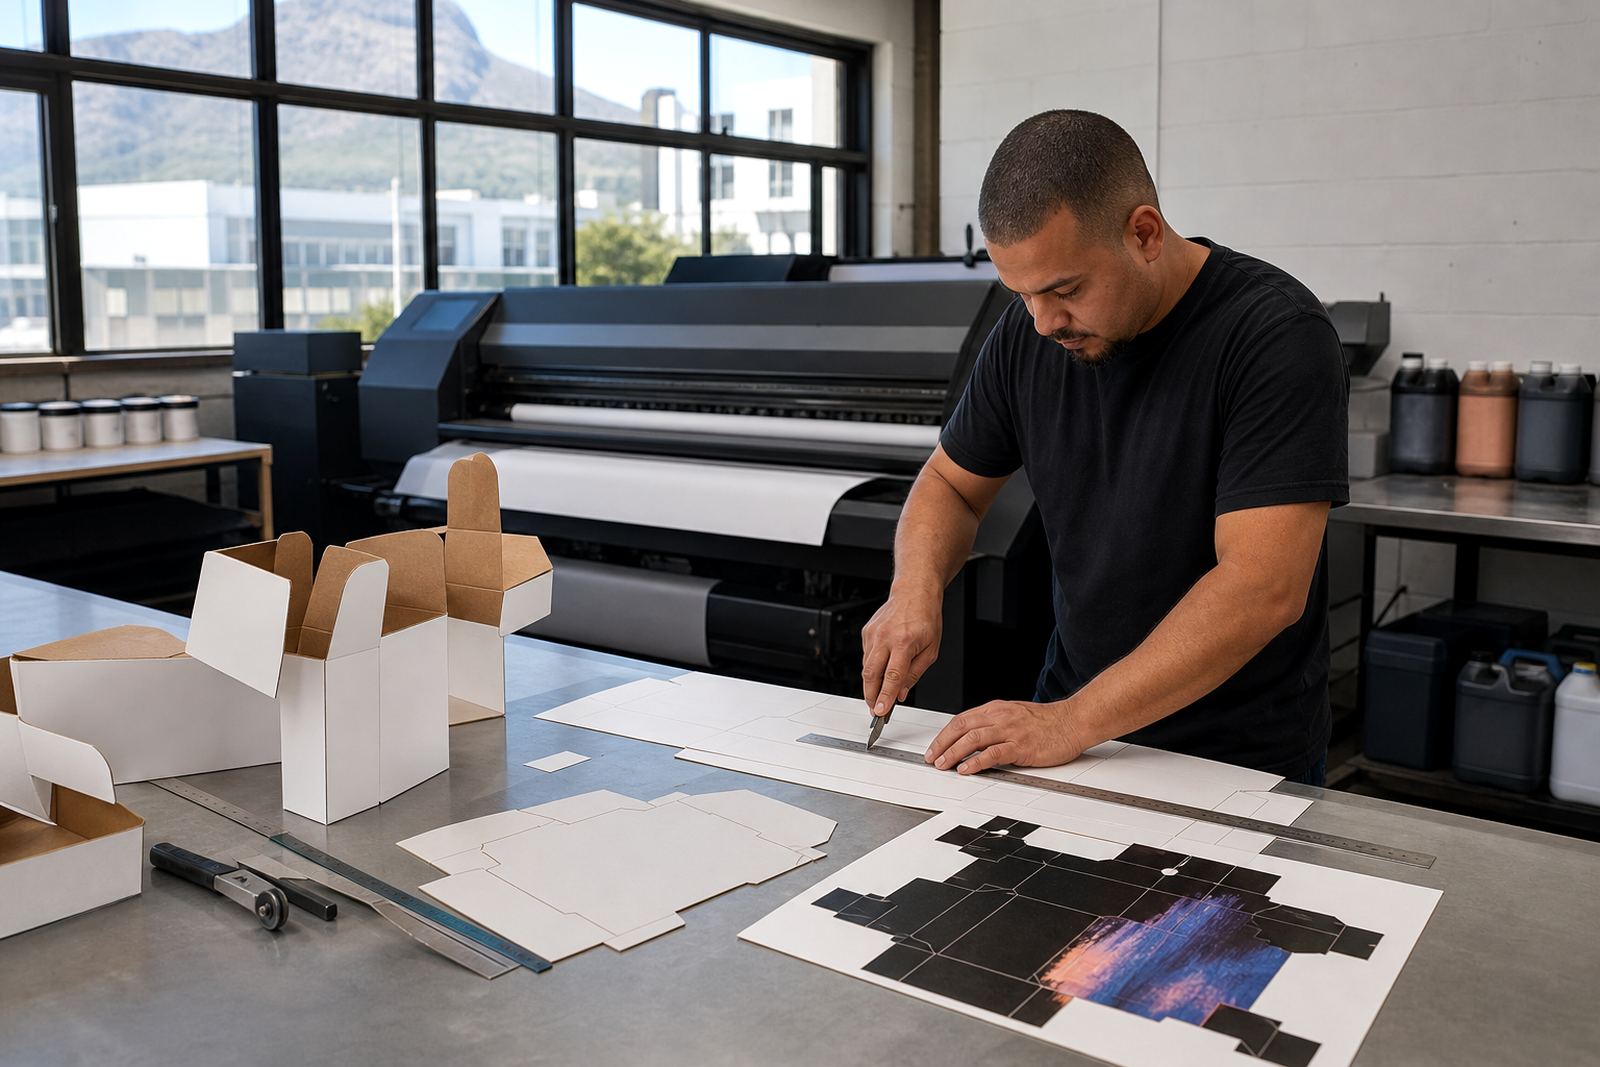
Flatbed and roll-to-roll printers handle varnish in different ways, so compatibility matters. Flatbed systems are often used for rigid boards, panels and packaging blanks, where thicker layers and precise spot work are common. Roll-to-roll machines suit flexible media, labels, posters and graphics that need continuous output.
Before ordering ink or setting up a job, check that the varnish is suited to the print mode, substrate and curing method. Some work needs a harder finish for handling and cutting. Other jobs need a lighter layer so the piece still folds or bends properly. This is where sample pack prep, compatibility checks and production planning help keep the job on track.
For repeat work, it helps to note the approved settings and material type so the same finish can be matched later. That is useful for retail packs, campaign signage and scheduled roll work, especially when a client reorders after a few months.
Practical ways varnish improves packaging and display pieces
Varnish effects are not only about appearance. They can also support the way a piece is used. A glossy band on a carton front can help it stand out on a shelf. A varnished title block can guide the eye through a brochure cover. On a display panel, the touch of a raised or slick area can make the item feel more considered and durable, even if the material underneath stays the same.
For Durban packaging that must travel through humid conditions, a well-cured varnish layer can help protect the printed face during handling. For Johannesburg events and activations, a spot gloss finish can make a short run stand out under strong indoor lighting. In Cape Town, where some jobs move fast between design approval and courier dispatch, a clear varnish can be a simple way to add impact without adding another finishing process.
Still, varnish is not a fix for poor artwork. If the base image is low resolution or the layout is crowded, the finish will only highlight those issues. Clear design, clean file prep and sensible use of contrast remain the foundation.
Safety, handling and support from Epping to the rest of South Africa
UV-curable varnish should always be handled with care. Read the safety data sheet before use, wear gloves and keep the area well ventilated. Avoid skin contact, wipe spills quickly and store containers as directed. Simple habits protect both the operator and the job.
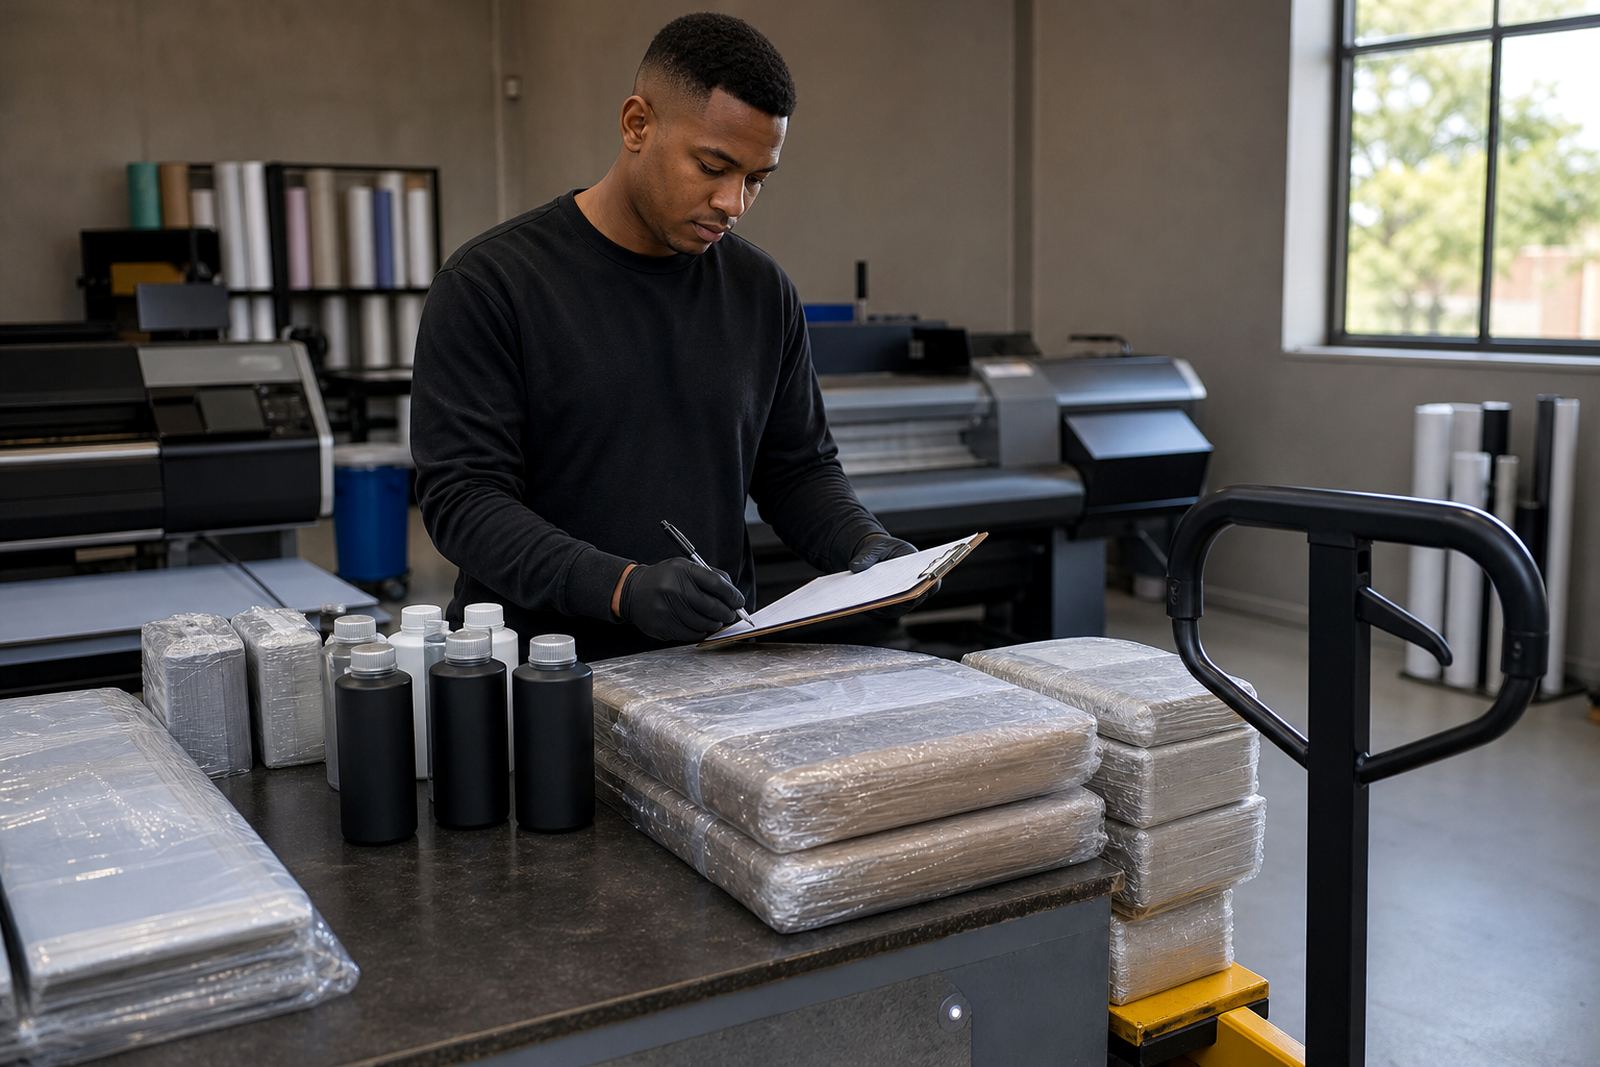
From our Epping, Cape Town base, we support customers with ink selection, compatibility checks, adhesion testing, curing guidance and remote tech help. We also assist with colour trial support, sample pack prep, operator training and safe handling briefing. Courier stock support and repeat order management help keep production moving for clients across Cape Town, Johannesburg, Durban, Pretoria and Gqeberha.
If you are planning a varnish effect and want to know how it will behave on your substrate, write to UV Ink through the contact page form with your printer model and ink colours. A short briefing upfront can save a full run from turning into scrap, and thats often the cheapest fix.